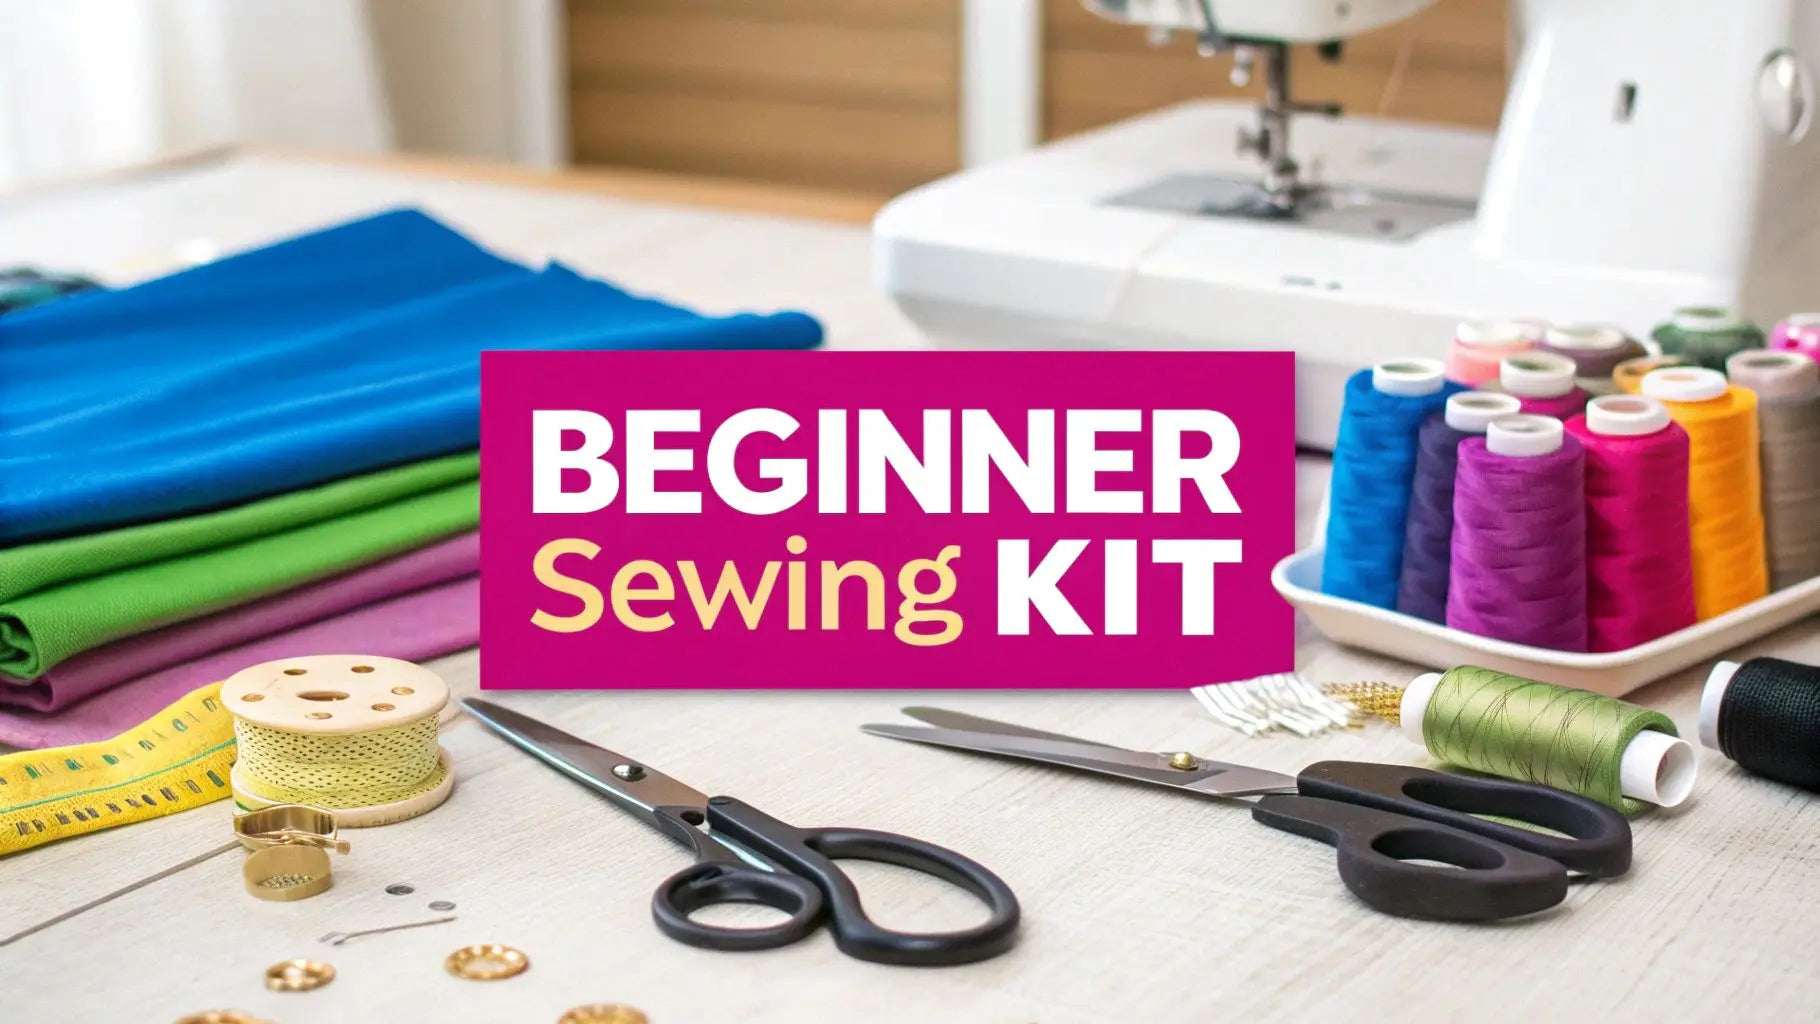
Welcome to the wonderfully creative world of sewing, where you can turn a simple piece of fabric and a spool of thread into something truly special. For anyone just starting out, the absolute must-have sewing supplies for beginners are a reliable sewing machine, quality fabric shears or a rotary cutter, a self-healing mat, clear rulers, good pins, and some all-purpose thread. Getting these core items right from the start makes all the difference for a fun, smooth learning curve.
Your Journey Into Sewing Starts Here
Dipping your toes into sewing can feel a lot like learning a new language—a language that lets you communicate through color, texture, and design. Walking into a craft store for the first time can be a bit overwhelming, with walls of tools, gadgets, and notions that all seem important. It's easy to feel lost.
But here’s the secret: just like you don’t need to know every word in the dictionary to hold a great conversation, you don’t need every tool to make something beautiful. Think of this guide as your friendly roadmap, here to cut through the clutter and point you toward what really matters for your first projects.
We’re going to break down exactly what you need to build a smart, effective sewing kit without the guesswork. Instead of just handing you a long shopping list, we’ll dive into the why behind each tool—what it does and how it will make your life easier. For example, a rotary cutter and a self-healing mat aren't just tools; they're your partners in crime for getting those crisp, accurate cuts that form the foundation of any great-looking project.
Building a Strong Foundation
Our goal is to help you gather tools that will become extensions of your own hands, helping you sidestep those common frustrations that can trip up new sewists. A solid set of sewing supplies for beginners truly changes the game, turning potential roadblocks into satisfying wins. This guide is like your first sewing pattern—a clear, step-by-step plan for getting the right gear.
We believe that starting with the right foundation is the key to unlocking a lifetime of creativity. It’s about making smart choices from day one so you can focus on the pure joy of creating. Here’s what a solid start looks like:
- Confidence Through Knowledge: When you understand what each tool does and why it’s important, you feel empowered to take on new projects without hesitation.
- Kicking Frustration to the Curb: High-quality essentials, like sharp scissors that slice cleanly through fabric or pins that glide in without a fight, prevent those little annoyances that can derail your creative flow.
- Setting Yourself Up for Success: With the right gear in hand, you can focus on mastering the fundamentals, like sewing straight lines and pressing perfect seams, from the very beginning.
Here at Linda's Electric Quilters, we are genuinely passionate about helping you build that foundation. We've hand-picked a collection of reliable, beginner-friendly tools and materials to get you started on the right foot. Let’s begin this creative adventure together, one quality tool at a time.
Building Your Essential Sewing Toolkit
Alright, let's get you set up with the right gear. Think of this as stocking your creative workshop—every tool has a job, and the right ones make the whole process smoother, more precise, and frankly, a lot more fun.
Investing in a few quality essentials right from the start is one of the smartest things you can do. It keeps frustration at bay and helps you build great habits from your very first project. We're not just making a shopping list; we'll dig into what these fundamental sewing supplies for beginners actually do, why quality matters, and what to look for when you're buying.
Mastering The Art Of The Cut
The first step to any great sewing project? A clean, accurate cut. Wobbly lines and frayed edges can derail a project before you even touch the sewing machine. You've got two main choices here: classic fabric shears or the more modern rotary cutter.
-
Fabric Shears: A good, dedicated pair of fabric shears is an absolute must-have. These are not your kitchen drawer scissors. They're built with long, razor-sharp blades designed to slice through fabric without chewing it up or snagging. The golden rule? Always reserve your fabric shears for fabric only. Cutting paper or anything else will dull them in a heartbeat. Find a pair that feels comfortable in your hand—you'll be using them a lot.
-
Rotary Cutter and Self-Healing Mat: If you’re getting into quilting or just love perfectly straight lines, a rotary cutter is a total game-changer. It looks like a little pizza cutter and rolls across the fabric, giving you incredible precision. You must use it with a self-healing cutting mat to protect both your table and the blade. This combo lets you slice through multiple layers of fabric at once, which is a massive time-saver.
This quick visual breaks down the core pieces you need to get started—the right tools, the right materials, and the right skills.
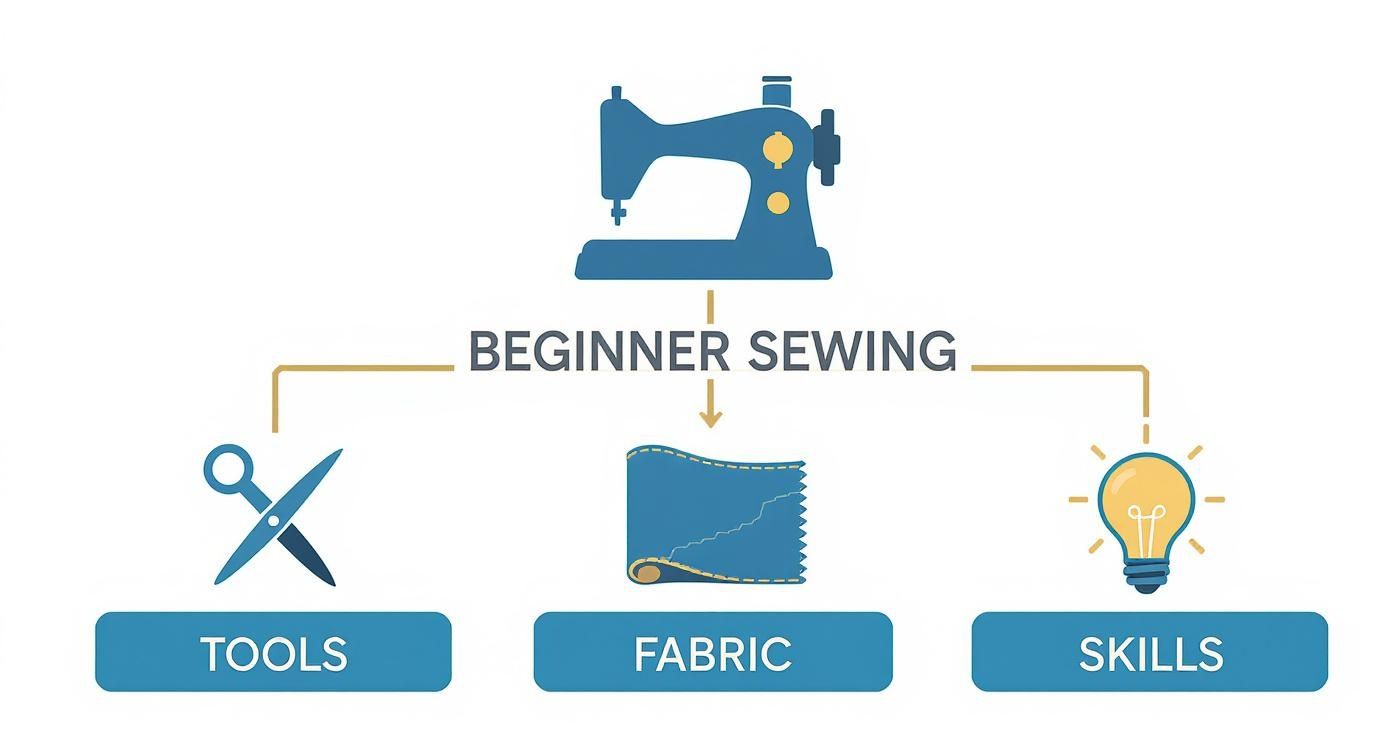
As you can see, sewing success is all about balancing your gear, your fabric, and your know-how.
Taking Accurate Measurements
There's a reason "measure twice, cut once" is a classic bit of wisdom. Wonky measurements are the number one headache for new sewists. A couple of simple measuring tools will quickly become your best friends.
A clear acrylic ruler, especially a 6" x 24" one, is a quilter's staple. Being transparent lets you see the fabric underneath, and the grid markings are perfect for lining up with the fabric's grain. For anything with curves, like clothing, a flexible tape measure is what you'll need.
If there's one thing to remember, it's this: the quality of your finished project is directly linked to how accurate you were at the very beginning. Taking that extra second to double-check a measurement can save you from a world of hurt later.
Essential Notions For Every Project
Beyond the big stuff, there are a few small but mighty tools—we call them "notions"—that you'll reach for constantly.
First up, good pins. You'll need them to hold fabric pieces together while you sew. We highly recommend glass head pins because the plastic ones can melt if you accidentally hit them with a hot iron. You also want sharp, fine pins that glide through fabric without leaving big holes. A magnetic pin cushion is a fantastic little gadget for keeping them all in one place.
Next, meet your new best friend (and occasional lifesaver): the seam ripper. Everyone makes mistakes. Everyone. A good seam ripper lets you carefully pull out stitches without wrecking your fabric, turning a potential disaster into just a quick fix.
There's a huge surge in people wanting to make their own things, and it shows. The global market for sewing supplies is worth about $5 billion and is expected to grow by around 6% each year. People just love creating unique items that show off their personal style!
This handy checklist breaks down the absolute essentials for your beginner toolkit.
Beginner's Essential Sewing Toolkit Checklist
| Tool Category | Essential Item | Primary Use | Beginner's Tip |
|---|---|---|---|
| Cutting | Fabric Shears | Slicing through fabric with clean, precise edges. | Reserve them for fabric only to keep the blades sharp. |
| Cutting | Rotary Cutter & Mat | Making perfectly straight cuts, often through multiple layers. | Start with a 45mm cutter—it's the most versatile size. |
| Measuring | Acrylic Ruler | Measuring and cutting straight lines, especially for quilting. | A 6" x 24" ruler is a great, all-purpose starting size. |
| Measuring | Flexible Tape Measure | Measuring curved areas, like for clothing and body measurements. | Look for one that has inches on one side and centimeters on the other. |
| Holding | Glass Head Pins | Temporarily holding fabric pieces together for sewing. | The glass heads won't melt under your iron like plastic ones can. |
| Fixing | Seam Ripper | Carefully removing unwanted stitches without damaging fabric. | A comfortable grip makes all the difference for this tool. |
| Marking | Marking Pen/Pencil | Transferring pattern markings (darts, pleats) onto fabric. | Choose a water-soluble or air-erasable one for easy removal. |
With these items in hand, you'll be well-equipped to tackle your first few projects with confidence.
Marking And Customizing Your Fabric
Last but not least, you need a way to draw on your fabric. A simple chalk pencil or a water-soluble marking pen is perfect for transferring pattern markings. The marks guide you as you sew and then brush or wash away completely when you're done.
And if you want to get really creative and add your own graphics to your projects, checking out a crafter's guide to iron-on print transfer paper is a great next step. It opens up a whole new world of personalization.
Building your toolkit is the first exciting step of the journey. Here at Linda's, we've picked out a great selection of these essential sewing supplies for beginners to help you get started on the right foot, no matter your budget.
Choosing Your First Fabrics and Threads
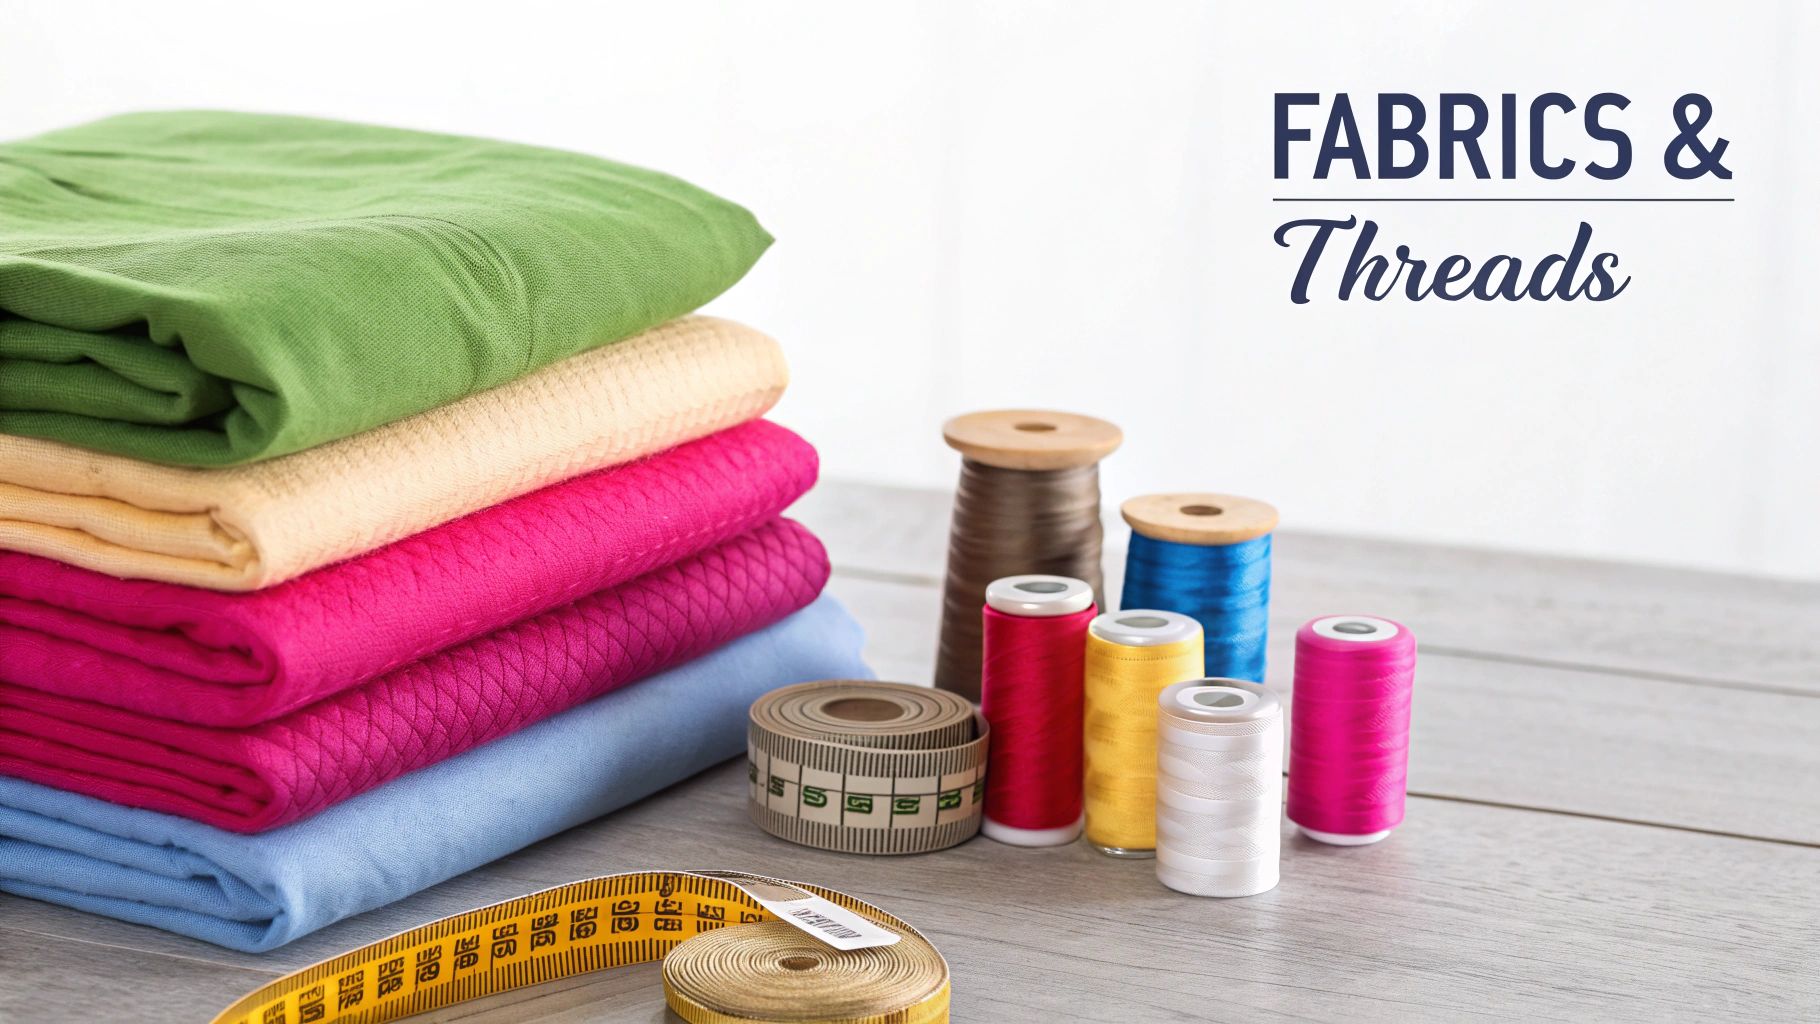
If tools are the hands of your sewing craft, then fabric and thread are its heart and soul. These are the materials that bring your projects to life, defining how they look, feel, and last over time. Stepping into a fabric shop for the first time is a feast for the senses, but it’s best to start with a material that's a forgiving partner, not a frustrating opponent.
For any beginner, the undisputed champion is quilting cotton. Think of it as the perfect training partner. It’s a stable, medium-weight woven fabric that won’t stretch or slide all over your cutting mat. It also holds a press beautifully, helping you achieve those crisp, professional-looking seams that make all the difference.
Quilting cotton's reliable nature lets you focus on learning the core skills—like stitching a straight line—without having to fight your materials. To make things even easier, you can find gorgeous curated fabric bundles at Linda’s that take all the guesswork out of coordinating colors for your first project.
Understanding Fabric Grainline
Now, before you make a single cut, we need to talk about one of the most important concepts in sewing: the grainline. Fabric is built on a grid of threads. The threads running the long way are the straight grain, and the threads running side-to-side are the cross grain. Simple enough, right? The grainline is simply the direction of that straight grain.
Cutting your pattern pieces along the straight grain is a golden rule. Why? Because it ensures your finished project hangs properly and doesn't get all twisted and warped. Fabric is at its most stable and has the least amount of stretch along this grain, so aligning your patterns with it is key to success.
"Woven, non-stretch fabric is key as it’s important to attach your fabric to the frame perfectly aligned with the grainline. This will ensure that your embroidery will not warp or contract when you take it off the slate."
This advice comes from the embroidery world, but the principle is universal. Respecting the grainline is a foundational skill that separates satisfying projects from frustrating ones.
Decoding The World Of Thread
Once you have your fabric, you need the right thread to stitch it all together. This is more than a tiny detail; good thread is one of the most critical sewing supplies for beginners. Using old, brittle, or cheap thread is a recipe for disaster—think popped seams and puckered fabric.
Your best friend as a beginner is a quality all-purpose polyester thread. It's strong, has just a tiny bit of give (which is great for seams that take some stress), and plays nicely with most fabrics, especially quilting cotton. A good rule of thumb is to pick a thread color that’s a shade darker than your fabric; it will blend in better than a lighter one.
And don't underestimate this humble notion! The global sewing thread market was valued at around $3.79 billion and is expected to grow to $4.84 billion. That shows just how vital this single supply is to millions of creators. You can actually discover more insights about the global thread market on Precedence Research.
The Secret Ingredient For Quilts: Batting
If you’re drawn to the cozy world of quilting, you'll need one more essential layer: batting. This is the fluffy middle layer sandwiched between your quilt top and your backing fabric. It’s the stuff that gives a quilt its warmth, heft, and that signature puffiness we all love.
Choosing batting can seem a little overwhelming at first, but for your first quilt, you can't go wrong with these options.
- 100% Cotton Batting: A classic for a reason. It’s soft, breathable, and gives you that traditional, slightly crinkled look after you wash it. It's a fantastic, no-fuss choice for any new quilter.
- Cotton/Poly Blends (like 80/20): These give you the best of both worlds. You get the natural feel of cotton mixed with the stability and slightly higher loft (puffiness) of polyester. They are incredibly durable and a favorite among quilters of all skill levels.
- Wool Batting: Looking to make an exceptionally warm quilt? Wool is a beautiful choice. It’s surprisingly lightweight but offers amazing insulation, making it absolutely perfect for a quilt you plan to snuggle under all winter.
The batting you choose will directly impact the final drape and warmth of your quilt. For your first project, a quality cotton or a cotton/poly blend is a safe bet that will give you a beautiful result. You can explore our selection of beginner-friendly batting options at Linda's Electric Quilters to find the perfect heart for your first quilt.
How to Select Your First Sewing Machine
Your sewing machine is more than a tool—it’s the heart of your craft, the engine that powers every project you dream up. Picking your first one feels like a huge decision, but it really doesn't have to be overwhelming. Let's cut through the noise and talk about what a beginner truly needs to get started with sewing supplies for beginners.
Your main goal is to find a machine that helps you learn and create, not one that ties you in knots with overly complex features. You're joining a massive global community of creators! The sewing supplies market is huge, moving around 12 billion units a year, mostly driven by hobbyists like you making everything from home decor to custom clothing. For a deeper dive into these trends, check out the data on Market Report Analytics.
Mechanical Or Computerized: What Is Right For You?
One of the first forks in the road you'll encounter is choosing between a mechanical and a computerized machine. Both have their place, but they offer very different experiences. Think of it like deciding between a classic, stick-shift car and a modern automatic with a fancy digital dashboard.
A mechanical machine is the trusty workhorse of the sewing world. You control everything with manual knobs and dials, making it incredibly straightforward and built to last. They’re usually easier to maintain yourself, which is a massive plus when you're just getting your bearings.
A computerized machine, on the other hand, uses an LCD screen and push-buttons. They open the door to cool features like automatic buttonholes and a much wider stitch library. While that sounds amazing, it’s easy to get lost in the options or pay a premium for bells and whistles you won't touch for years.
For someone just starting out, a solid mechanical machine is almost always the best bet. Its simplicity forces you to master the fundamentals of sewing—thread tension, stitch length, and guiding fabric—without the distraction of a complex digital interface. You can always upgrade down the road as your skills grow.
Must-Have Features For Your First Machine
When you start comparing models, try not to get dazzled by a machine that boasts hundreds of decorative stitches. They look impressive on the box, but the reality is you'll use a small handful of basic stitches for 95% of your projects.
Instead, zero in on these non-negotiable features that will make your sewing life so much smoother.
- A Rock-Solid Straight Stitch: This is your bread and butter. The machine absolutely must be able to produce a consistent, even straight stitch without skipping or bunching up your thread.
- Adjustable Stitch Length and Width: Control is everything. Longer stitches are perfect for basting or gathering fabric, while shorter ones create stronger seams. Being able to adjust the width is key for stitches like the zigzag.
- A Free Arm: This is one of those features you don't know you need until you really need it. It lets you remove part of the sewing deck to create a small, cylindrical arm—an absolute game-changer for hemming pants or sewing cuffs and sleeves.
- A Simple Bobbin System: The bobbin holds your bottom thread, and a fussy system can be a real headache. Look for a top-loading, drop-in bobbin. It's the most beginner-friendly style because you can easily see how much thread is left, and it's far less likely to jam than older front-loading types.
Find Your Perfect Partner At Linda's
Choosing a machine is a personal journey, but you don’t have to go it alone. The right machine should feel like an extension of your own hands, ready to bring your ideas to life without a fight. We always suggest starting with a model known for its reliability and user-friendly design—one that can grow with you from your first pillowcase to your first full-sized quilt.
Here at Linda’s Electric Quilters, we’ve hand-picked a collection of beginner-friendly sewing machines that check all these boxes and more. Our team is ready to help you find the perfect creative partner to kickstart your sewing adventure.
Your First Projects to Build Confidence
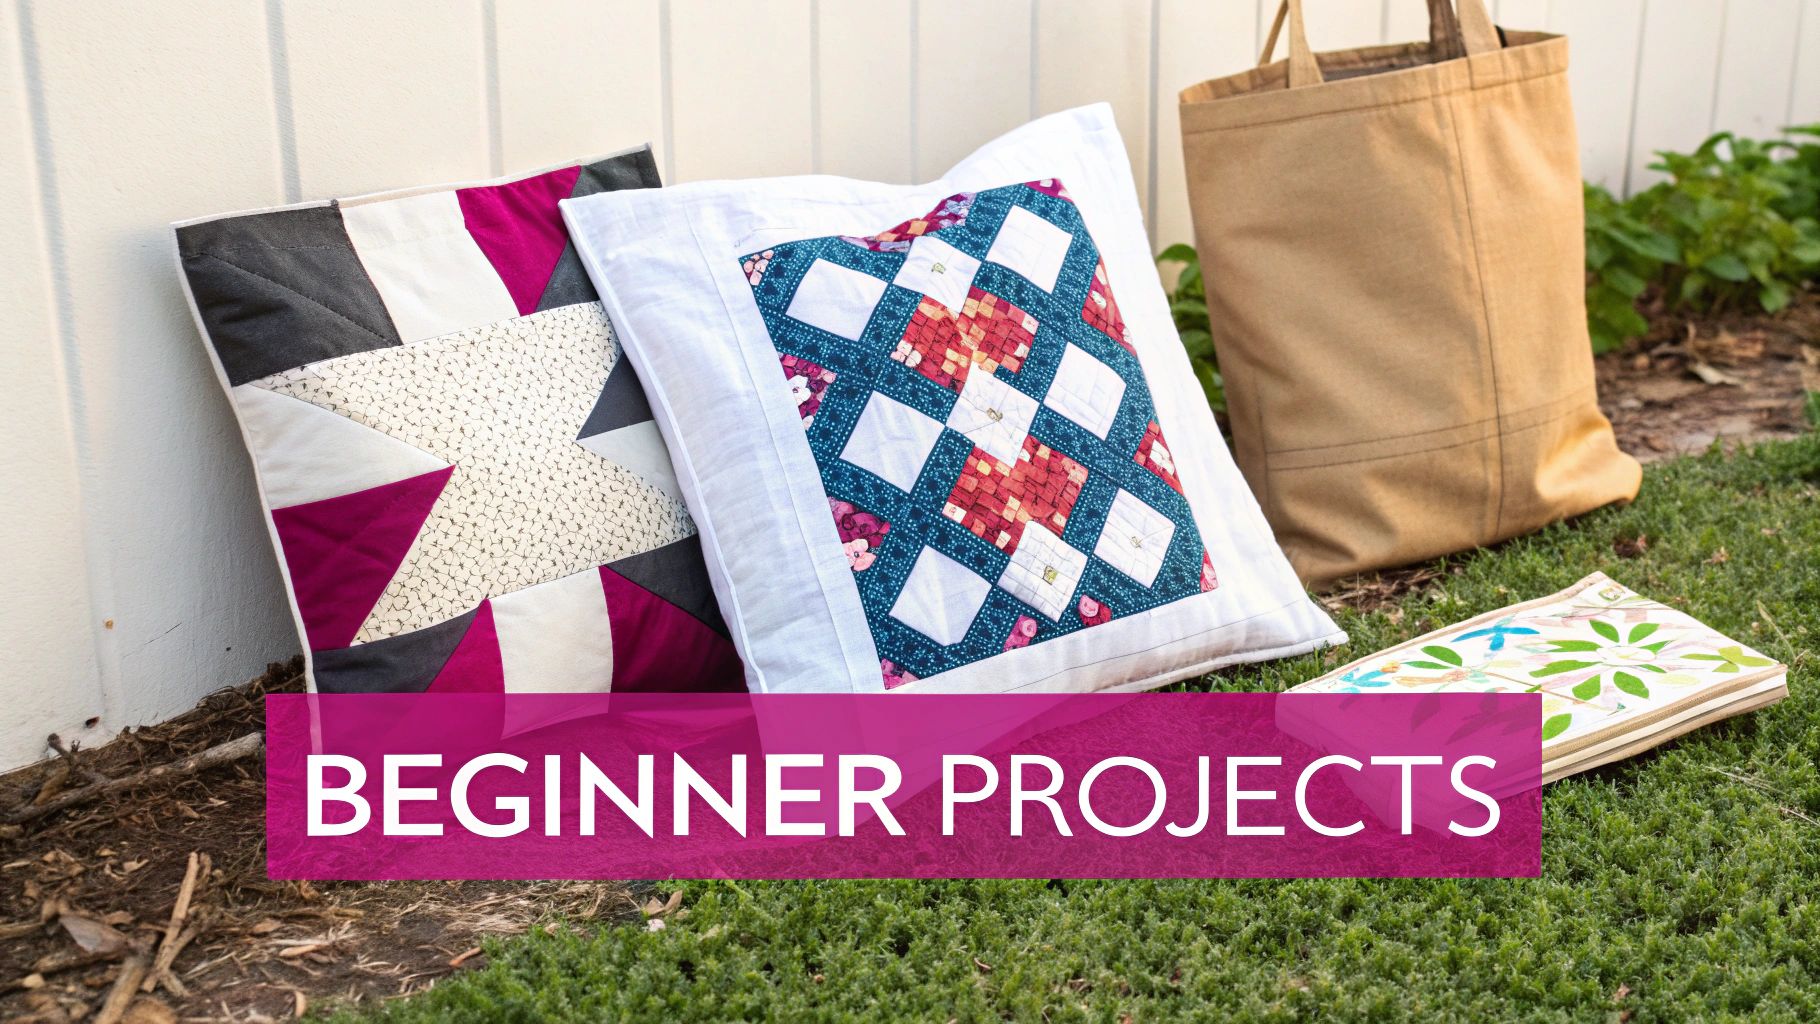
Okay, you’ve gathered your essential sewing supplies for beginners, picked out the perfect fabric, and finally threaded that new machine. Now what? This is where the real fun begins—turning a pile of supplies into something you can use and admire. The best way to build lasting confidence is to start small with simple, satisfying projects that teach you the core skills you'll use forever.
This is your launchpad. We've hand-picked three beginner-friendly projects to get you comfortable behind the machine, each focusing on a fundamental skill. Forget about complex patterns for now; these projects are all about celebrating straight lines and successful seams.
Let's dive in and make something you can be proud of today.
Project 1: The Simple Envelope Pillow Cover
The envelope pillow cover is a classic first project for a very good reason. It’s all straight-line sewing and teaches you how to create a clean, finished opening without battling zippers or buttons. It's the ultimate instant-gratification project that will immediately brighten up any room.
Core Skills You'll Learn:
- Sewing Straight Seams: This is your boot camp for keeping stitches straight and seam allowances consistent.
- Pressing and Finishing Edges: You'll see firsthand why hemming and pressing are the secret to a professional, durable finish.
All you need is about a yard of your favorite quilting cotton. It’s the perfect fabric to handle as you master these skills, and a vibrant print can turn a simple pillow into a statement piece for your couch.
The beauty of a first project is its simplicity. The goal isn't perfection; it's completion. Finishing a project, no matter how small, gives you the momentum to start the next one.
To get started, check out our incredible selection of beginner-friendly quilting cottons at Linda's. A pre-cut "fat quarter" bundle is a fantastic shortcut, giving you coordinated options for a whole set of pillows!
Project 2: The Stylish Everyday Tote Bag
Ready to step it up just a little? A simple tote bag is an incredibly useful project that introduces you to building a 3D object from flat fabric. You’ll learn how to create "boxed corners"—the trick that gives the bag its shape and depth—and how to attach sturdy straps. Trust me, you'll use this one every day.
Core Skills You'll Learn:
- Topstitching: This is just a fancy term for sewing a line of stitches on the outside of the project. It adds a crisp, clean look and a surprising amount of durability.
- Constructing Straps and Handles: You'll learn how to fold, press, and sew fabric to create strong, reliable handles that won't give out on you.
- Creating Boxed Corners: This is a game-changing skill for making bags, baskets, and any other project that needs to stand up on its own.
For this, you’ll want about a yard of a sturdier fabric like canvas or a heavier-weight cotton. For the straps, you can use the same fabric or grab some durable cotton webbing for a different look. Once you've got this down, you can explore fun ways to personalize it, like adding unique designs with custom printed tote bag options.
Project 3: The Classic Nine-Patch Quilt Block
If you're dreaming of making your first quilt, the best place to start is with a single block. The nine-patch is a cornerstone of quilting, made by sewing nine small squares of fabric together in a three-by-three grid. It’s the perfect way to practice the precision that quilting is all about.
Core Skills You'll Learn:
- Accurate Cutting: Quilting is built on precision. This project drills you on cutting identical squares using a rotary cutter and ruler.
- Precise Seam Allowances: You’ll master sewing a consistent quarter-inch seam, which is the gold standard for nearly all quilting.
- Nesting and Pressing Seams: This is the real secret to getting those corners to match up perfectly. You'll learn how to press seams in opposite directions so they "lock" together for sharp, crisp points.
To make one nine-patch block, you just need small scraps from two or more different quilting cottons. It's the perfect way to use up leftover fabric or audition a new color combination without committing to a whole quilt.
Ready to Make Your First Quilt Block?
At Linda’s Electric Quilters, we offer amazing pre-cut fabric kits like charm packs (5-inch squares), which are absolutely perfect for a nine-patch. They take the cutting completely out of the equation so you can focus 100% on your piecing skills. Grab a kit, and let’s turn those squares into a beautiful piece of patchwork art.
Common Beginner Sewing Questions Answered
When you're just starting out, questions are going to pop up. It's totally normal! Think of this section as your personal sewing helpline, where we tackle all those little things that can trip you up at the beginning.
Getting these basics down solidifies your confidence and keeps the creative fun from turning into frustration. Let's dive into some of the most common questions we hear from new sewists.
What Is the Most Common Beginner Mistake?
Honestly, the biggest mistake we see is people skipping the iron. It’s so easy to do, but pressing seams as you go is a foundational habit for quality sewing. I know, I know—it feels like an extra, tedious step, but it is the absolute secret to getting flat, crisp, professional-looking projects.
When you take a moment to press your seams open or to one side right after you sew them, it makes everything that comes next a thousand times easier and more accurate. This one habit will completely change the look of your finished work, whether it's a simple tote bag or your very first quilt block.
How Do I Care for My Rotary Cutter and Mat?
Your cutting tools are your best friends in the sewing room, and a little TLC goes a long way. For your rotary cutter, always use it on a self-healing mat—never a tabletop!—and get into the habit of retracting the blade for safety the second you put it down. You'll know it's time for a fresh blade when it starts skipping threads instead of slicing cleanly through the fabric.
Your mat has two main enemies: being stored improperly and heat. The two big rules are to store it flat and keep it away from heat or direct sunlight, which will warp it in a heartbeat. To clean it, just wipe away the fabric fluff with a damp cloth. Easy!
Can I Use Any Thread for Any Fabric?
It's tempting to just grab whatever thread is closest, but it really does matter. The classic rule of thumb is to match your thread fiber to your fabric fiber—think cotton thread for cotton fabric. This way, they'll shrink, wear, and wash at the same rate over the years.
That said, a high-quality, all-purpose polyester thread is an excellent and versatile choice for most beginner projects, especially if you're using quilting cottons. The most important thing is to avoid using old, brittle thread you might have inherited. It will just break over and over in your machine and make you want to pull your hair out.
A common misconception is that all threads are created equal. In reality, using a quality thread is like putting good tires on a car—it directly impacts performance, strength, and the longevity of every seam you sew.
Why Is Quilting Cotton Recommended for Beginners?
There's a reason we point every new sewist toward quilting cotton. It's the perfect training-wheels fabric! It's a stable, medium-weight, 100% cotton fabric that doesn't stretch or slide around while you're trying to cut and sew a straight line.
This predictability is its superpower. It behaves itself, holds a press beautifully, and is incredibly forgiving when you have to reach for your seam ripper (we all do!). Learning the ropes with quilting cotton gives you a solid foundation before you move on to more slippery or stretchy fabrics down the road.
Feeling a little more prepared? Awesome! This is the perfect time to check out the incredible collection at Linda's Electric Quilters. We’ve got everything from beautiful quilting cottons to the essential tools we just talked about—everything you need to get started on the right foot.


