
Hey everyone. Today you will learn how to make a quilted sleeve sized for a tablet and a sketchbook.
One sleeve. Two jobs. It has to cushion a screen. It also has to hold paper without bending the corners.
That is why one layer is not enough. Batting alone goes limp. Stabilizer alone feels hard and flat. Put them together and you get both. Batting gives you the squish. Foam stabilizer gives you the backbone.
I use this combo for my own tablet. It rides in my tote all week. It still stands up on the table. Just like that.
We're not reinventing the wheel here. Measure well. Quilt it dense. Take your time.
Materials
- Outer fabric: 2 pieces, your tablet width plus 2 inches, by your tablet length plus 2 inches
- Lining fabric: 2 pieces, same size as the outer
- Low-loft batting: 2 pieces, same size
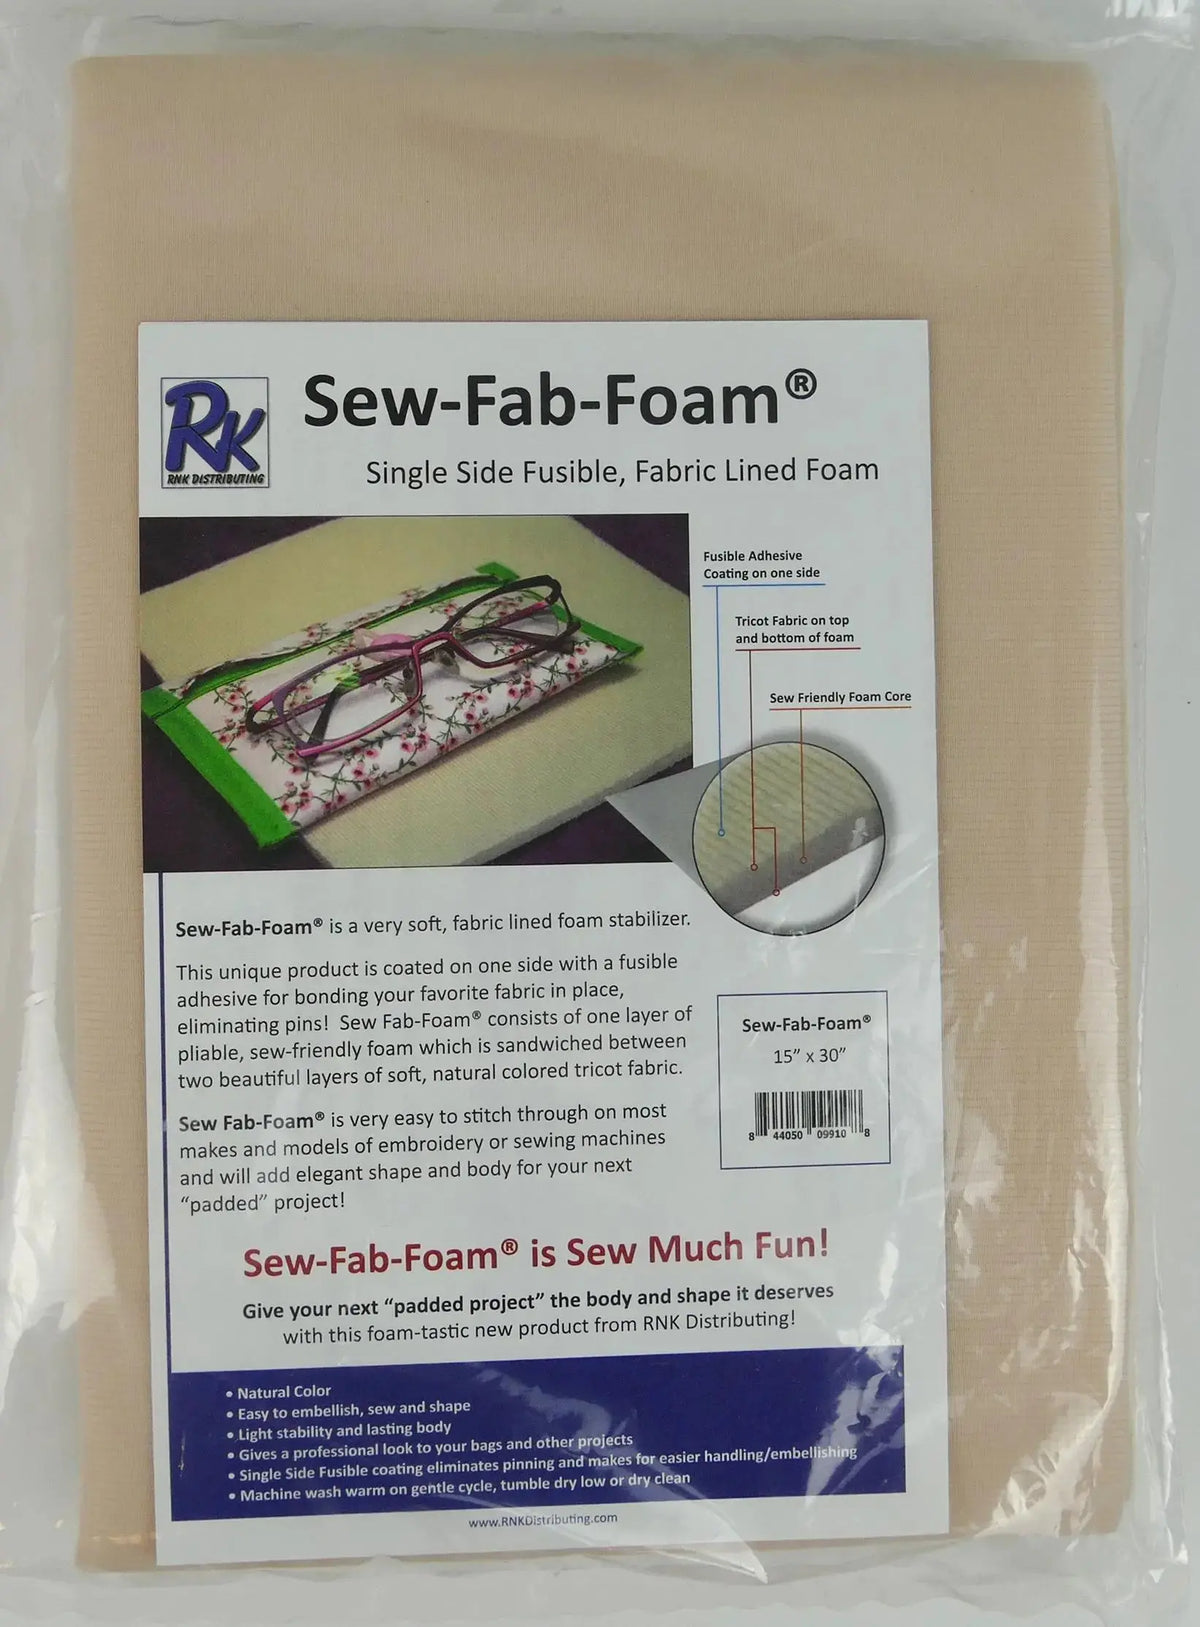
- Single-sided fusible foam stabilizer: 2 pieces, same size
- Binding or extra fabric for a flap or zipper, if you want a closure
- 50-weight cotton thread for piecing and quilting
- 90/14 topstitch or denim needle
- Walking foot, clips, ruler, and a marking pencil
- Optional: 1-inch hook-and-loop tape or a magnetic snap
Measure your real tablet and sketchbook first. Lay the larger one flat. Add 1 inch on each side for seams and padding. Add 1 extra inch in length if you want a flap. Completely up to you.
How to make it
- Cut to your device. Cut outer, lining, batting, and foam all the same size. Square them up. If the sketchbook is taller, size to the sketchbook. The tablet will still fit fine.
- Fuse the foam. Fuse the foam stabilizer to the wrong side of each outer piece. Follow the fusing directions. Press from the fabric side. Let it cool flat before you move it. This is your structure layer.
- Add the batting. Lay batting against the lining for each side. Or lay it behind the foam if you want extra puff on the outside. I put batting on the lining side. That way the soft layer touches the screen.
- Quilt each panel. Sandwich outer plus foam, and lining plus batting, as one panel. Pin or clip. Quilt straight lines 1 to 2 inches apart. A walking foot helps a lot here. Stitch at about 8 to 10 stitches per inch. Slow down over the thick spots or the needle will complain.
- Trim and test the fit. Trim both panels even. Slide the tablet in between the panels. Check the ease. You want snug, not tight. If it pulls, trim your seam plan to 1/4 inch instead of 1/2 inch on the next pass.
- Sew the sleeve. Place panels right sides together. Sew the sides and bottom with a 1/2-inch seam. Use clips, not pins, through the foam. Backstitch at the top edges. Those spots take the most stress.
- Finish the top. Turn right side out through the top. Push the corners out gently. Fold the lining in and bind the top edge, or add your flap. Topstitch 1/8 inch from the edge to lock it all down.
- Add a closure if you like. Sew on hook-and-loop tape or fit a flap with a snap. Test it with both the tablet and the sketchbook inside. Close it. Turn it over. Nothing should slide.
Tips and variations
Quilting density matters. Lines closer than 2 inches keep the foam from curling. They also stop the batting from shifting in the wash.
Want a pocket? Add a divided pocket to the front panel before you quilt. That is perfect for a charging cord or pencils. Interface that pocket piece lightly so the edge stays crisp.
Prefer a zipper? You can add one at the top instead of a flap. Sew it to the bound edge after quilting. Go slow. Let the walking foot do the work.
It does not have to be perfect, y'all. If a quilting line wobbles a little, leave it. You are your own worst critic. Folks will see a really really handy sleeve. Not that one wobbly line.
If I can do this, y'all can do it. Make one for the tablet. Then make a second, slightly wider, just for sketchbooks and notebooks. Super duper useful.
Thanks for sewing along with me today. We'll see you next time. Bye.
Shop RNK Sew-Fab-Foam - Single Fusible 30" x 30" at Linda's Electric Quilters.


