
Hey everyone. Today you'll learn how to turn a simple lap quilt into a fold-up quillow, with a zipper pocket that actually zips shut.
Here we go.
First, let's be honest about this supply
This spotlight is not a cut of yardage fabric.
It's zipper tape. Good zipper tape.
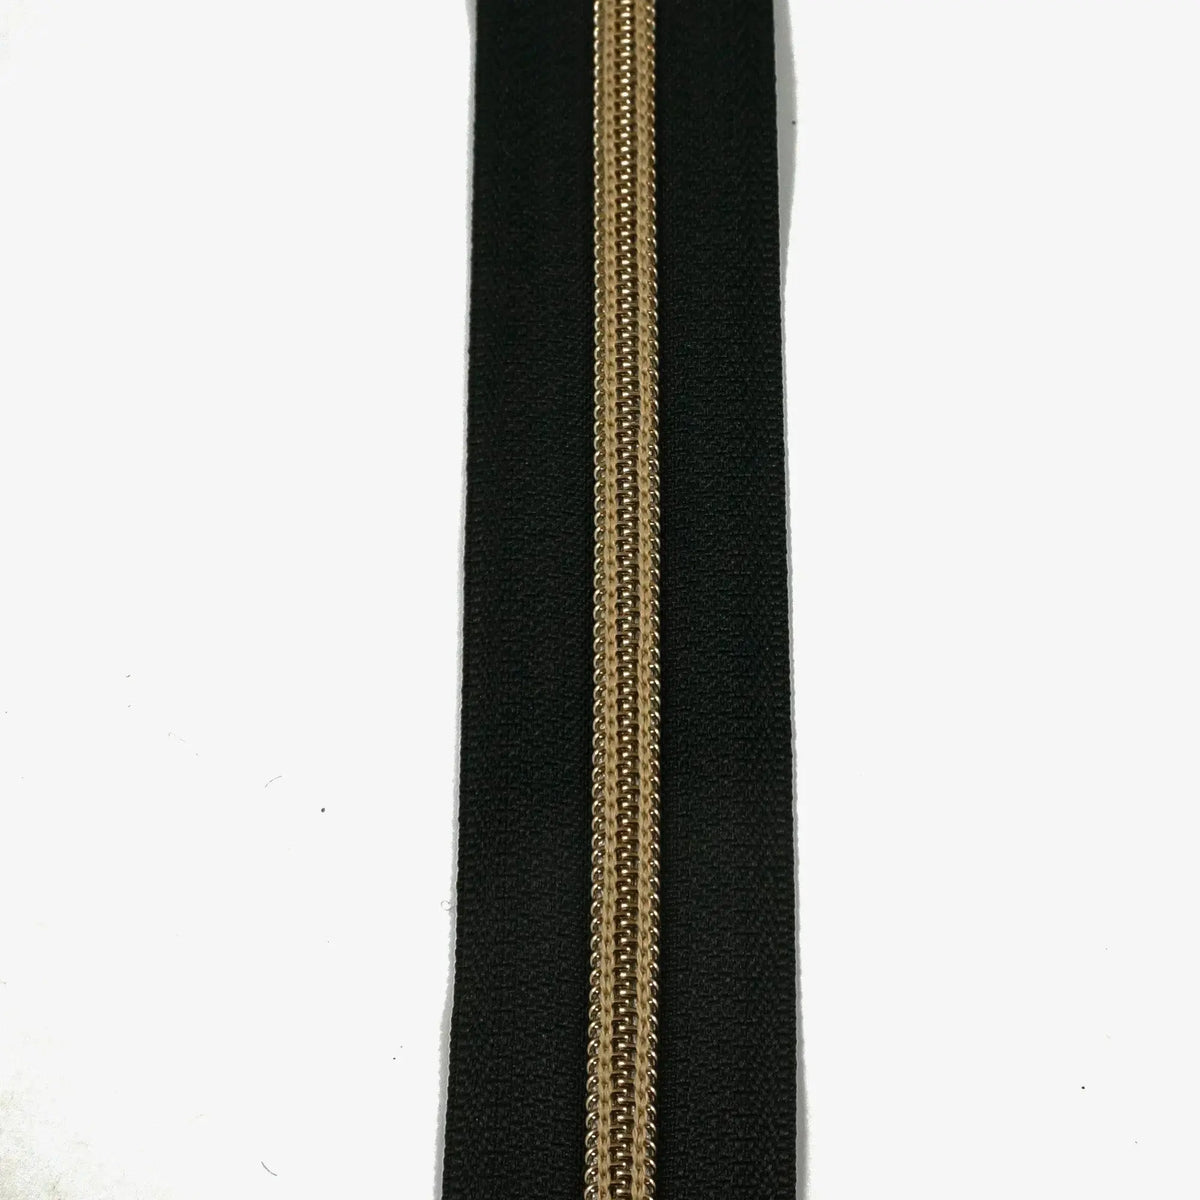
Specifically, it's the #5 Emmaline Zippers-by-the-Yard, in a 3-yard length. The color is black. The teeth have an antique brass look.
Here's what that means for you.
It's a continuous nylon coil. So you cut it as long, or as short, as you need. The tape width is 1 inch. And that nylon coil is easy to sew, even though it looks like metal.
My favorite part? It's two-way.
You can put zipper pulls on from either direction. That lets you make a double-pull zipper if you want one. For this project, one pull is plenty.
One important note, y'all. Pulls are not included. They are sold separately. Grab one #5 pull before you start, and you'll save yourself a mid-project pause. Ask me how I know.
The project: a lap quilt that folds into itself
A quillow is a lap quilt with a pocket on the back.
You fold the quilt. You tuck it into the pocket. Just like that, you have a pillow.
Most quillow pockets just stay open. This one zips shut. So it travels better in the car. It stays tidy on the couch. And nothing spills out in the tote.
Black tape goes with almost anything. The antique brass look dresses it up a little, too. Simple, but really really nice.
We're not reinventing the wheel here. We're just closing the pocket.
Materials list
- One #5 Emmaline Zippers-by-the-Yard pack, 3 yards, black — you'll cut one piece about 18 inches long for the pocket, and save the rest
- One #5 zipper pull, sold separately
- About 1 1/2 to 2 yards of quilting cotton for the quilt top, or enough fabric for a top around 50 by 60 inches
- About 1 3/4 yards of backing fabric
- One extra square of fabric, about 18 by 18 inches, for the quillow pocket
- Batting cut about 52 by 62 inches, so you have a little extra to trim
- All-purpose thread to match, plus a zipper foot for your machine
- Old scissors or tape for cutting the coil — never your good fabric shears
Brief steps
1. Make your lap quilt top. Piece it any way you like. Simple squares are super duper easy here, and completely up to you. Press as you go.
2. Build the pocket first. Take your 18-inch pocket square. Hem the top edge with a 1/4-inch turn, twice. That clean edge is where the zipper will sit.
3. Cut and add the zipper. Cut your zipper tape a little longer than the pocket opening, about 19 inches. Slide your pull on before you trim to final length. Go slow here. Check the pull travels both ways, then stitch the tape along that pocket edge with your zipper foot.
4. Layer and quilt. Layer backing, batting, and top. Quilt it your way — stitch in the ditch, a gentle meander, or straight lines about 2 inches apart all work fine. I like to keep it soft for folding.
5. Attach the pocket. Pin the pocket, zipper side up, centered on the quilt back near one short end. Stitch around the other three sides with a 1/4-inch seam allowance. Backstitch at the corners.
6. Bind it. Trim, bind all the way around, and fold a test run. Fold the sides in thirds, roll or fold toward the pocket, tuck it in, and zip it shut.
Practical tips from my table
Slow down at the zipper. Really. When you stitch near the coil, a steady speed keeps your line straight and your needle happy.
Cut coil with old scissors, folks. Tape the cut ends right away, too. That keeps things from fraying while you work.
Test your zipper pull before the final stitching. Finding out it is on backwards after binding is no fun. I have done it. The seam ripper and I had a little talk.
And here's your permission beat. Your folds do not have to be perfect. Your zipper does not have to be perfect. You're your own worst critic, I promise. Take your time. It's not a race. If I can do this, y'all can do it.
Thanks so much for spending a little time with me today. We'll see you next time. Bye.
Shop the #5 Emmaline Zippers-by-the-Yard 3yds Black Antique Brass Teeth at Linda's Electric Quilters.


