
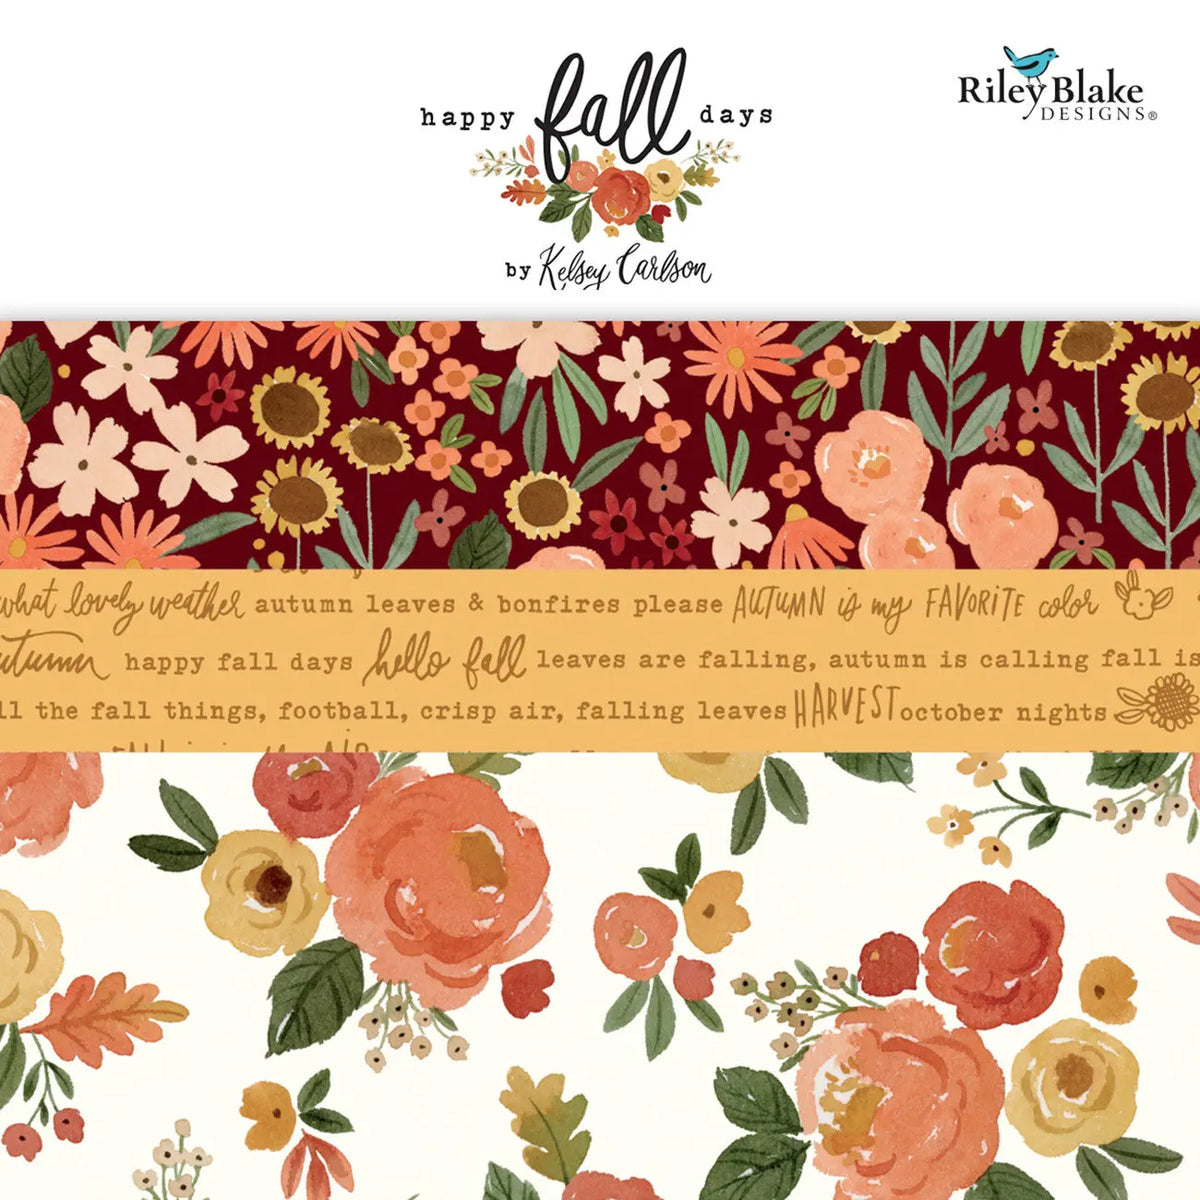
Every crafter has one: a work in progress living in a grocery sack, sliding around the car, losing its pattern pages one by one. A quilted drawstring project bag fixes all of that. It is soft but sturdy, holds a small quilt top, knitting, embroidery, or hand-sewing supplies, and cinches shut so nothing escapes. Make one in fall prints for your own holiday gift-making now, then make a few more to give — with a project tucked inside, they are the gift every maker actually wants.
What You'll Make
A lined, lightly quilted drawstring bag with a flat bottom, finished at roughly 12 inches wide, 13 inches tall, and 4 inches deep — big enough for fat quarters, a pattern, and notions, or a couple of skeins and needles. Two fat quarters make the outside and lining, and fusible fleece gives the bag its cozy body so it stands up on its own. The casing at the top is simple straight stitching, so this is a friendly project for a confident beginner and a satisfying one-afternoon make for anyone else.
Materials
Seven of the eight items below (88%) come straight from Linda's — links included so you can grab exactly what we used. The drawstring itself comes from the craft-store side, explained below.
- Happy Fall Days Fat Quarter Bundle, 21pcs — quilting cotton for the bag outside and lining; pick two contrasting fat quarters per bag, with plenty left in the bundle for a whole gift set
- Floriani Heat N Sta Fleece (Fusible) 45" x 1yd — fusible fleece to back the outside fabric and give the bag its soft structure
- 10000 White Glide Polyester Thread - 5,500 yards King Spool — for piecing, quilting, and the casing; choose a color that blends with your prints
- Olfa Deluxe 45mm Rotary Cutter — for cutting your fat quarters and fleece square and true on a cutting mat
- Pounce Powder Blue — chalk for marking quilting lines and the casing lines before you stitch
- Quilting Corsage Pins — for pinning layers and seams before stitching
- Quilters Perfect Klip It Quilt Binding Clips — to hold the folded casing neatly in place while you sew around the top
- About 2 yards of ¼-inch ribbon, cord, or twill tape for the drawstring, plus a large safety pin to thread it — from most craft stores or your local quilt shop
Steps
- Cut your pieces. From one fat quarter, cut two rectangles 13 x 14 inches for the outside. From a second fat quarter, cut two rectangles the same size for the lining. Cut two pieces of fusible fleece the same size, and press them to the wrong side of the outside pieces following the manufacturer's instructions, using a press cloth and working on a firm surface.
- Quilt the outside. Mark a few simple quilting lines on each outside piece with chalk — straight lines about 2 inches apart, or a simple crosshatch, are plenty. Stitch along the lines, then trim both pieces back to a neat 13 x 14 inches.
- Sew the outside bag. Place the outside pieces right sides together, pin, and stitch the sides and bottom with a ½-inch seam, leaving the top open. Backstitch at the start and end of each seam.
- Box the corners. Flatten one bottom corner so the side seam lines up with the bottom seam, forming a point. Measure 2 inches in from the point along the seam and stitch straight across. Trim the point off about ¼ inch beyond your stitching. Repeat on the other corner — now the bag has a flat bottom.
- Sew the lining. Repeat steps 3 and 4 with the lining pieces, but leave a 4-inch opening unstitched in the middle of the bottom seam — you will turn the bag through it later.
- Join lining and outside. Turn the outside bag right side out and slip it inside the lining, so right sides are together and the top edges and side seams match. Pin or clip around the top and stitch all the way around with a ½-inch seam.
- Turn and finish the top. Turn the whole bag right side out through the opening in the lining, then stitch that opening closed close to the edge. Push the lining down inside the bag and press the top edge flat so the seam sits neatly on the edge.
- Make the casing. Mark two lines around the bag, 1 inch and 1¾ inches below the top edge, with chalk. Stitch on both lines all the way around, forming a channel. On one side seam, carefully open a few stitches between the two lines with a seam ripper — that small gap is the drawstring opening — and secure the threads at each end of the gap.
- Add the drawstring. Cut your ribbon or cord into two equal lengths. Clip the safety pin to one end of the first length, thread it all the way around the casing and back out the same gap, and tie the ends together in a secure knot. Thread the second length starting from the opposite side the same way and knot it too. Pulling both knots cinches the bag closed from both sides.
Tips
Press as you go — a crisp top edge and flat boxed corners are what make this simple bag look store-bought. Keep the quilting simple; dense quilting makes the casing stiff and harder to gather. If the bag will carry knitting needles or tools with points, know that quilting cotton and fleece are soft protection, not puncture-proof — point protectors from most craft stores are a smart add-on. For gifts, roll a fat quarter or two inside the bag before you cinch it, and tie a gift tag to one drawstring knot. Wash the finished bag gently and lay it flat to dry so the fleece keeps its shape.
Where to Get Everything
Start at Linda's: the Happy Fall Days fat quarter bundle for the fabric, Floriani fusible fleece for the body, White Glide thread, the Olfa rotary cutter, Pounce Powder for marking, corsage pins, and the Klip It clips — 88% of the list. For the rest, ¼-inch ribbon, cord, or twill tape and a large safety pin come from most craft stores or your local quilt shop — and a sturdy shoelace or a strip of leftover fabric makes a perfectly good drawstring in a pinch.


