
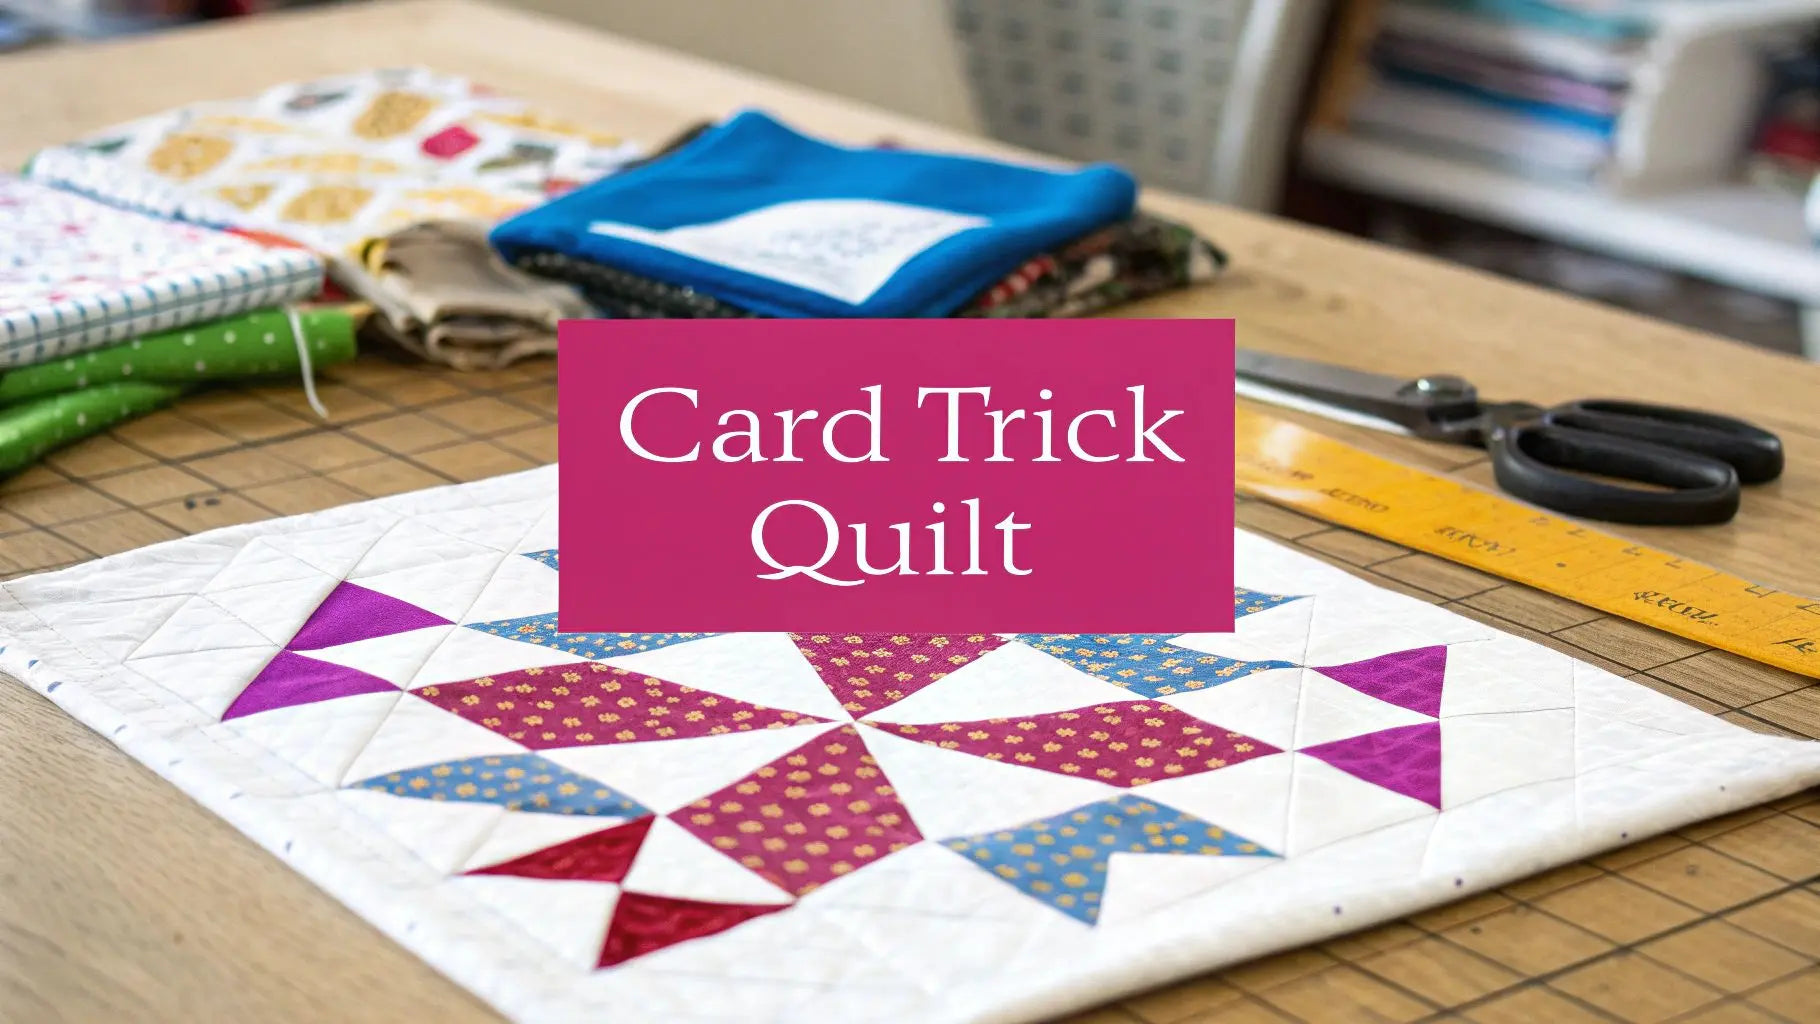
Your Guide to the Card Trick Quilt Pattern
Your Guide to the Card Trick Quilt Pattern: At its heart, the Card Trick quilt pattern is all about creating a stunning optical illusion. It cleverly uses a simple nine-patch block to give the appearance of interwoven cards, but the real magic comes from its construction. The entire block is built from half-square triangles and quarter-square triangles, arranged to look far more complicated than it actually is.
This classic design is a fantastic educational project for any quilter ready to elevate their precise piecing skills. Completing a Card Trick quilt will build confidence and leave you with a show-stopping piece.
Demystifying the Card Trick Quilt
At first glance, a Card Trick quilt can look intimidating, but its beauty is in its surprisingly straightforward construction. The entire design comes down to the careful placement of your colors and some strategically assembled triangle units. It's the perfect example of how basic geometric shapes can create something dynamic and visually complex.
This pattern is a serious skill-builder. When you focus on accurate cutting and keeping those seam allowances consistent, you'll create sharp, professional-looking blocks that totally trick the eye. For anyone wanting to grow their skills, tackling a pattern like this is one of the essential quilt projects for every skill level.
The Anatomy of the Block
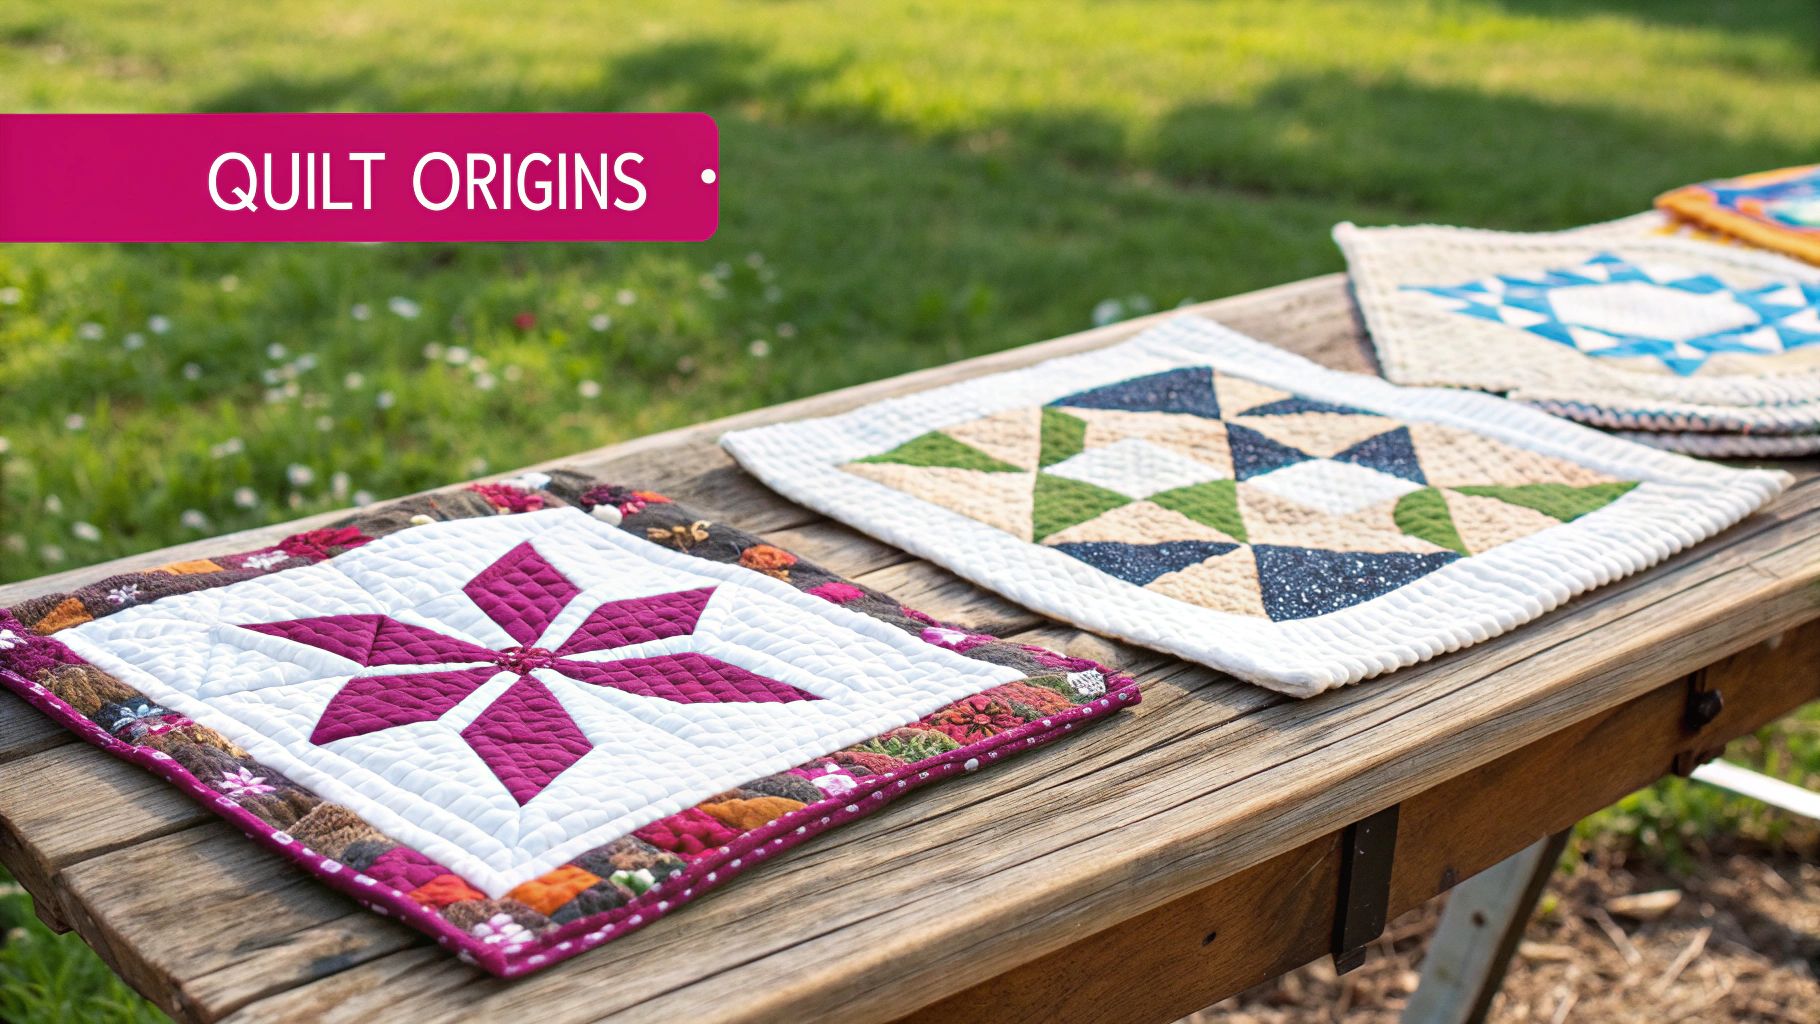
The Card Trick pattern, also known as Winning Hand, became popular in the mid-20th century. Its famous illusion comes from a specific formula within a 3x3 grid: four half-square triangles, four quarter-square triangles, and one special quarter-square triangle unit right in the center.
It's this clever arrangement that makes the "cards" look like they're overlapping. This educational journey into precision piecing is as much about history as it is about technique.
Key Takeaway: The secret here isn't learning complex new sewing techniques. It's all in the precise arrangement of simple triangle pieces. Your fabric and color choices, which you can find at Linda's, do the heavy lifting to create that amazing interwoven effect.
Essential Tools for Success
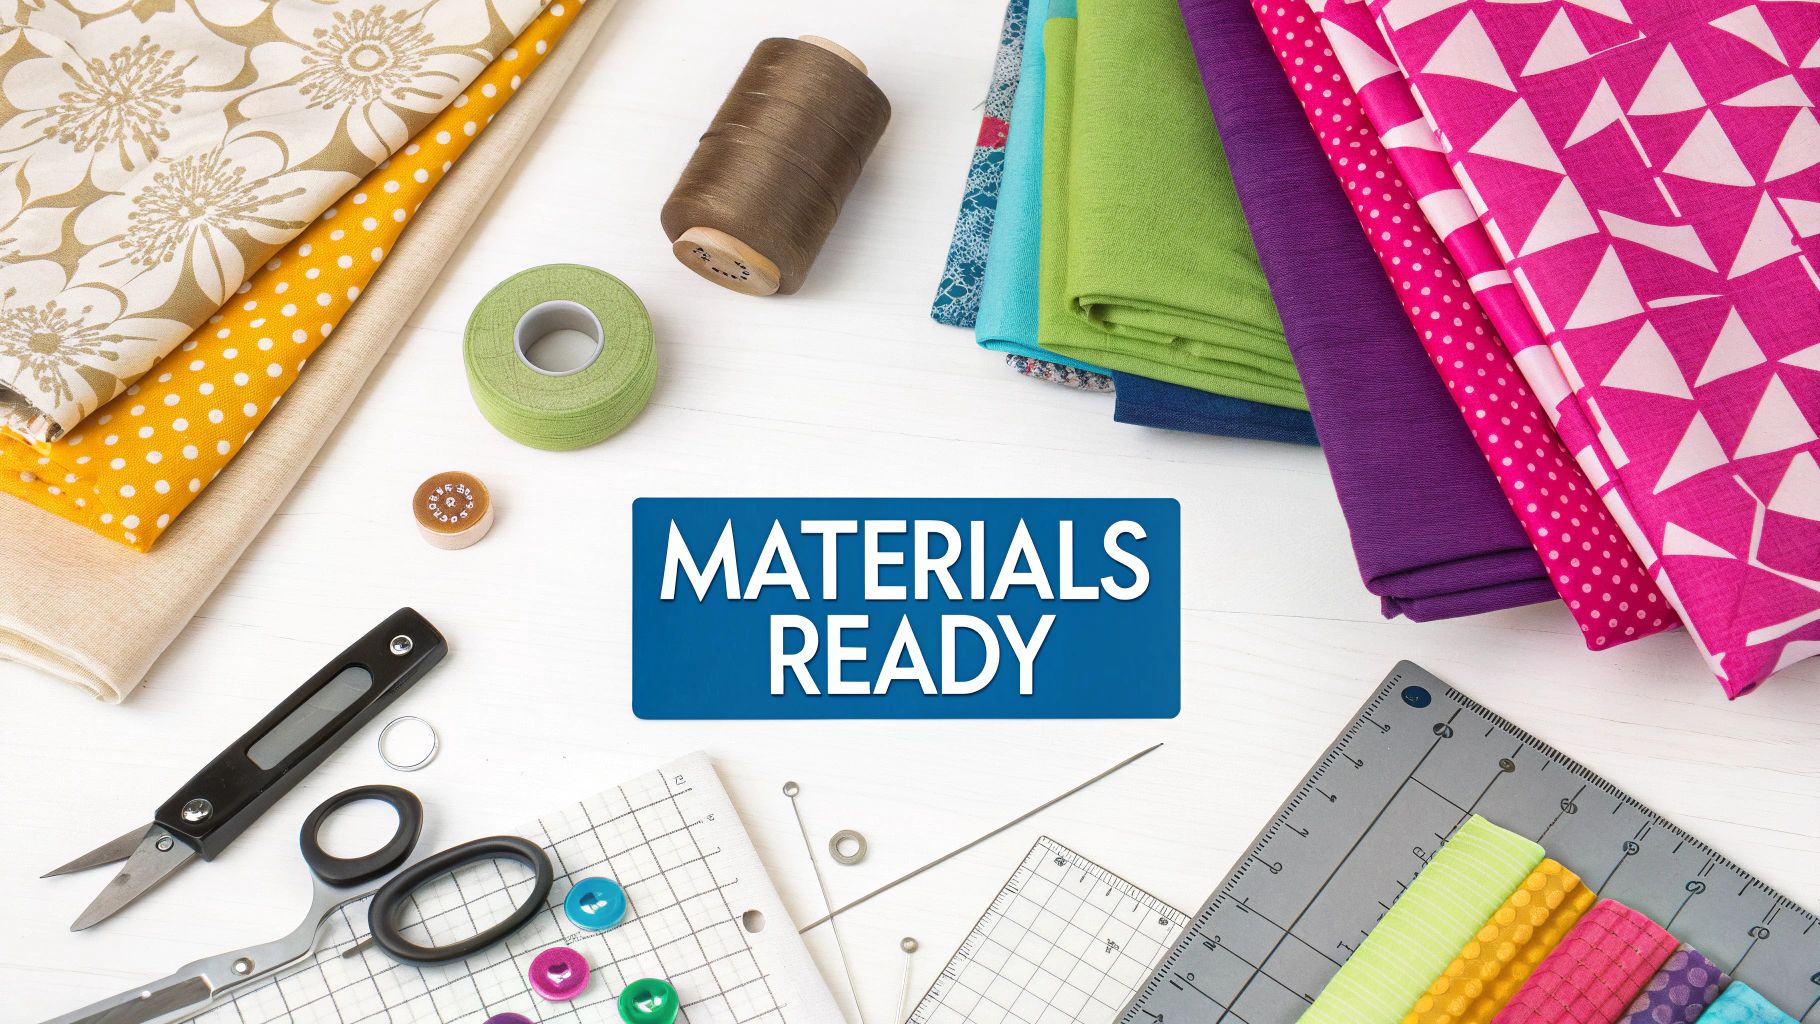
Before cutting into that beautiful fabric, let's ensure your toolbox is ready for the project. Gathering the right tools first will make the entire process smoother and more enjoyable. Having these items from Linda's ready to go ensures your cuts are accurate and your piecing is precise from the very first stitch.
- Rotary Cutter and Mat: These are non-negotiable for clean, straight cuts. A sharp blade makes all the difference in achieving professional results.
- Acrylic Rulers: A 6" x 24" ruler is a go-to for cutting long strips, and a smaller square ruler (like a 6.5" or 12.5") is perfect for trimming your triangle units.
- Quality Quilting Fabric: This is the foundation of your quilt! You can find a stunning selection of cottons perfect for this pattern right here at Linda's.
- Sewing Machine with a 1/4" Foot: If you have one, use it! This foot makes sewing a consistently accurate seam allowance practically effortless, which is crucial for this pattern.
Choosing Fabrics for Maximum Visual Impact
The real magic behind a jaw-dropping Card Trick quilt isn't just about nailing your points—it’s all in the fabrics you choose. That signature interwoven look lives and dies by the contrast you create.
To pull off the illusion, you'll need four different fabrics: one for your background and three distinct "card" fabrics. Your main goal here is to pick three card fabrics that not only pop against the background but also stand out clearly from each other. Think of them as individual performers on a stage; each one needs its own spotlight.
Building Your Color Palette
The simplest, most foolproof way to get that pop is to start with a very light background—a crisp white or a gentle cream always works beautifully. Then, pair it with three medium-to-dark fabrics for your cards. This high-contrast method is what makes the "cards" jump out and creates that incredible dynamic effect.
When you're choosing the card fabrics, small-scale prints, solids, or blenders are your best friends. Larger, busier prints can sometimes swallow up the piecing, and you'll lose that intricate, woven look you worked so hard to create.
My Go-To Trick: When in doubt, lay your fabrics out side-by-side and snap a quick black-and-white photo with your phone. It’s a game-changer! By stripping away the color, you can instantly see if you have enough value contrast to make the design sing.
If you want to skip the guesswork, we've done the work for you! We put together some gorgeous Card Trick Quilt Fabric Bundles at Linda's that have perfectly coordinated colors ready to go.
Fabric Requirements Guide
Wondering how much fabric to buy? This handy chart outlines the needs for a lovely 48" x 60" lap-sized quilt, a fantastic starting point. You can easily adjust these numbers up or down depending on the size of your final project.
Fabric Requirements for Card Trick Quilt (Lap Size - 48" x 60")
This table provides the yardage you'll need for a lap quilt made with 12-inch finished Card Trick blocks. All recommended fabrics are available at Linda's to help you finish your project.
| Fabric Type | Yardage Needed | Recommended from Linda's |
|---|---|---|
| Background | 1.5 yards | Moda Bella Solids in White |
| Card Fabric 1 | 0.75 yard | Ruby Star Society Speckled |
| Card Fabric 2 | 0.75 yard | Tilda Blender Collection |
| Card Fabric 3 | 0.75 yard | Kona Cotton Solids |
| Binding | 0.5 yard | Coordinate with Card Fabrics |
| Backing | 3.25 yards | Choose a fun print! |
These are some of our favorite fabric lines that have the perfect texture and color depth for this pattern, but feel free to explore our vast selection at Linda's to find combinations that speak to you!
Creating Perfect Triangle Units
Alright, this is where the magic really starts. Your beautiful fabric choices are about to become the building blocks of your quilt. The Card Trick block is constructed entirely from Half-Square Triangles (HSTs) and Quarter-Square Triangles (QSTs), so mastering these two units is everything.
Accuracy is your best friend here. Taking extra time to create precise, perfectly-sized units will save you frustration later. It's the difference between points that match up flawlessly and a block that fights you every step of the way.
The Two-at-a-Time HST Method
For the Half-Square Triangles, we’ll use the two-at-a-time method. It’s a favorite for a reason—it’s fast, accurate, and cuts down on fabric waste. Plus, it helps keep those tricky bias edges stable and prevents them from stretching.
Here’s the step-by-step process:
- Mark Your Line: Grab one of your lighter background squares and draw a single diagonal line on the wrong side, from one corner to the other. A good fabric pen that won't bleed is a must.
- Sew the Seams: Place this marked square right-sides-together with one of your colored "card" fabric squares. You’re going to sew a scant 1/4" seam on both sides of the line you drew. Don't sew on the line!
- Cut and Press: Now, carefully cut right on your drawn line. Just like that, you've got two identical HST units! Press your seams open or toward the darker fabric, and they're ready for trimming.
Pro Tip: Trimming your HST units to their exact unfinished size before you sew them into the block is non-negotiable for crisp points. A quality square ruler from Linda's is worth its weight in gold for this step.
Conquering Quarter-Square Triangles
Next up are the Quarter-Square Triangles, which form the center and corners of the block to create that classic interwoven look. These units bring three different fabrics together, so careful alignment is the name of the game. It's this detail that really makes the block pop!
This pattern’s adaptability is a big reason for its enduring charm. It's fantastic for scrap-busting and works with countless color combinations. In fact, commercial pattern sellers often report that Card Trick patterns are consistently among the top 20 most popular traditional block downloads. If you want to dive deeper and really nail your piecing, you can elevate your quilting craft with advanced techniques that apply perfectly to this project.
Assembling the Card Trick Quilt Block
With all your triangles cut and trimmed, we're at the fun part—watching the Card Trick block come together. This is where the magic starts to happen as those nine pieces create that classic woven look.
Lay out your nine units on your cutting mat or a design board, arranging them to match the block diagram. You'll have four Half-Square Triangles, four Quarter-Square Triangles, and that final QST for the very center. Take a moment here to double-check that every piece is pointing in the right direction. This layout is the blueprint for the whole illusion.
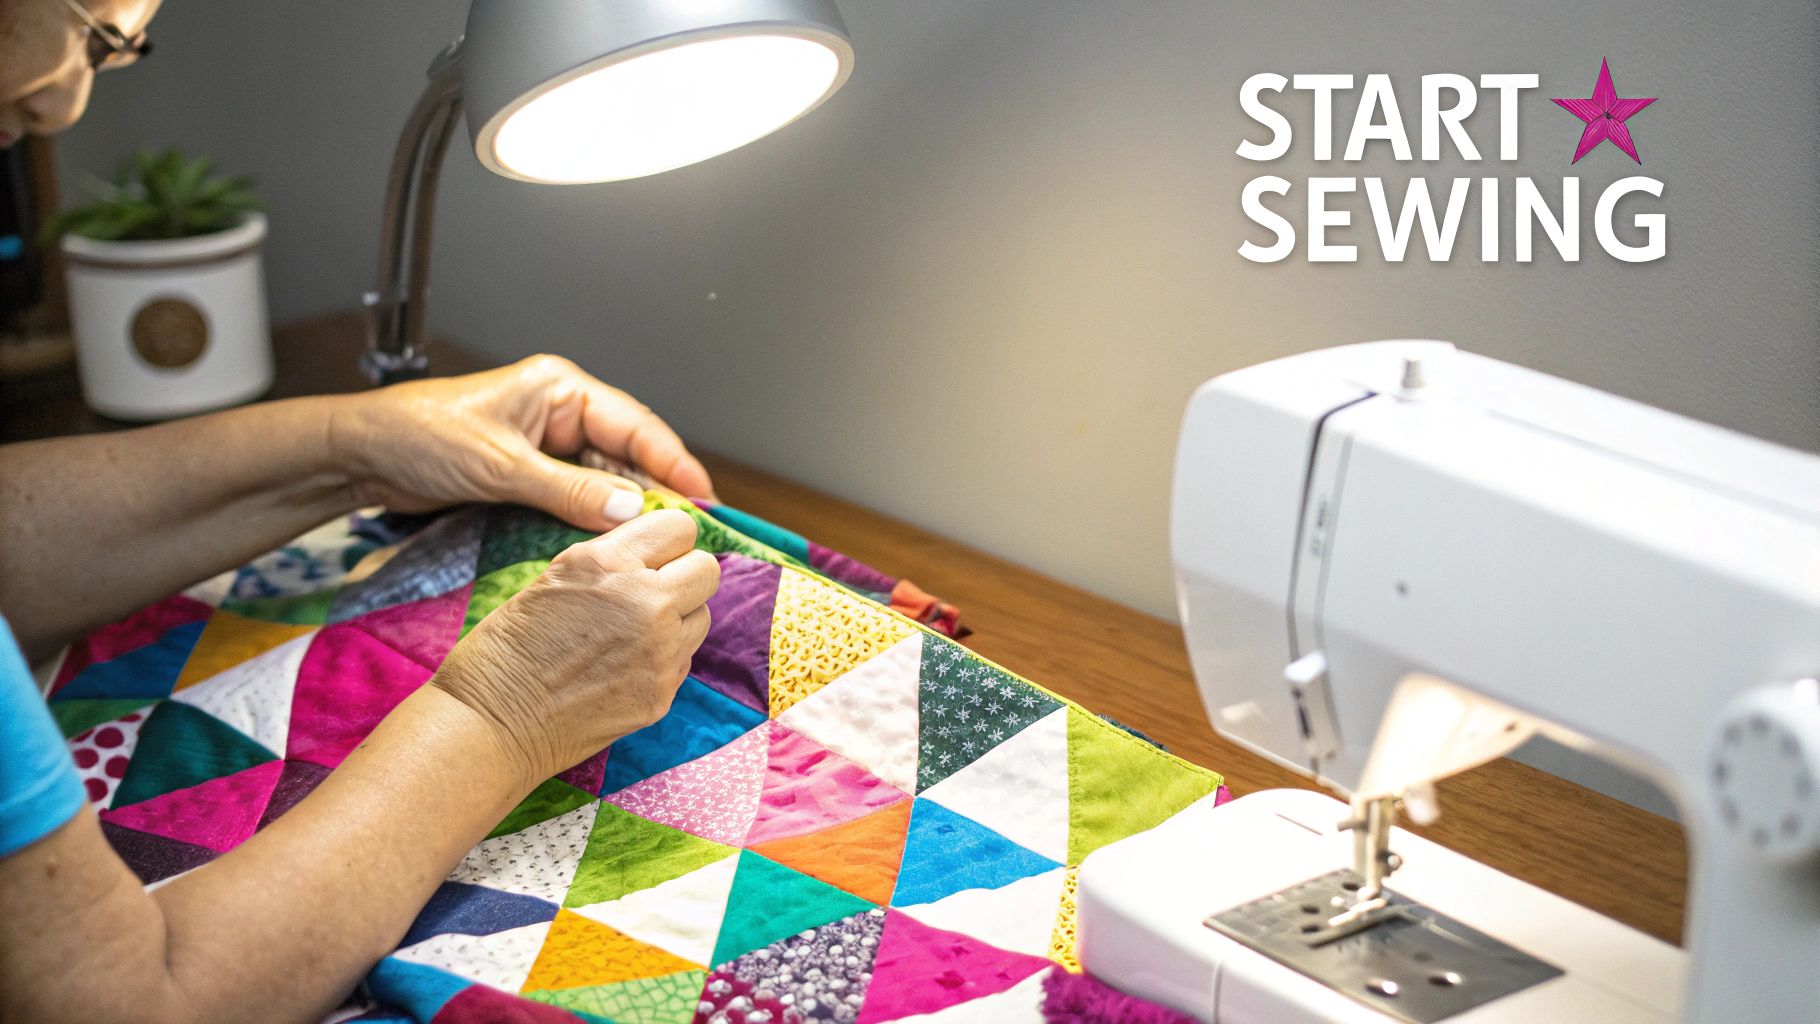
Sewing The Block Together
Now, let's get sewing. The goal is to stitch these units into three separate rows. As you sew the pieces in each row, make sure you're using a consistent, scant 1/4" seam allowance. Being precise now is what will make all your points line up beautifully later on.
Once you’ve sewn the units into rows, it’s time to press the seams. This step is more than just flattening the fabric; it's the secret to getting your rows to join together perfectly.
Pro Tip: How you press your seams is just as critical as how you sew them. By pressing the seams of alternating rows in opposite directions, you allow them to "nest" together. This simple technique is the key to getting those super crisp, professional-looking points where your fabrics meet.
Here’s a visual to help you see how everything should come together.

Pressing Your Seams For Perfect Points
To make this super clear, here is a quick guide for pressing. Following this will ensure your seams nest perfectly when you join the rows.
Card Trick Block Pressing Guide
| Row | Seam Pressing Direction | Reasoning |
|---|---|---|
| 1 | Press seams outward. | The seams of the end units will be pressed toward the corner HSTs. |
| 2 | Press seams inward. | The seams of the outer units will be pressed toward the center QST. This is the opposite of Rows 1 and 3, allowing for perfect nesting. |
| 3 | Press seams outward. | Just like Row 1, the seams of the end units will be pressed toward the corner HSTs, creating the opposition needed to nest against the middle row. |
This method creates a "lock" when you line up your rows, minimizing bulk and keeping your points sharp.
Once your three rows are sewn and pressed, carefully align the top row with the middle row, feeling for those nested seams. Sew them together, and then do the exact same thing with the bottom row.
Give your finished block one last, gentle press. Be careful not to slide the iron around, as that can stretch and warp the block. Instead, use a gentle up-and-down motion. Keeping things square is so important, and if you find things are getting a little wonky, check out our guide on what to do if your customer’s quilt top is not square.
Finishing Your Quilt with a Professional Touch
You've got a beautiful stack of completed blocks, and now for the satisfying part. This is where all that careful work comes together into a stunning quilt top, just waiting for the final steps to become a finished quilt.
First, decide how to arrange your blocks. You could set them side-by-side for a seamless look, or you might add sashing in between. Sashing is great for framing each block, giving the design "breathing room" and offering another chance to add a pop of color with coordinating fabric from Linda's.
Preparing for Quilting
With your layout decided, it's time to build your quilt sandwich: the quilt top, the batting, and your backing fabric. The batting you pick is a huge decision because it dictates the quilt's warmth, drape, and the final quilted texture.
Key Insight: Don’t underestimate the power of the right batting and backing. These choices are just as important as your fabric selections for the quilt top, defining the final texture and feel of your finished project.
Choosing the perfect materials is simple with Linda's extensive collection. We carry everything from cozy cotton to sleek polyester batting, so you can find exactly what your project needs. For a deep dive, check out our complete guide to batting choices for the passionate quilter to find your perfect match.
Modern Takes on a Classic Pattern
As you're finishing up, it’s fun to think about how this classic pattern keeps evolving. Modern quilters have found new ways to streamline the Card Trick block construction.
For example, Foundation Paper Piecing (FPP) has become really popular. It simplifies the whole process by letting you sew fabric directly over printed paper templates. This really boosts your accuracy and cuts down on fabric waste. If you're curious, you can see how it works in this helpful FPP overview video on YouTube.
Finally, baste your layers together securely to prevent shifting while you quilt. Whether you're planning simple straight lines or a more elaborate free-motion design, this step secures all three layers and adds that beautiful final texture. Add a crisp binding using our amazing tools and fabrics, and your gorgeous Card Trick quilt is officially done!
Common Questions About the Card Trick Pattern
Even a timeless pattern like the Card Trick can pose a few questions. Let's walk through some of the queries we hear all the time from quilters starting this fun and educational project.
Is This Pattern Good for a Beginner?
Absolutely! This is the perfect project for a "confident beginner." The whole quilt is made from simple triangle units, but the key to success is being precise with your cutting and sewing.
If you've tackled a few projects with half-square triangles and you're comfortable keeping a consistent 1/4" seam, you're more than ready to give this a go.
Here's a pro tip: If you're nervous, start with a bigger block size, like 12 inches. It's more forgiving and gives you room to get the hang of the technique without fumbling with tiny, stressful pieces.
What Is the Best Way to Choose Fabrics?
Contrast is the name of the game here. For the "trick" to work, you need one background fabric and three "card" fabrics that all pop against the background and each other.
The easiest formula is a light, neutral background paired with three different medium-to-dark fabrics for the cards. We usually recommend small-scale prints or solids because big, busy prints can get lost and muddy the cool interwoven effect. Find the perfect combination in the fabric collections at Linda's!
How Can I Make My Points Match Perfectly?
Oh, the dreaded mismatched point! It happens to everyone, but it's totally fixable. The secret isn't in the sewing as much as it is in the prep work.
First, always trim your triangle units down to the exact size before you sew them together. Second, press your seams in opposite directions so they "nest" or lock together when you line them up. This simple trick almost forces them into perfect alignment. It's a game-changer.
Once you’ve put all the pieces together, you'll have a stunning quilt top that's sure to impress. Quilts like this are always a hit for special occasions! For more inspiration, check out our thoughts on why quilts make the best gifts.
Ready to bring your Card Trick quilt to life with the perfect fabrics, threads, and batting? At Linda's Electric Quilters, we have over 30,000 products to help you complete your masterpiece. Shop our amazing selection today!


