
Episode 11: Make Beautiful Quilt Sashings with Applique
Episode 11: Make Beautiful Quilt Sashings with Applique: In this episode, we’re diving into some essential quilting techniques, focusing on cutting, positioning, and applique! First, we start by measuring and cutting our fabric pieces, ensuring everything fits perfectly with a quarter-inch gap between each piece. I’ll walk you through how to position your pieces carefully using a ruler and sharp tools for precision.
Companion Notes: Placing Applique on Sashings
Appliqued sashing turns the "joining" part of the quilt into a design feature: vines, leaves, and motifs that wander across the seams and make the whole top look planned from the start. This episode focuses on the discipline behind the pretty — measuring, cutting, and positioning every piece before a single stitch is sewn.
Positioning habits that make applique behave
- Work to a measured grid. Pauline leaves a consistent quarter-inch gap between pieces — that small, even breathing room is what makes scattered motifs look intentional instead of random. Mark your placement points with a ruler rather than judging by eye.
- Cut with sharp tools. Applique edges are visible edges. A fresh rotary blade or sharp scissors prevent the frayed, nibbled look that no stitch can rescue.
- Audition the whole arrangement first. Lay out every piece on the sashing before fusing or pinning anything down. Photograph it with your phone — the camera catches lopsided spacing your eyes excuse.
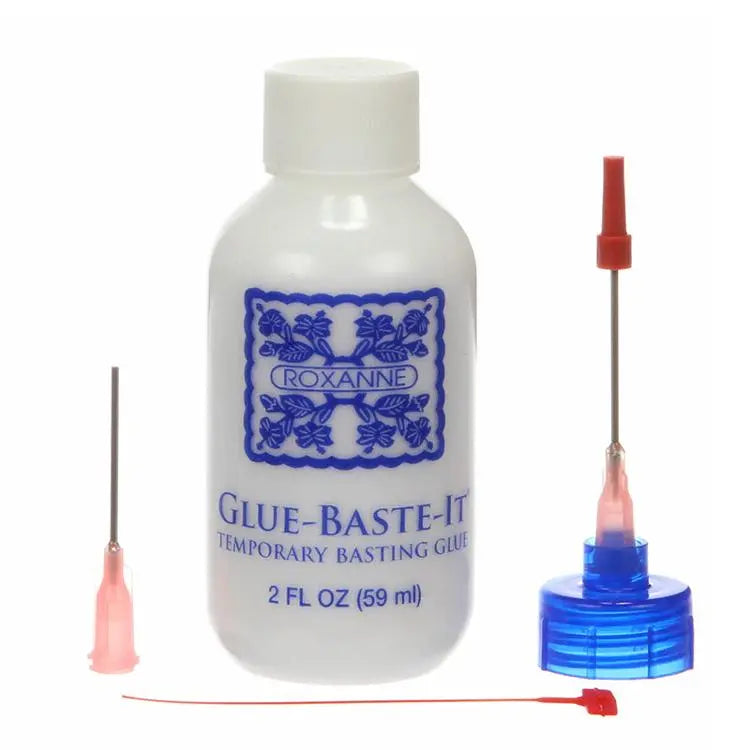
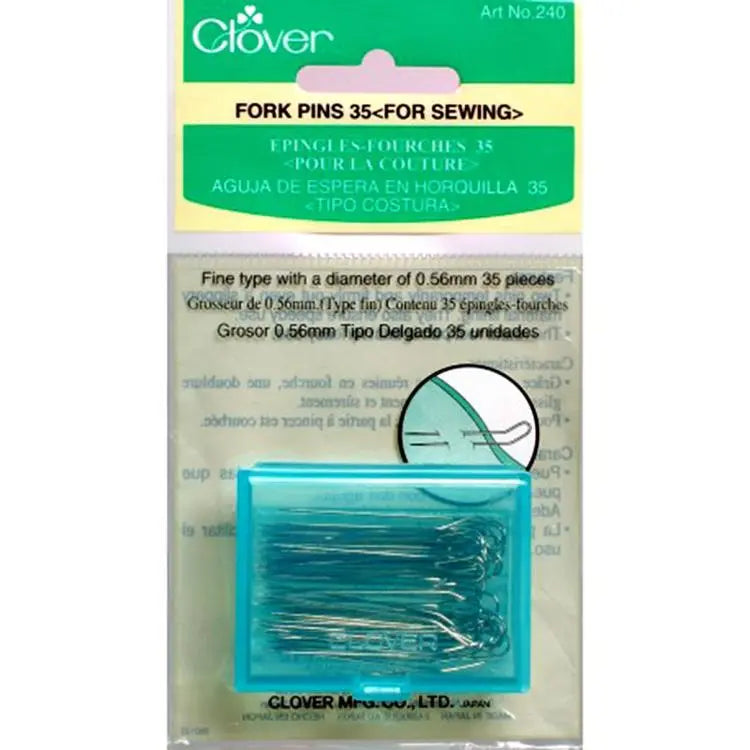
- Secure, then stitch. Pieces that shift mid-stitch pucker. A light fusible, a glue dot, or careful pinning keeps each motif exactly where you positioned it.
- Mind the joins. When a motif crosses from sashing onto a block, align it across the seam before securing — applique that flows over joins is what unifies a quilt-as-you-go top.
Once your first appliqued sashing is stitched, the plain sashings from Episode 10 will look like a blank canvas. Many quilters go back and add a leaf or two to earlier rows — the technique invites it.