
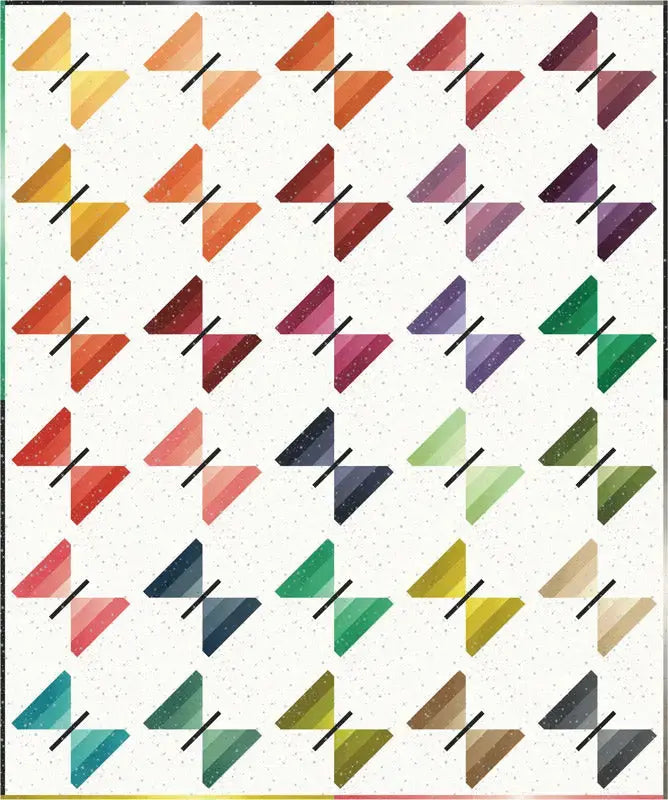
How One Ombre Strip Becomes a Butterfly Wing
A good jelly roll quilt lets color do the designing. The Ombre Fairy Dust Quilt Kit, built around Vanessa of V and Co.'s Ombre Fairy Dust Metallic line, makes the Flutter quilt, where the gradual color shift in each ombre strip becomes the shading on butterfly wings. Instead of hunting for fabrics that fade convincingly from light to dark, you start with strips where that gradient is already dyed in.
What This Kit Makes
The finished quilt measures 74 inches by 79 inches. That is a generous throw-to-bed size: large enough to spread across a bed as a topper or to share on a sofa, and substantial enough that the butterfly design has room to repeat and read clearly across the surface. This is a jelly roll quilt, meaning the piecing is built from narrow 2.5-inch strips. The strip format keeps the construction orderly even at this size — you work in manageable units, then assemble them into the full Flutter design.
The style hinges on the ombre effect. Because each strip moves through a range of tones, a wing cut from a single strip carries natural light and shadow with it. That is what gives the finished butterflies dimension without requiring appliqué, shading with thread, or extra fabric changes mid-block.
What's Included — and What You Still Need
The kit includes fabric for the quilt top and binding, the Flutter pattern (Pattern VC 1269), and the special ruler (NHS 517) used to cut the wing pieces. That ruler matters more than it might sound: the description explains that with it, you cut all the wing pieces out of one 2.5-inch strip of the Ombre Jelly Roll. Having the exact tool in the box removes the usual kit risk of reaching the cutting stage and discovering you need a specialty template you do not own.
Backing fabric is not listed among the included items, so plan to choose that separately, along with batting and thread. A backing that supports rather than competes with the ombre colors is a safe direction — and buying it before you finish the top lets you move straight into layering and quilting. The kit arrives in a box measuring 10 inches by 11.5 inches by 3 inches.
Skill Level and Time
The description does not assign this kit a formal skill rating, so judge it by its techniques instead: accurate strip cutting with a specialty ruler, consistent seams, and assembling repeated wing units into a large top. If you are comfortable sewing straight seams and following a pattern step by step, the ruler does much of the hard shaping work for you. If you are newer to quilting, the main learning curve is simply working carefully at a larger finished size.
Plan this as a multi-session project rather than a single afternoon. Cutting the wing pieces deserves one unhurried session, piecing the units another, and assembly, quilting, and binding will each take their own time on a 74-by-79-inch quilt.
Tips for Success with Ombre Strips
Protect the gradient. Before cutting, lay each strip out and note which end is lightest and which is darkest, and keep your strips in a consistent orientation. A wing cut in the wrong direction will still sew together, but its shading will run opposite to its neighbors and break the effect.
Label as you cut. Because all the wing pieces come from a single strip width, pieces can look similar once they leave the cutting table. Stack each unit's pieces together, label them, and photograph your layout before you start sewing. Finally, test the ruler on a scrap strip first: a few practice cuts teach you exactly how it sits on the fabric, so the real ombre strips are cut right the first time.
Shop the Ombre Fairy Dust Quilt Kit at Linda's Electric Quilters.


