
How to Clean a Wool Pressing Mat: Tips for Using the Wool Mat Cleaning Tool
A wool pressing mat helps you get crisp, flat seams, but it also collects everything your projects leave behind — stray threads, lint, pet hair, and other debris. The Wool Mat Cleaning Tool from Gypsy Quilter is a simple, battery-free way to sweep that buildup away and keep your mat looking like new.
What This Tool Is
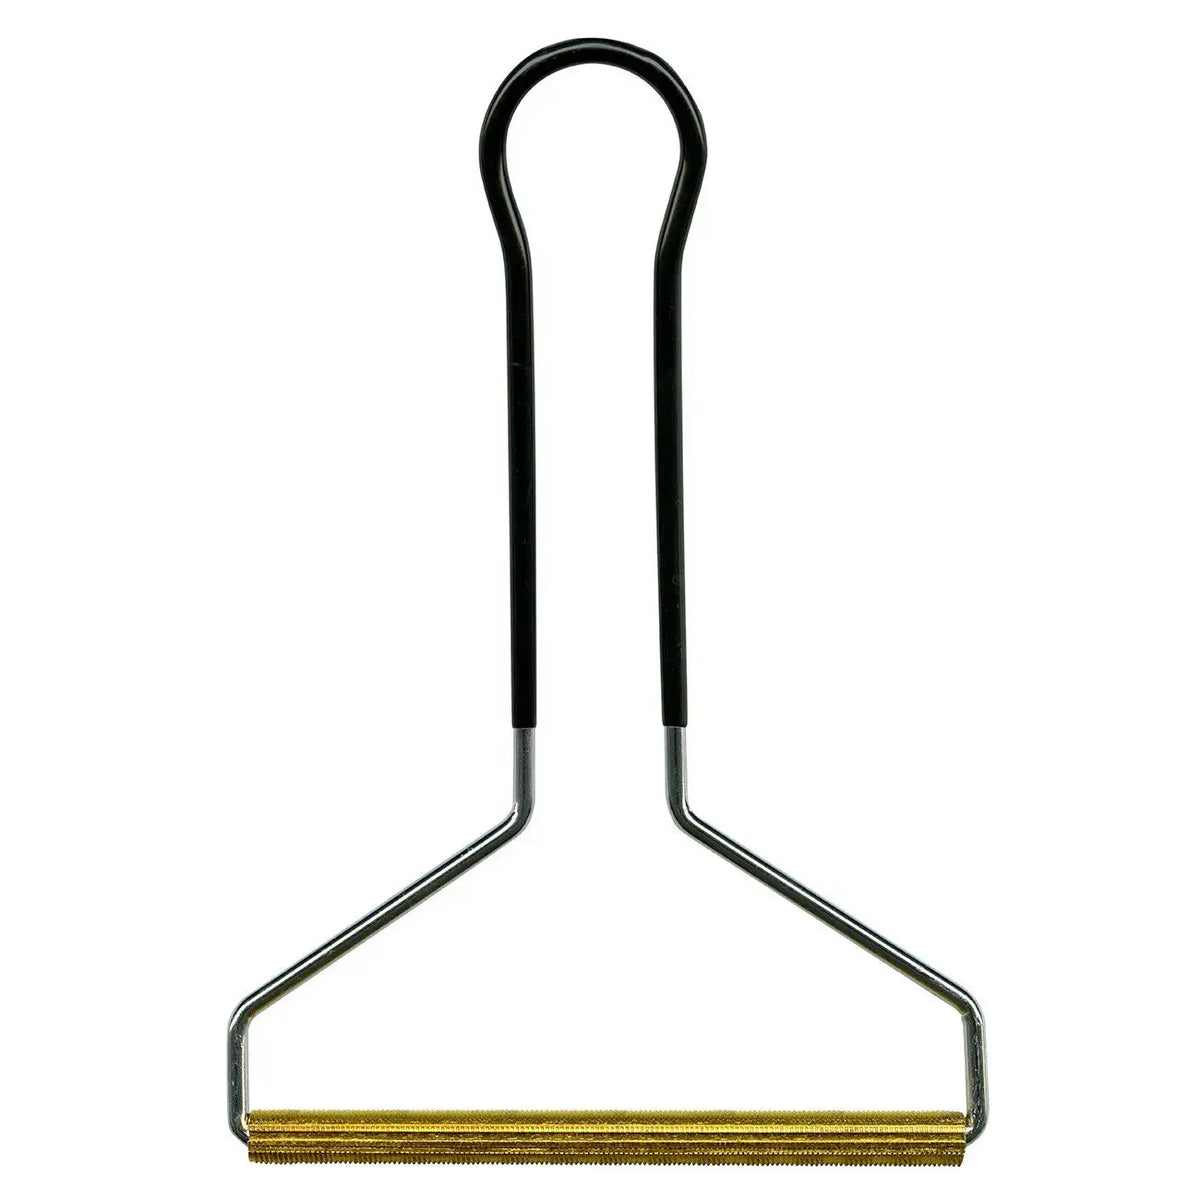
The Wool Mat Cleaning Tool features a cylindrical cleaning blade that you drag across the surface of your wool mat to remove stray threads, lint, pet hair, and debris. The blade measures 4-1/2 inches long and 3/8 inch in diameter, and it is double-sided, giving you 4-1/2 inches of cleaning surface. That makes it easy to clean even large wool mats quickly and efficiently.
The tool measures 7 inches by 4-3/4 inches overall, with a handle 4-3/4 inches by 1-1/8 inches. It is made of metal for durability, and the handle has a non-slip grip so you can maintain a firm, comfortable hold. Best of all, it does not require any batteries, making it an eco-friendly and cost-effective choice.
Why Quilters and Sewists Use It
- A cleaner pressing surface: Threads and lint left on a mat can be pressed right back onto your next block. A quick pass clears the surface first.
- Fast on large mats: The 4-1/2-inch double-sided blade covers a lot of ground with each stroke.
- Comfortable control: The non-slip grip helps you keep steady pressure without the tool twisting in your hand.
- Built to last: Metal construction means this is a durable tool, not a disposable lint roller you keep replacing.
How to Use It, Step by Step
- Start with a cool mat: Let your wool mat cool completely after pressing, and work on a flat, stable surface.
- Hold the tool by the grip: Take hold of the non-slip handle so the cylindrical blade sits against the mat.
- Drag the blade across the surface: Pull the blade across the mat in smooth strokes. It gathers stray threads, lint, pet hair, and debris as it goes.
- Work in sections: Move across the whole mat systematically, overlapping strokes slightly so no patch is missed.
- Clear away what you collected: Lift off the gathered threads and lint and discard them, then check for anything left behind.
Practical Tips
Make cleaning a habit rather than a rescue mission. A quick pass at the end of a pressing session — especially after trimming blocks, when loose threads multiply — keeps buildup from building up over time. Use steady, even strokes rather than pressing down hard; the blade is designed to do the work as it drags. If you share your sewing space with a cat or dog, you will also appreciate how readily it picks up pet hair along with thread and lint.
Beyond the Pressing Mat
This tool is versatile beyond the sewing room. It can also be used on furniture, carpet, and car upholstery, which makes it handy for a quick tidy of a chair or car seat. Use caution when using it on clothing, and note that it is not recommended for lightweight sweaters — keep it to sturdier surfaces where its cleaning action belongs.
Care and Storage
After use, remove any threads or lint clinging to the blade so it is clean for next time. Store it in a notions drawer or a pressing-station caddy near your iron, where you will reach for it often. With metal construction and no batteries or refills to worry about, there is nothing to maintain.
Project Ideas
Any project with heavy pressing benefits from a clean mat: pieced quilt blocks with lots of seams, foundation paper piecing sessions that shed thread tails, and garment sewing where lint from one fabric should not transfer to the next. Quilters pressing dozens of blocks in one sitting will find a mid-session sweep keeps the last blocks as clean as the first.
Shop the Wool Mat Cleaning Tool at Linda's Electric Quilters.


