
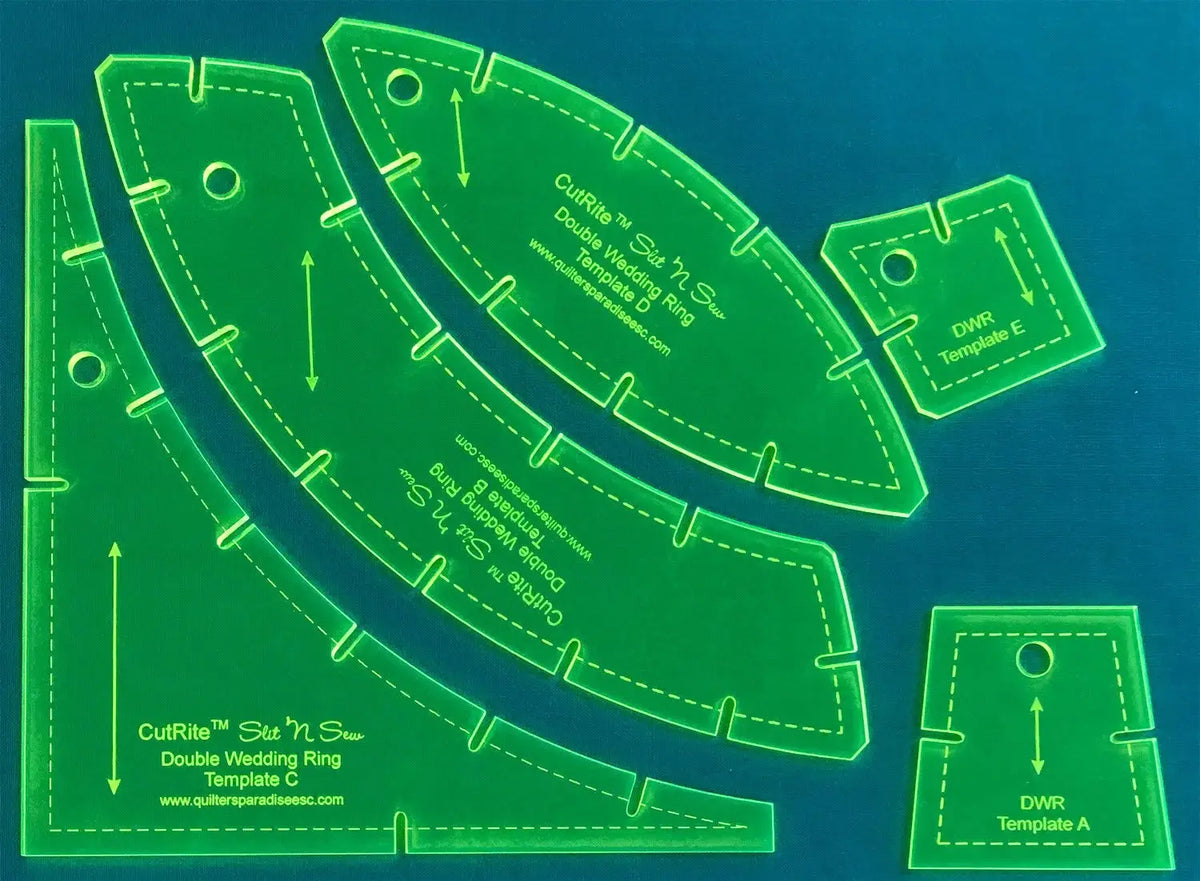
What Is the Slit 'N Sew Double Wedding Ring Template Set?
The Double Wedding Ring is a beautiful, classic quilt design — interlocking rings that have been loved for generations. Historically, though, it has been confined to more advanced quilters, thanks to its curved pieces and the precision needed to make those curves meet neatly. The Slit N Sew Double Wedding Ring Template Set, from CutRite, was created to change that. It is a set of five templates made of acrylic in green, designed to make this gorgeous design achievable for confident beginners through to more advanced quilters.
Instead of tackling a whole ring at once, this set reconceives the design in blocks. The templates make an 8-inch finished block, and four blocks make a 16-inch finished ring. That approach, developed over a year of trials, makes the project manageable step by step.
Why Quilters Use This Template Set
The key is the patent-pending Slit 'N Sew method, which makes piecing super easy. Curves that once demanded advanced experience become a repeatable process, so you can check progress as each block comes together rather than at the end of a large section.
The block method also allows new design variations and possibilities never before possible with this design. You can plan rings, colours, and layout block by block, and experiment before joining everything together.
How to Use the Templates
- Plan in blocks. Decide how many 16-inch finished rings your quilt needs, then work backwards: each ring takes four 8-inch finished blocks. Lay out your fabrics for one ring at a time so colours and contrast stay clear.
- Cut with the five templates. Use the templates in the set to cut the pieces for each block, following the set's directions for which template goes with which part of the block. Consistent cutting is what lets the blocks join cleanly.
- Piece with the Slit 'N Sew method. Follow the Slit 'N Sew method for joining your pieces. Work through one block at a time, completing the curves as the method directs, and press and check each block before moving on.
- Join four blocks into a ring. Once you have four finished 8-inch blocks, join them to form one 16-inch finished ring. Repeat for the remaining rings, then join the rings into your quilt top.
Practical Tips
Make a single test block first. It lets you learn the Slit 'N Sew sequence, confirm your fabric choices, and check your block before you cut a whole quilt. Keep pieces for each block grouped after cutting to prevent mix-ups. Finally, audition layouts on a design wall: small rearrangements can completely change the look of the rings.
Care and Storage
The templates are acrylic, so treat them as you would any acrylic quilting template. Wipe them clean with a soft cloth after use to remove fabric dust and fibres, and store them flat, together as a set of five, so no piece gets separated or bent. Keep them away from direct heat, and avoid stacking heavy objects on top of them. Stored flat and complete, the set will be ready the next time you want to start a ring.
Project Ideas
A full Double Wedding Ring quilt is the classic choice, and this set makes it approachable much earlier in your quilting journey. On a smaller scale, try a single 16-inch ring, made from four blocks, as a table topper or wall hanging. You can also explore the variations the block method allows: change fabric placement from block to block and build a quilt ring by ring, one 8-inch block at a time.
Shop the Slit N Sew Double Wedding Ring Template Set at Linda's Electric Quilters.


