
How to Make and Use a Ruler Wrap: Carry Rulers and Mats Safely
Every quilter who takes a class knows the juggling act: an armful of rulers, a cutting mat sliding sideways, and edges knocking against each other on the way to the car. Ruler Wrap is a pattern for sewing a padded organizer that solves that problem, storing and carrying rulers, an 18in x 24in mat, and more in one tidy carrier.
What Ruler Wrap Is
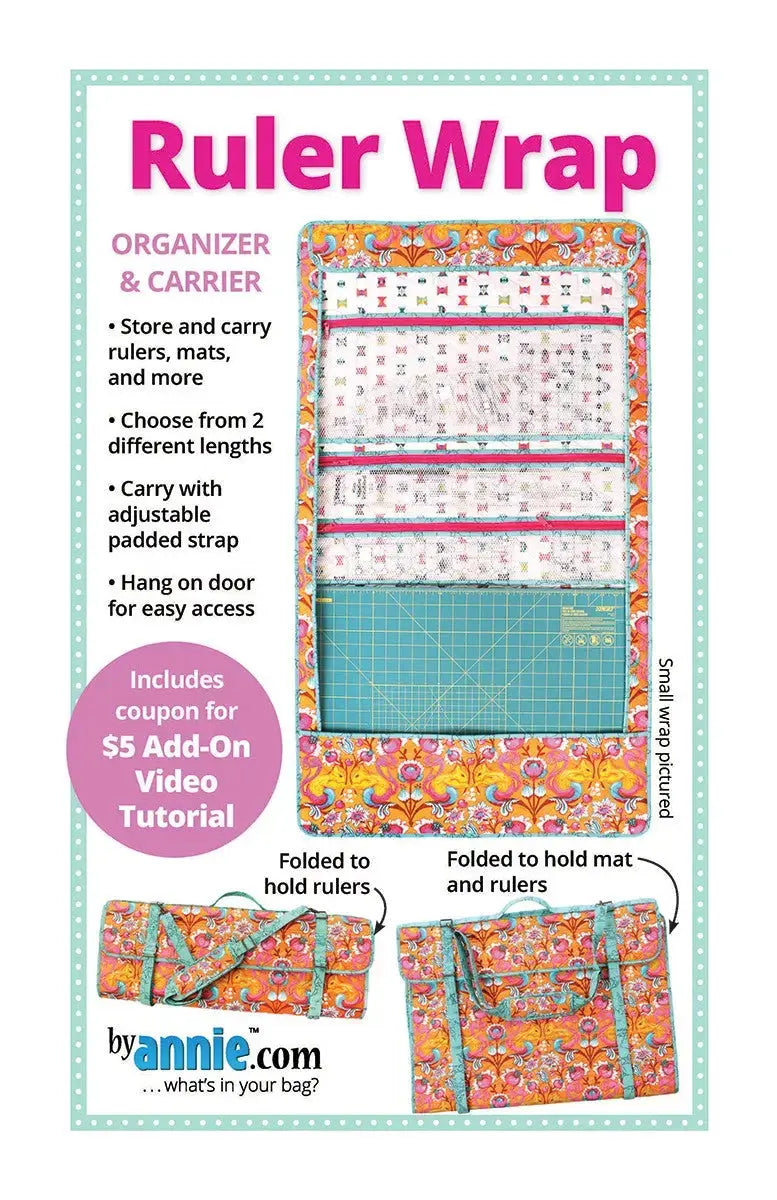
Ruler Wrap is a make-it-yourself organizer pattern, offered in two sizes. The small carrier measures 47in H x 27in W when open and folds to 10in to 20in H x 27in W x 1-1/2in to 2-1/2in D. The large carrier measures 68in H x 27in W when open and folds to 10in to 20in H x 27in W x 2-1/2in to 3-1/2in D. Both sizes may be hung flat for storage or folded for travel. Straps secure the flap, and an adjustable, detachable, padded carrying strap makes the carrier easy to transport.
Inside, mesh pockets zip closed to keep rulers visible and in place, even when the bag is rolled up and carried. Padded strips on each side of the interior help protect and cushion ruler edges, and they also securely hold an 18in x 24in mat for easy carrying to class.
Why Quilters and Sewists Use It
Rulers are an investment, and their edges matter for accurate cutting. Tossing them into a tote risks chips and scratches, and digging through a pile wastes class time. A Ruler Wrap keeps each ruler in its own zipped mesh pocket, visible at a glance, with padding to cushion the edges in transit. Hung open, it also works as at-home storage, keeping rulers and mat organized and off your cutting table.
How to Make and Use It, Step by Step
- Choose your size. Pick the small or large carrier based on the rulers you own and how many you want to carry. Measure your longest ruler before you decide.
- Quilt your fabrics. Because of the size of this project, the pattern tip recommends that the fabrics be quilted on a long arm. Quilting the panels first gives the wrap its padded, protective body.
- Build the pockets. Make the mesh pockets following the pattern. Pockets may be customized with divisions and extra zipper pulls to fit your preferences, so plan widths around the rulers you reach for most.
- Add the padded strips and straps. The padded strips on each side of the interior cushion ruler edges and grip your mat. Finish with the straps that secure the flap and the adjustable, detachable, padded carrying strap.
- Load it up. Slide rulers into the zipped mesh pockets and tuck your 18in x 24in mat in place. Zip the pockets closed, fold the wrap to a comfortable carrying size, fasten the straps, and attach the shoulder strap.
- Hang or carry. At home, hang it open for easy access. For class, fold it and grab the padded strap — everything arrives together and protected.
Practical Tips
Customize before you sew: lay your actual rulers out and mark pocket divisions to suit them. Add extra zipper pulls if you like opening pockets from either end. Load the mat first so the wrap folds evenly, and zip every pocket before folding — that keeps rulers from shifting in transit. Hang it away from direct, prolonged heat so rulers stay true.
Care and Storage
Store the wrap hung open or folded with straps secured, in a dry spot away from heat that could warp acrylic rulers. Empty the pockets before long-term storage, check zippers and straps occasionally, and brush lint out of the mesh pockets so rulers slide in cleanly.
Project Ideas
Make the large size as your class-and-retreat carrier, ready to grab with rulers and mat inside. Sew the small size as a home organizer for daily rulers. A Ruler Wrap also makes a thoughtful gift for a quilting friend, especially customized for their favorite rulers.
Shop the Ruler Wrap at Linda's Electric Quilters.


