
How to Sew the A Place for Everything 2.0 Organizer: Tips for Quilters
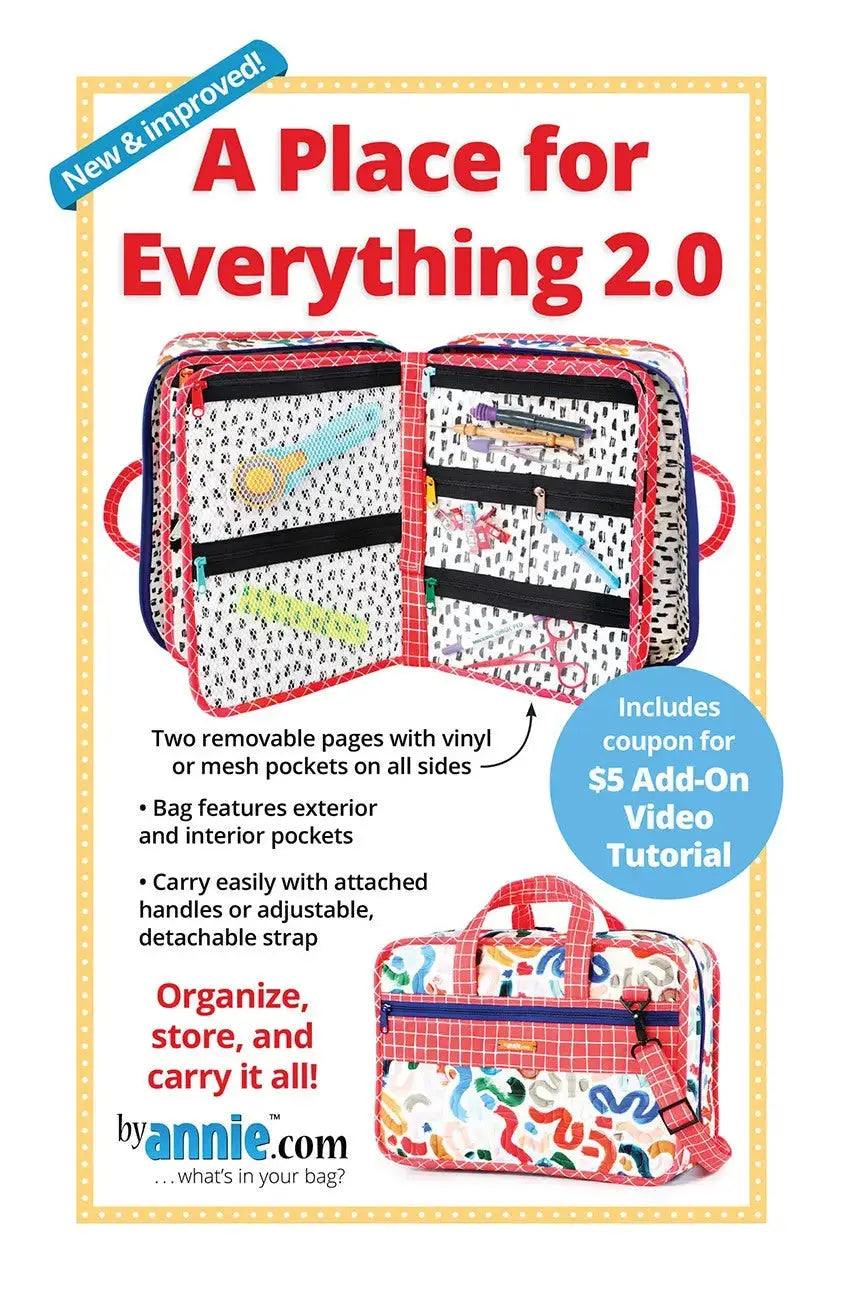
If your sewing tools and supplies migrate to every corner of your sewing room, a dedicated organizer can change how you work. A Place for Everything 2.0 is a printed paper pattern for a spacious organizer bag designed to store and carry tools and supplies while keeping everything visible and easy to reach. Instead of digging through a deep tote, you open the case and see what you have, right where you put it.
What A Place for Everything 2.0 Is
This is a printed paper pattern, sewn using standard machine sewing, with templates included. The finished bag measures about 10 inches high by 14 inches wide by 5.5 inches deep when closed. Inside, two removable pocket pages — measuring 13 inches high by 20 inches wide — hold mesh or vinyl pockets in a variety of styles. The bag features handles and an adjustable, detachable carrying strap, so you can carry it by hand or over your shoulder. Abundant pockets in a variety of styles are the key to the design: there is a place for everything, and everything stays in its place.
The pattern is supported by an Add-on Video designed to help with specific parts of the pattern and share best techniques. The video does not replace the pattern — it enhances the sewing experience alongside it. Related paper patterns include a coupon for the value of the Add-on Video, a $5.00 value, which can be used to get the video for free.
Why Quilters and Sewists Make This Organizer
- Visibility: Mesh and vinyl pockets let you see tools and supplies at a glance instead of guessing which pouch holds what.
- Easy access: Pocket pages put supplies in front of you when the case is open, so you spend less time searching and more time sewing.
- Removable pages: The two pocket pages can be taken out, so you can bring just the page you need to your machine or class table.
- Portable storage: Handles and an adjustable, detachable strap make the finished organizer practical to carry to classes, guild meetings, and retreats.
- A home for varied supplies: Because the pockets come in a variety of styles, different sizes and shapes of tools each get a spot that suits them.
How to Make and Use It, Step by Step
- Read the pattern first: Work through the printed instructions and templates before cutting, so you understand how the case, strap, and pocket pages come together.
- Prepare your pieces: Use the included templates and the pattern directions to cut and prepare all the pieces for the bag and its two pocket pages.
- Sew the case: Construct the main organizer following the pattern, adding the handles and the adjustable, detachable carrying strap as directed.
- Make the pocket pages: Sew the mesh and vinyl pockets in their varied styles onto the removable pages.
- Use the video support if you wish: If a step feels tricky, the Add-on Video supports specific parts of the pattern — and check whether your paper pattern includes the coupon for its value.
- Load it thoughtfully: Assign each tool and supply its own pocket, grouping items you use together on the same page.
Practical Tips
Plan your pocket layout before you fill the bag. Put the tools you reach for most often where they are easiest to see and grab, and keep less-used supplies toward the back. Take advantage of the removable pages: keep one page set up for your current project and the other for general notions, then swap pages instead of repacking the whole case. When travelling to a class, remove a page you do not need to lighten the load.
Care and Storage
Store the finished organizer closed, with the strap detached if that helps it fit your shelf neatly, so the pocket pages stay flat and protected inside. Keeping supplies in their assigned pockets between sessions means the case is ready to pick up whenever you are. Periodically empty each pocket, shake out loose threads, and return everything to its place.
Project Ideas
Make one organizer as your everyday sewing kit for your home machine, and another as a dedicated class and retreat bag so you never unpack your main kit. It also suits a case for embroidery or hand-sewing supplies, or a handmade gift for a quilting friend, ready for them to fill with their own favourites.
Shop the A Place for Everything 2.0 at Linda's Electric Quilters.


