
How to Sew the On the Go 2.0 Crossbody Bag: Tips for Quilters
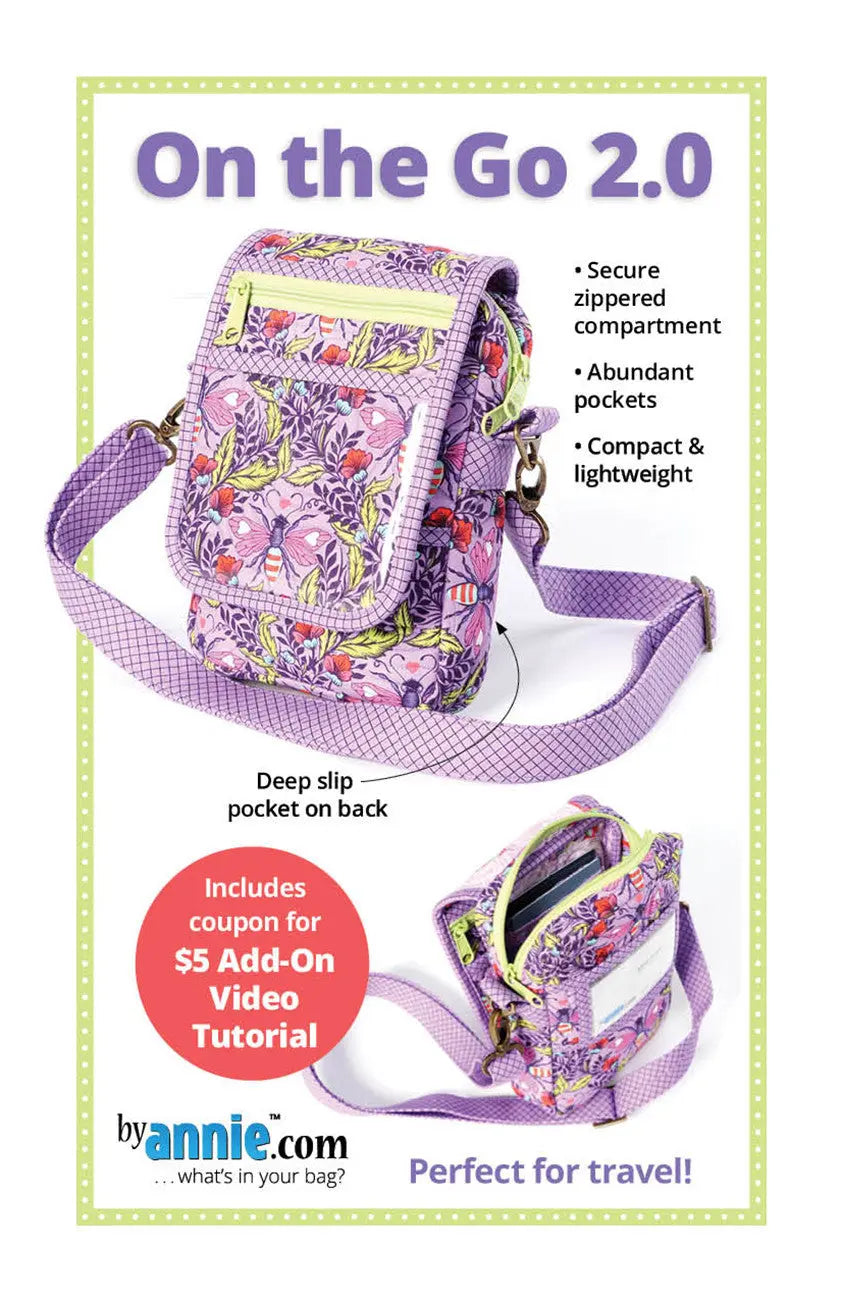
Small but mighty is exactly right. On the Go 2.0 is a compact bag pattern for travel or everyday use, finished at 8 inches high by 6 inches wide by 2 inches deep — yet it has multiple pockets, a secure zipper closure, and room for the essentials you reach for most.
What On the Go 2.0 Is
On the Go 2.0 is an update of On the Go, released in 2012. Like a new edition of a textbook, it features improved design and layout, easier-to-follow steps and diagrams, and newer techniques. The size was tweaked to make the bag deeper, and the strap size and attachment were changed so you can carry it more securely and comfortably.
The finished bag has a flap with a combination zippered/slip pocket, a discreet pocket underneath the flap, a deep back pocket, and an interior compartment with three credit card slots. An adjustable, detachable strap lets you wear it over the shoulder or as a crossbody bag.
Why Quilters and Sewists Love It
- Truly organized: Separate pockets mean a passport, money, or name badge, plus an ID and credit cards, each have a secure, easy-to-find place.
- Secure closure: The zipper closure helps keep essentials safely inside while you are traveling or shopping.
- Quick access: Lift the flap to reveal the discreet ID and credit card pocket, and use the deep back pocket for a phone, boarding pass, or glasses.
- Compact but spacious: The interior offers ample space for an e-reader, a small wallet, and other must-haves, in a bag that stays light to carry.
- Versatile to wear: Adjust or detach the strap to suit the day — shoulder bag for errands, crossbody for hands-free travel.
How to Sew and Use It, Step by Step
- Read the pattern first: Work through all the steps and diagrams before you cut, so the order of the pockets, flap, and interior makes sense.
- Choose and prepare your fabrics: Pick fabrics you will enjoy carrying every day, press them well, and cut each piece carefully and accurately — small bags reward precise cutting.
- Build the pockets: Construct the flap's combination zippered/slip pocket, the discreet pocket under the flap, and the deep back pocket as directed, pressing each one flat as you go.
- Make the interior: Sew the interior compartment, including its three credit card slots, checking that cards slide in and out smoothly before final assembly.
- Assemble the bag: Join the body, flap, and zipper closure following the diagrams, taking your time at corners so the 2-inch depth stays even.
- Attach the strap: Add the adjustable, detachable strap using the pattern's updated attachment method, then adjust the length and test it both on your shoulder and crossbody.
- Load it with intention: Put a passport, money, or name badge in the flap pocket, ID and cards under the flap and in the interior slots, and your phone in the back pocket.
Practical Tips
Test zippers and pockets with the real items you plan to carry — a phone, cards, and glasses should all fit without forcing. Press seams as you sew; on a bag this size, crisp pressing makes the pockets lie flat and the flap sit neatly. Go slowly through thicker layers where pockets and the strap attach.
Care and Storage
Empty the pockets regularly and shake out lint and receipts. Spot clean as needed according to the fabrics you chose, and let the bag dry fully before refilling it. Store it loosely filled or hanging by its strap so the flap and body keep their shape.
Project Ideas
Make one as a travel bag for a passport, boarding pass, and cards, and another in everyday fabrics for shopping and errands. It also makes a thoughtful gift, a name-badge bag for conferences or quilt retreats, or a first bag project for practicing zippers, pockets, and straps on a manageable scale.
Shop the On the Go 2.0 at Linda's Electric Quilters.


