
How to Sew With Premium Clear Vinyl: See-Through Pockets and Linings for Bags
Some pockets hide things. Clear vinyl pockets do the opposite: they let you see exactly what is inside — notions, cosmetics, chargers, or the small tools that sink to the bottom of a bag. Premium Clear Vinyl, in a 16in x 54in roll, gives bag makers a sturdy, flexible, see-through material that wipes clean when life gets messy.
What Premium Clear Vinyl Is
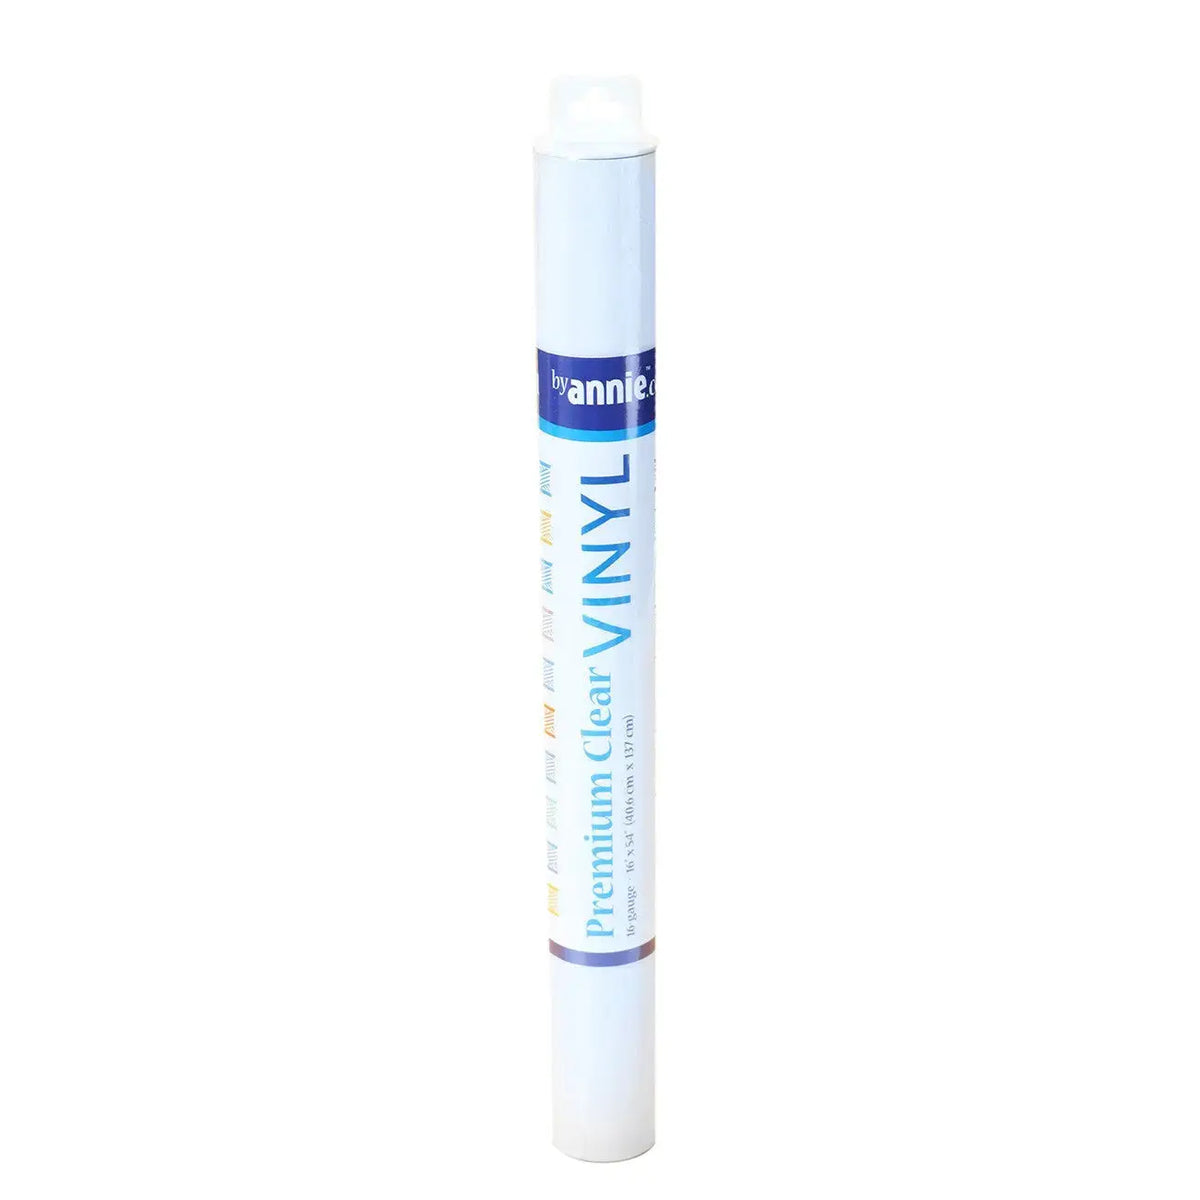
This is a premium-weight, 16-gauge clear vinyl, double polished for maximum clarity, so the contents of a pocket are easy to identify at a glance. It is made of 100% vinyl and comes as a roll measuring 16in x 54in, a useful size for pockets and linings in organizers, purses and bags, and wallets.
The vinyl is flexible, yet sturdy: it bends enough to follow the shape of a bag, while holding its form so a pocket does not collapse. It is moisture resistant, so a damp item or small spill is far less of a worry. Each roll includes interleaving paper, which helps keep the vinyl from sticking to your machine and makes it easier to see when cutting.
Why Quilters and Sewists Use It
- See-through storage: Find notions, tools, and essentials without opening every pocket or emptying the bag.
- Wipe-clean lining: Moisture resistance means spills can be wiped away with a cloth instead of soaking into fabric.
- Structure with flexibility: Sturdy enough for a pocket or lining, flexible enough for everyday bags and organizers.
- Easy to sew: It is made to be sewn through, and the interleaving paper helps it feed without sticking.
How to Use It, Step by Step
- Plan the piece. Measure the pocket or lining area on your pattern and add your seam allowances. A 16in x 54in roll suits several smaller pockets or one longer lining piece.
- Cut with the paper in place. Keep the interleaving paper with the vinyl while you mark and cut. It makes the clear sheet easier to see on your cutting surface and helps you follow your measurements accurately.
- Cut cleanly. Use a rotary cutter and ruler on a mat, or sharp scissors, and make one confident cut rather than nibbling at the edge.
- Hold layers without pinholes. Clips along the edge are a good choice for vinyl, since every pinhole in the main area will remain visible. Keep any pins inside the seam allowance.
- Sew slowly and steadily. Position the vinyl under the presser foot with the interleaving paper helping it move, and sew at an even pace. Let the machine feed the layers rather than pulling them through.
- Finish the edges. Enclose raw edges in a seam, or bind them with fabric or bias binding for a neat finish.
- Wipe and check. Remove any paper remaining on the sewn piece, wipe the vinyl clean with a cloth, and check that pockets open freely and contents are easy to see.
Practical Tips
Test stitch settings on an offcut from the same roll first, and check both sides of the seam. Finger-press folds rather than pressing with heat, and avoid sharp creases. If vinyl sticks as you sew, check that the interleaving paper is positioned where the sheet meets the machine. Work on a clean surface: grit under clear vinyl can show through the finished pocket.
Care and Storage
Clean finished pieces by wiping the vinyl with a cloth; its moisture resistance makes routine cleanup simple. Store leftover vinyl rolled, the way it came, rather than folded — rolling helps prevent hard creases and keeps the sheet easy to handle for the next project. Keep the interleaving paper with the roll in storage so it is ready when you cut and sew again.
Project Ideas
Use it for see-through pockets in tote bags and project organizers, linings for purses and cosmetic bags, wallet windows and card pockets, supply pouches for quilting notions, and travel organizers where you need to spot contents quickly.
Shop the Premium Clear Vinyl - 16in x 54in at Linda's Electric Quilters.


