
Small Ruler, Straighter Blocks
A block that is even slightly off square will fight you later — seams drift, sashing will not line up, and borders ripple. The Quilters Select Pink Non-Slip Ruler 6" x 6", from RNK Distributing, catches those problems early, while a block is still small enough to fix. Its pink colour also makes it easy to spot on a busy cutting table.
What This Ruler Is
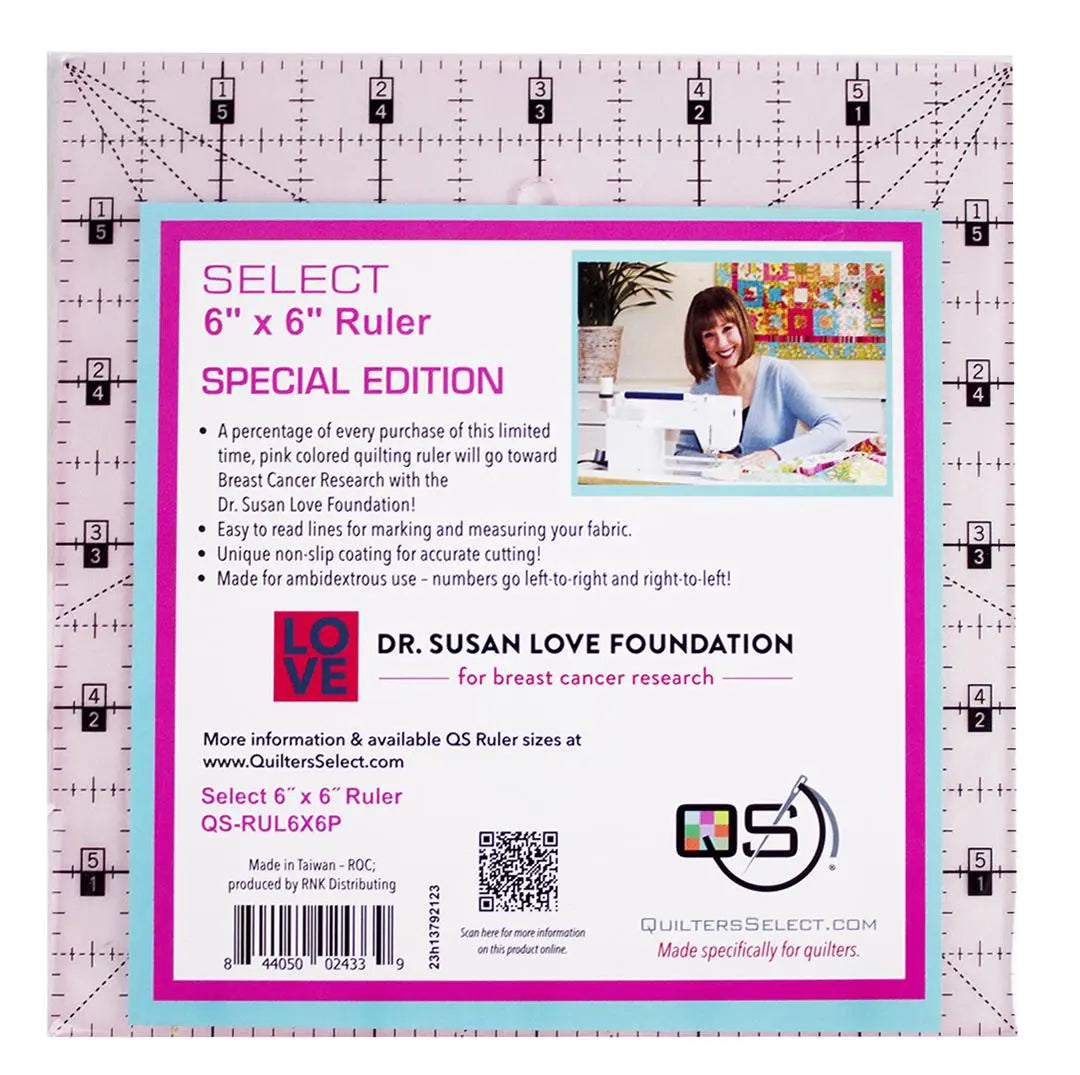
This is a 6-inch by 6-inch quilting ruler with easy-to-read lines for marking and measuring fabric, as well as multiple angles for angled cuts and checks. Around the perimeter, the one-inch lines carry two sets of corresponding numbers, so they can be read left to right and right to left. You never have to lose your place or count backwards just because you turned the ruler around.
It also has a unique non-slip coating that grips fabric lightly as you cut, making for more accurate cutting than a smooth ruler that can skate under rotary-cutter pressure. Quilters Select rulers are available in multiple sizes, so this is the small, everyday member of that family.
Why Quilters Use It
Quilters reach for a small square ruler for control. A long strip ruler is excellent for yardage, but awkward over a single half-square triangle or four-patch. The 6" x 6" sits fully on the unit, so you can see all four edges at once and check that corners are truly square.
The dual-reading numbers matter too. Whichever side of the mat you work from, you can read the measurement in the direction you are working — no mental flipping, and fewer miscuts. With the non-slip coating, squaring stays repeatable from the first block to the fiftieth.
How to Use It
- Press first. Press the block flat, seams settled, before you measure. A ruler cannot square a block that is still puffy from the machine.
- Centre the ruler. Place the ruler over the block so the design or seam intersection sits where you want it, with an even margin of excess fabric showing on the sides you plan to trim.
- Check the reading. Use the perimeter one-inch lines — reading left to right or right to left, whichever suits your position — to confirm the block measures what it should on both sides.
- Trim two sides. Hold the ruler firmly and trim the first edge with your rotary cutter, then the adjoining edge, keeping the non-slip surface in contact with the fabric.
- Turn and finish. Rotate the block 180 degrees, re-align the ruler on the two trimmed edges at the correct finished measurement, and trim the remaining two sides. Recheck the corners and angles before moving on.
Practical Tips
Trim little, not much. Aggressive trimming can remove seam allowance you need. Take a light pass, re-press, and check again. Use the angled lines to verify diagonal units before trimming. Work on a clean, flat mat — lint under the fabric lifts one corner and undoes the ruler's accuracy. Cut in good light, especially on dark or busy prints.
Care and Storage
Store the ruler flat, with your other square rulers, or hang it away from heat and direct sunlight so it stays true. Keep it away from your iron, and wipe it clean with a soft, dry cloth if thread dust or marking builds up. Avoid dropping it on hard floors or storing heavy tools on top of it, which can chip edges and affect future cuts.
Project Ideas
Use it to square every unit in a sampler quilt before assembly, trim half-square triangles and flying geese to size, and check small blocks for baby quilts, table runners, and mug rugs. It is also handy for trimming embroidered or appliquéd squares to a consistent size before sashing, and for cutting neat 6-inch charm-style squares from leftover fabric for scrappy projects.
Shop the Quilters Select Pink Non-Slip Ruler 6" x 6" at Linda's Electric Quilters.


