
How to Use a Seam Fix Seam Ripper: Cleanly Remove Stitches Without Damaging Fabric
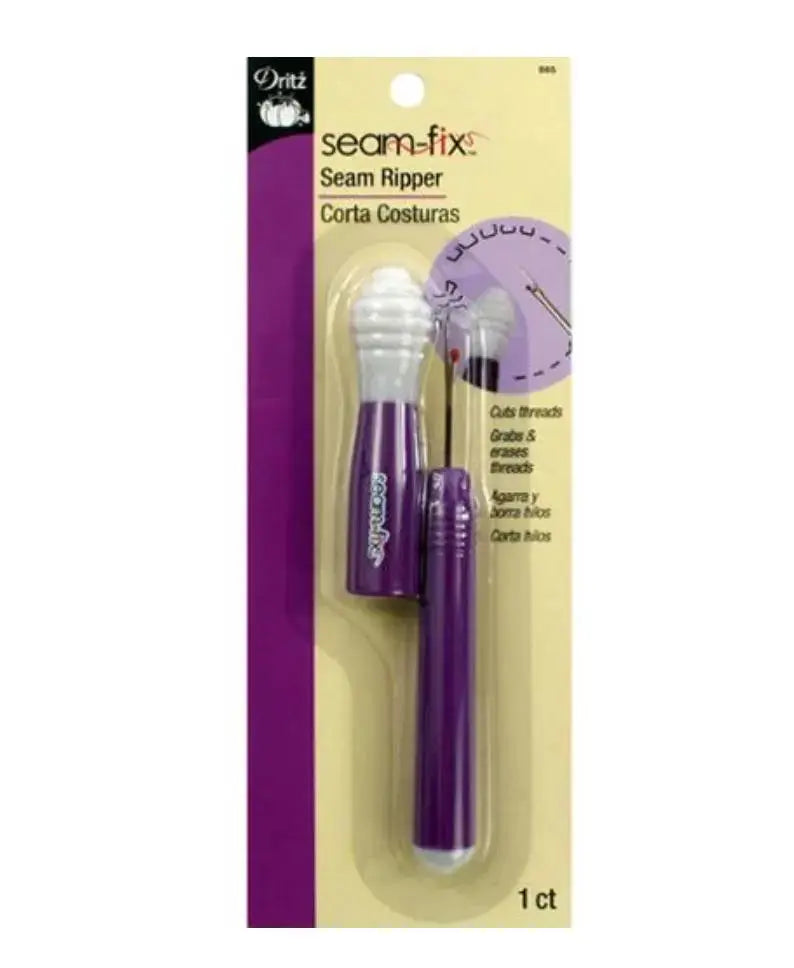
Mistakes are part of sewing and quilting. A seam drifts off line, a block ends up in the wrong place, or a stitching line needs to move just a fraction of an inch. When that happens, you need a tool that removes stitches cleanly without chewing up your fabric. The Seam Fix Seam Ripper 665 by Dritz is designed for exactly that job: you quickly cut threads with the seam ripper, then remove the loose thread bits with the rubbery tip on the cap.
That two-part design is what sets this tool apart from a basic seam ripper. Cutting a stitch is only half the work — tiny thread tails and fuzz often cling to the fabric afterward. The rubbery cap tip helps lift and gather those leftovers, so your fabric surface is clean and ready to press and re-sew.
Why Quilters and Sewists Use It
Every quilter, garment sewist, and embroiderer needs a reliable way to undo stitching. Pins slip, seams pucker, and sometimes you simply change your mind about a fabric placement. The Seam Fix Seam Ripper lets you fix seams with precision instead of starting a project over. Its ergonomic design is comfortable in the hand, which matters when you are removing a long seam or working through several rows of stitching at once.
The vibrant color is practical, too. A brightly colored tool is easier to spot on a crowded cutting table, in a project bag, or tucked among fabric scraps — right when you need it most.
How to Use It, Step by Step
- Work in good light. Place your project on a flat surface and find the seam or stitching line you want to remove.
- Cut a few stitches at a time. Slide the pointed tip of the ripper under a stitch and lift gently to cut the thread. Work every few stitches along the seam rather than forcing the tool through a long stretch at once.
- Flip and repeat if needed. For a locked or dense seam, cut stitches from the other side as well, then gently ease the fabric pieces apart with your fingers — never pull hard, which can distort the fabric.
- Clean up with the rubbery tip. Once the seam is open, rub the rubbery tip on the cap over the fabric. It picks up the cut thread pieces and fuzz, leaving a tidy surface.
- Press before you re-sew. A quick press flattens the old needle holes and fold lines, so your corrected seam sits smoothly.
Practical Tips
- Cut on the bobbin-thread side when you can; those stitches are often easier to release.
- For machine quilting fixes, remove only the affected section, then overlap your new stitching slightly at each end to secure it.
- Keep your free hand behind the fabric, not in front of the ripper's path, and always cap the tool when you set it down.
- Go slowly around curves and bulky intersections, where a rushed rip can nick the fabric.
Care and Storage
Replace the cap after every use to protect the point and keep the rubbery tip clean. Store it in your notions pouch or beside your machine rather than loose in a drawer, where the tip can be damaged. Wipe the rubbery tip free of lint when it stops gripping well, and keep the tool dry. With simple care, its high-quality construction will give you long-term use across many projects.
Project Ideas
Keep a Seam Fix Seam Ripper within reach for everyday quilting corrections, repositioning appliqué, adjusting garment seams for a better fit, removing basting stitches, and rescuing embroidery placement. It is a small, versatile notion — but on the day a seam goes wrong, it is the one that saves your work and your fabric.
Shop the Seam Fix Seam Ripper 665 by Dritz at Linda's Electric Quilters.


