
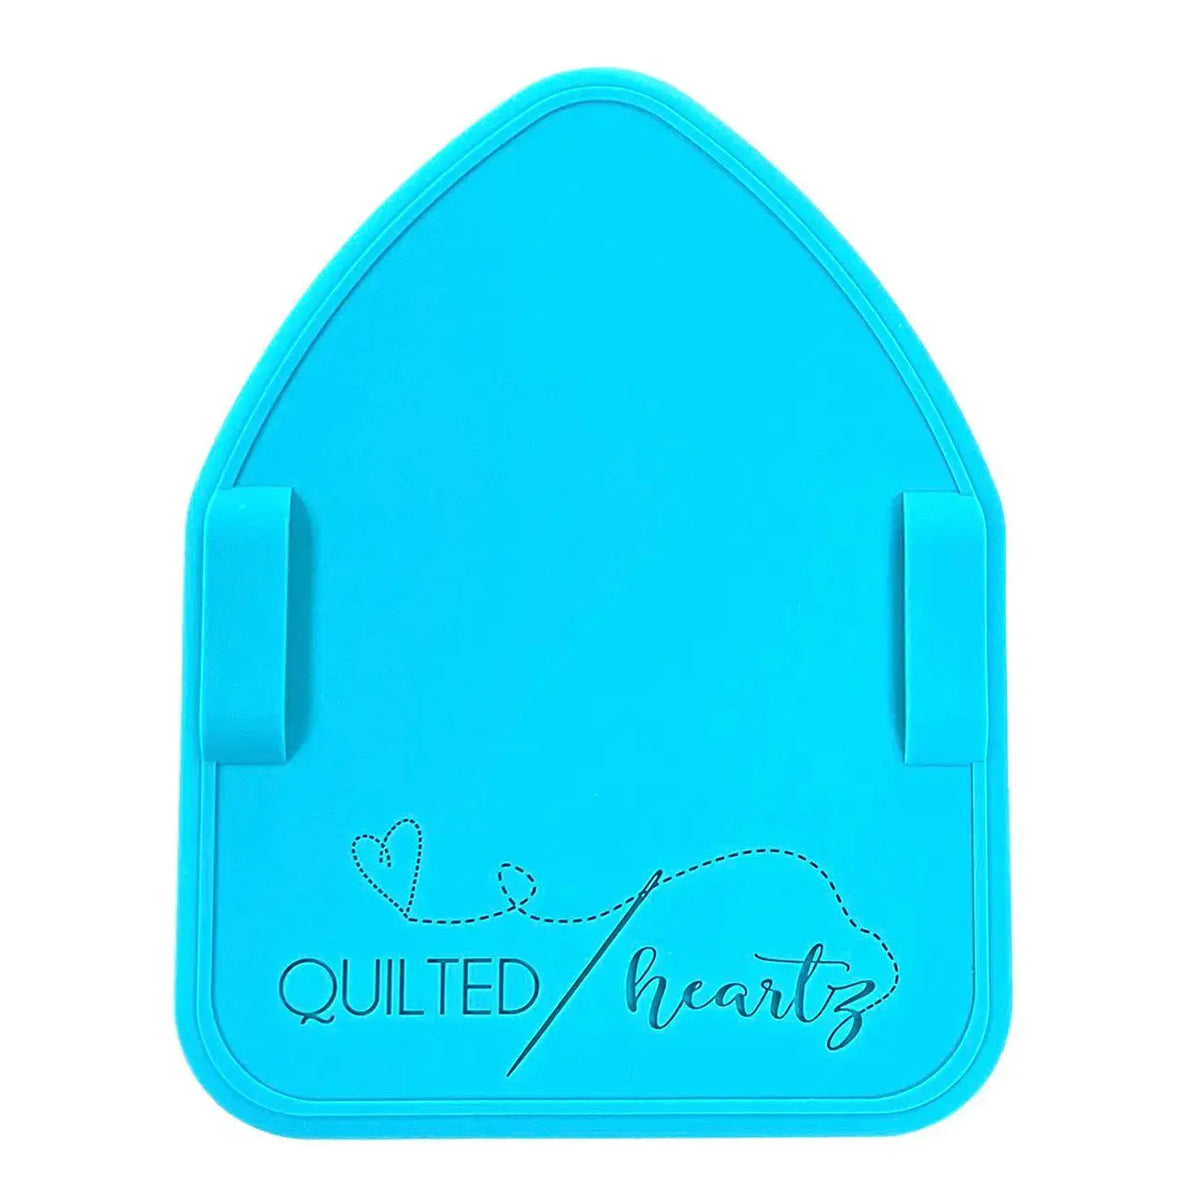
How to Use Binding Eaze: Press Quilt Binding Fast on a Silicone Mat
Binding is the last step on most quilts, and it is also one of the fiddliest. Before you can sew binding to a quilt, the long fabric strip has to be folded in half lengthwise and pressed into a crisp, even crease from one end to the other. Doing that on a regular ironing board means feeding yards of narrow strip under the iron a few inches at a time, trying not to stretch it, twist it, or catch your fingers near the heat. Binding Eaze was designed to make that pressing step fast and easy.
What Binding Eaze Is and Why Quilters Use It
Binding Eaze is a patented designed silicone mat made specifically for pressing binding fabric. This version comes in Peacock Blue and measures 10 inches by 7-1/2 inches, so it gives you a focused work surface sized for narrow binding strips rather than a full ironing board. Silicone is a natural fit for a pressing tool: it sits flat, stays put on your work surface, and is made to be used right where the pressing happens.
Quilters reach for it because binding preparation is repetitive work. A typical quilt needs one continuous strip many yards long, and every inch of it needs the same even fold. A dedicated mat helps you settle into a rhythm — fold, press, slide, repeat — instead of wrestling a long, skinny strip across a large board.
How to Use It, Step by Step
- Prepare your strip first. Cut and join your binding fabric into one continuous strip using your usual method, and trim the seam allowances at the joins so the strip lies flat.
- Set the mat on your pressing surface. Place the Binding Eaze mat in front of you where you normally press, with your iron heated and ready nearby.
- Fold the start of the strip. With wrong sides together, fold the first few inches of the strip in half lengthwise, matching the raw edges carefully.
- Press on the mat. Press the folded section on the mat to set a crisp crease, keeping the fold line running straight down the center of the strip.
- Feed and repeat. Slide the strip along, fold the next section in half, and press again. Work in short, manageable lengths so the fold stays even and the strip does not twist as you go.
- Check as you work. Pause occasionally to confirm the raw edges still meet evenly and the width looks consistent from section to section.
- Roll or fold the finished strip. Once the whole strip is pressed, roll it up or fold it neatly so it stays creased and tangle-free until you are ready to sew it to the quilt.
Practical Tips
Do not pull or stretch the strip as you feed it — let the iron do the work and guide the fabric gently, especially if your binding was cut on the bias, since bias edges stretch easily and a stretched strip can make binding wavy. Keep the joins flat by pressing them open or to one side before folding, so no bulky lump ends up inside the fold. If you are making binding ahead of time, press the whole strip in one session while your cutting and joining are fresh in mind, then store it rolled so the crease holds.
Care and Storage
After pressing, let the mat cool before you put it away. Wipe it clean of any lint or stray threads so the next strip presses on a smooth surface. At 10 inches by 7-1/2 inches, it stores easily flat in a drawer, on a shelf near your iron, or tucked beside your ironing board, ready for the next quilt that needs finishing.
Project Ideas
Any project finished with binding benefits from a well-pressed strip: bed quilts and throws, table runners and placemats with bound edges, baby quilts, wall hangings, and mug rugs. The better the crease before you start sewing, the smoother the binding wraps around the edge and the neater both the front and back of the finished project look.
Shop the Binding Eaze - Peacock Blue at Linda's Electric Quilters.


