
Some quilt blocks are almost impossible to piece accurately with traditional cut-and-sew methods — tiny pieces, sharp points, and odd angles that refuse to line up. Foundation paper piecing solves that problem by letting you sew directly on a printed pattern, and Carol Doak Foundation Paper is the paper made specifically for the job.
What This Foundation Paper Is
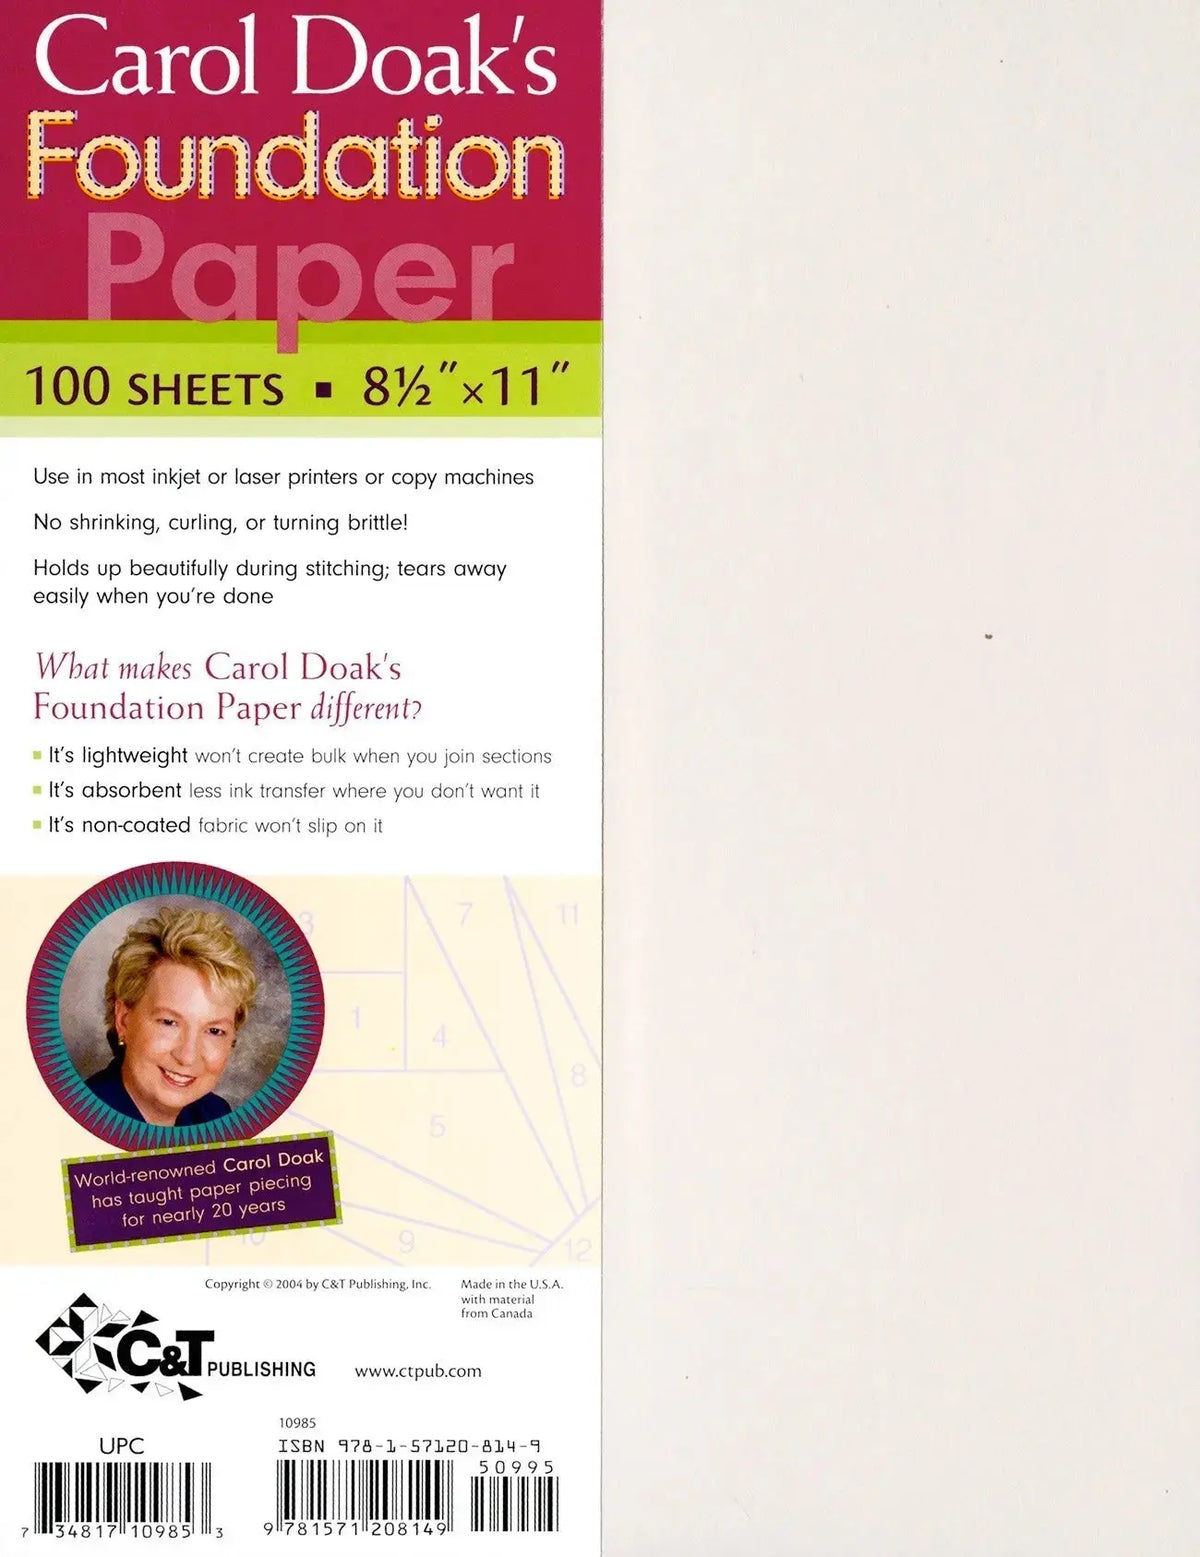
Carol Doak Foundation Paper comes in a pack of 100 white sheets, each measuring 8-1/2in x 11in — standard letter size, so it fits home printers and copy machines without trimming. It is designed for use in most inkjet or laser printers or copy machines, so you can print your foundation patterns directly onto it. Unlike ordinary printer paper, it is made not to shrink, curl, or turn brittle, so the pattern you printed is the pattern you sew — no distorted blocks because the paper changed size.
Why Quilters Use Foundation Paper
Foundation paper piecing (often shortened to FPP) gives you accuracy that is hard to match any other way. You sew on the printed lines, so points stay sharp, small pieces stay true to size, and complex designs come together exactly as drawn. The paper has to do two opposite jobs well: hold up beautifully during stitching, so it does not fall apart while you sew, flip, and press each seam — and then tear away easily once the block is finished, so removal does not distort your stitches. That balance is exactly what this paper is made for.
How to Foundation Paper Piece, Step by Step
- Print your pattern. Load the paper into your inkjet or laser printer or copy machine and print your foundation pattern at 100% scale. Check any test square on the pattern before you start sewing.
- Cut your fabric generously. Fabric goes on the unprinted side of the paper, so cut each piece a little larger than the section it needs to cover.
- Place the first piece. Position your first fabric piece right side up on the blank side of the paper, covering the first numbered section with seam allowance to spare. Hold it up to the light to confirm coverage.
- Add the next piece and sew on the line. Layer the second piece right sides together with the first, flip the paper over, and stitch directly on the printed line between sections 1 and 2, using a short stitch length so the paper perforates and tears away more easily later.
- Press and trim as you go. Flip the new piece open and press it flat. Fold the paper back on the next stitching line and trim the seam allowance before adding each new piece to keep bulk down.
- Work through the numbers. Continue adding pieces in numerical order until every section is covered, then trim the block on the outer seam allowance line printed on the pattern.
- Remove the paper. Once the block is complete, tear the paper away along the perforated stitch lines. It tears away easily, leaving a crisp, accurate block.
Practical Tips
- Press with a dry iron on a cotton setting, and use a press cloth on your ironing board cover to protect it from excess ink transferring off the printed pattern.
- A shorter stitch length makes paper removal easier, but test on a scrap first — stitches that are too short can be hard to pick out if you need to correct a seam.
- Print a few extra copies of your pattern. A fresh sheet is the easiest fix for a badly torn one.
Care and Storage
Store the sheets flat in their package, away from humidity, so they stay smooth for printing. With 100 sheets in a pack, one package carries you through a full multi-block project with test prints to spare. Keep printed, unused patterns filed with the project they belong to so versions never get mixed up.
Project Ideas
Foundation paper piecing shines anywhere accuracy matters: miniature blocks, intricate star and mariner's compass designs, pictorial blocks, and any pattern with tiny pieces or sharp points that would shift with conventional piecing. It is also a wonderful confidence builder for beginners, because the printed line tells you exactly where to sew — the paper does the measuring for you.
Shop the Foundation Paper Carol Doak at Linda's Electric Quilters.


