
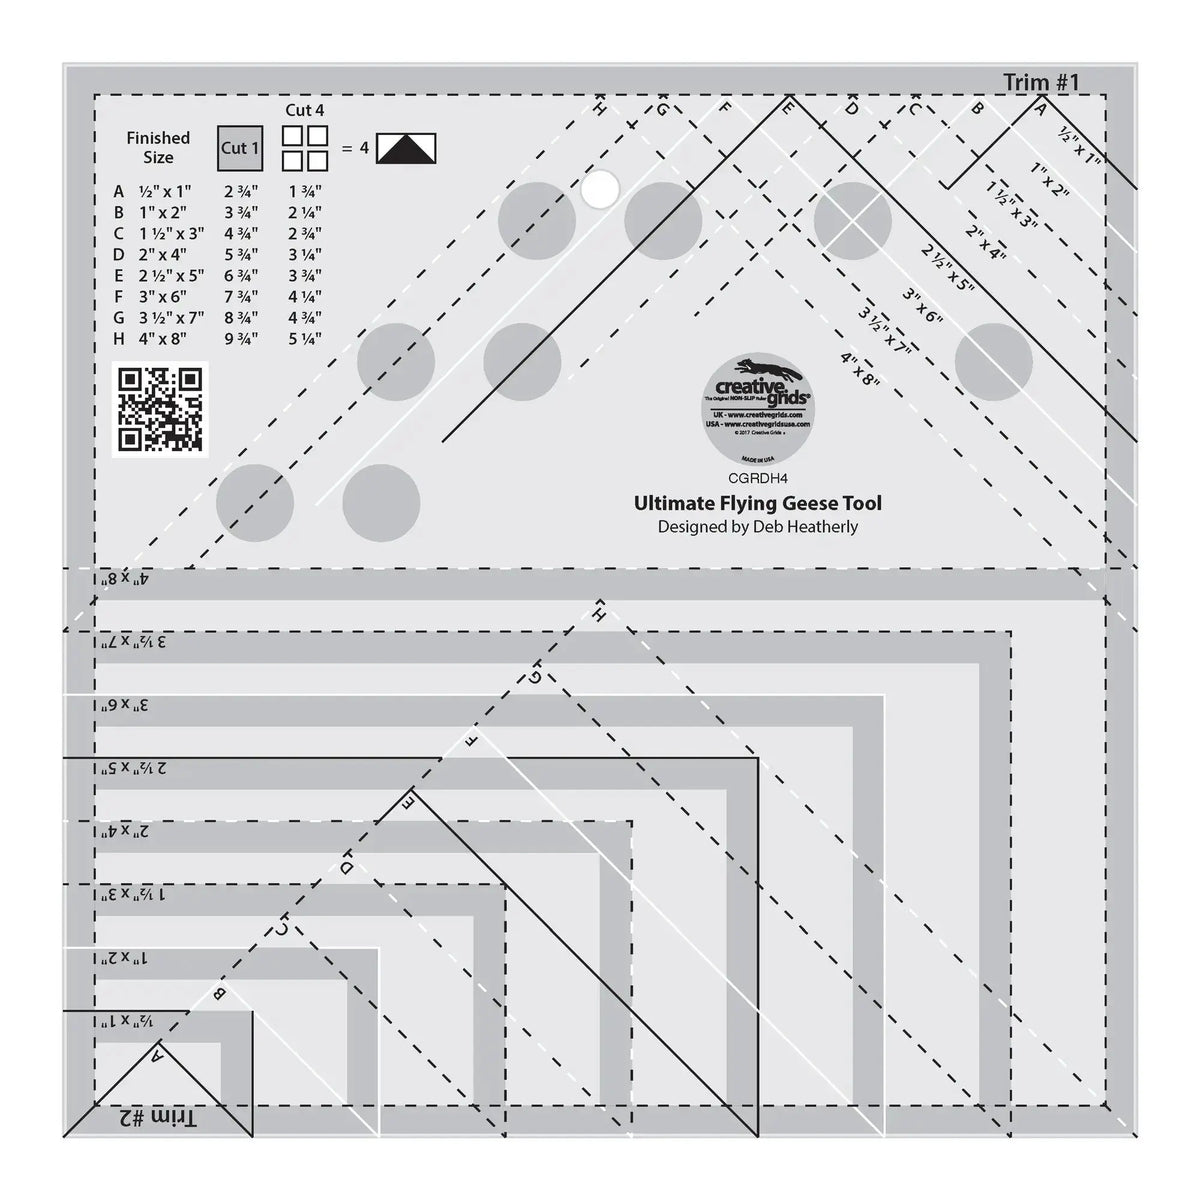
What the Ultimate Flying Geese Tool Is
Flying Geese are one of quilting's most beloved units — a large triangle framed by two smaller triangles, appearing in borders, stars, sashing, and countless traditional blocks. They are also one of the easiest units to get slightly wrong: a point clipped here, a wing a fraction too small there, and the finished block no longer lines up. The Creative Grids Ultimate Flying Geese Tool was made to remove that guesswork. This 8-1/2 inch by 8-1/2 inch tool lets you create four Flying Geese units at a time by simply cutting squares — no triangles required.
Why Quilters and Sewists Use It
Cutting triangles on the bias invites stretching, and sewing pointy pieces together invites shifting. Starting from squares is simpler, faster, and far more forgiving. With this tool, the cutting instructions for eight different sizes are printed right on the tool along with their finished sizes, so you do not have to hunt through a pattern book or do size math at the cutting table. The markings are easy to read, which helps you confirm your size before you cut rather than after you sew.
The tool itself is designed for accurate cutting. It slides easily over the fabric until pressure is applied, then the exclusive Creative Grids grip holds the fabric in place while cutting, eliminating slipping and miss-cuts. That slide-then-grip behaviour is especially helpful when you are positioning the tool over printed squares or checking alignment before committing your rotary cutter.
The tool also comes with fully illustrated step-by-step instructions for two different methods, giving you a choice of approach depending on your project and preference. A QR code printed on the insert lets you scan to view a how-to video of the features and see projects that can be made with the tool — handy the first time you use it, and a useful refresher later.
How to Use It, Step by Step
- Choose your finished size. Read the eight sizes printed on the tool and pick the finished size your block or border requires. Note the corresponding cutting instructions printed alongside it.
- Cut squares, not triangles. Following those printed instructions, cut the squares called for. Because you start with squares, your pieces stay stable and easy to handle.
- Position the tool. Lay the tool over your fabric and slide it into place — it moves easily until you are ready. Check the easy-to-read markings against your fabric edges.
- Press and cut. Apply pressure so the grip holds the fabric firmly, then cut with your rotary cutter. The grip is there to prevent the small slips that lead to mis-cuts and wasted fabric.
- Sew and repeat in fours. Follow the illustrated instructions for your chosen method to piece the units. Working four at a time, you will build a matching set quickly, which keeps sizes consistent across a whole border or block set.
- Check points before joining blocks. Before sewing your geese into a row or block, lay the units out and confirm the points are intact and the sizes match. A quick check now is much easier than unpicking later.
Practical Tips
Make one test unit in your chosen finished size before cutting fabric for an entire quilt, and measure it carefully. Keep your rotary blade sharp — the grip helps control the fabric, but a dull blade can still drag. Use consistent pressure: light while you are positioning so the tool can slide, firm once you are cutting. And take advantage of the video linked by the QR code on the insert if a step in the printed instructions feels unclear; seeing the positioning once often answers the question.
Care and Storage
Store the tool flat with your other rulers, away from direct heat, and keep the insert with its illustrated instructions and QR code with it so both methods stay easy to find. Wipe the surface clean of lint and spray starch residue after a long cutting session so the markings stay easy to read and the grip works as intended. Avoid stacking heavy items on top of it in a crowded ruler rack.
Project Ideas
Use Flying Geese for a classic sawtooth star, a migrating-geese border around a medallion quilt, sashing strips between sampler blocks, or a table runner where a single row of geese does all the work. Because the tool covers eight finished sizes, the same tool can serve a small wall hanging one month and a bed quilt the next — pick the size, cut your squares, and let the geese fly in neat, matching fours.
Shop the Creative Grids Ultimate Flying Geese Tool at Linda's Electric Quilters.


