
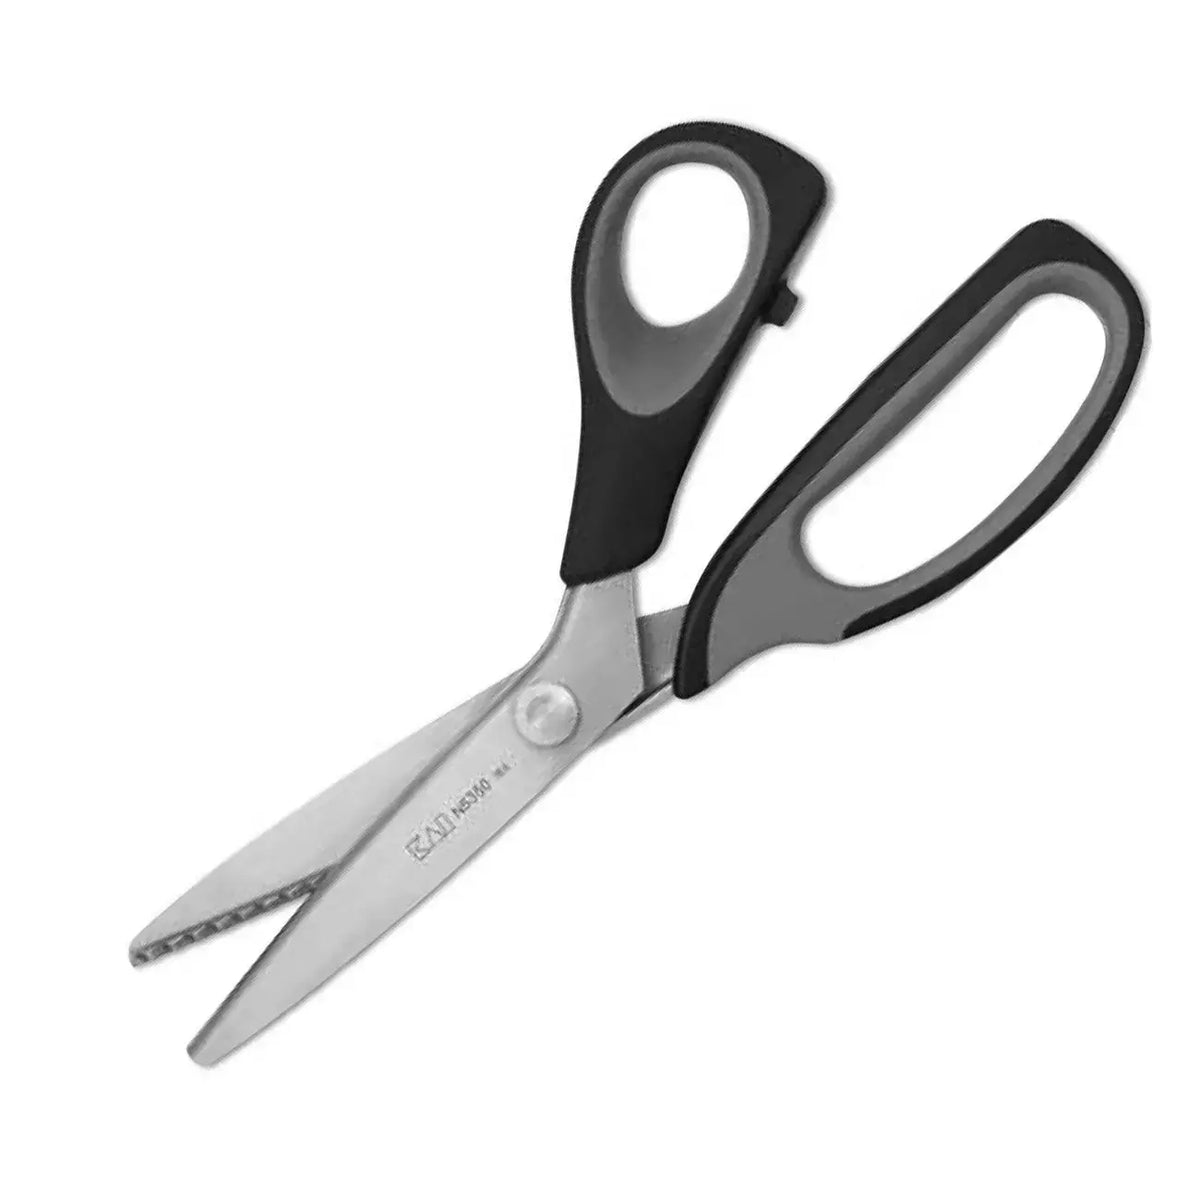
How to Use KAI Pinking Shears: Limit Fraying on Raw Fabric Edges
Every quilter and sewist knows the frustration of a freshly cut fabric edge that starts to unravel before the project is even finished. Threads pull loose, the weave loosens, and a clean edge turns fuzzy in the seam allowance. The KAI N5350 9 Inch Pinking Shears are made for exactly that problem. Instead of cutting a straight line, they cut a zigzag — and that simple change in shape helps your fabric edges hold up much better.
What Pinking Shears Are
Pinking shears are scissors with saw-tooth blades. When you cut with them, the fabric edge comes out as a series of small, even triangles rather than one long straight edge. The KAI N5350 is a 9-inch pair with black handles made of plastic and metal, and stainless steel blades. KAI describes them as strong and light for even the toughest of projects, with a comfortable, lightweight handle. One pair is included.
It is important to understand what that zigzag edge does — and what it does not do. Cloth edges that are unfinished will fray: the weave becomes undone and threads pull out easily. The saw-tooth pattern does not prevent fraying completely, but it limits the length of the frayed thread, and that minimizes the damage. Because each loose thread can only unravel as far as the next point in the zigzag, the edge stays far more intact than a straight-cut raw edge would.
Why Quilters and Sewists Use Them
Pinking shears are a quick way to finish raw edges inside garments and home-sewing projects where a serged or bound finish is not practical. In quilting, they are handy for trimming edges that will be handled a lot before they are sewn in — fabric cut ahead for a class, a swap, or a long-term project. They also trim excess fabric in a seam allowance, reducing bulk while helping the edge resist unraveling.
How to Use Them, Step by Step
- Cut your pieces first. Use your regular fabric scissors or rotary cutter and ruler to cut your pieces accurately to size. Pinking shears are for finishing the edge, not for precision pattern cutting.
- Work on a flat surface. Lay the fabric flat and smooth, with the edge you want to pink fully supported on the table.
- Align the zigzag. Place the shears so only a small amount of fabric extends past the cutting line. You want to trim the very edge so the zigzag replaces the straight edge, without eating into your seam allowance more than necessary.
- Cut with long, full strokes. Open the blades wide and use the full length of the blade for each cut, rather than taking small snips. Let each cut finish before starting the next one, and line up the teeth so the zigzag pattern stays continuous along the edge.
- Keep moving steadily. Work your way along the edge in one direction, supporting the fabric with your free hand well away from the blades.
Practical Tips
Reserve these shears for fabric only — cutting paper dulls any fabric blade faster. Test on a scrap first, especially with loose-weave fabrics. Remember that pinked edges limit fraying rather than eliminating it, so for items washed often, combine them with a stitched finish. Cut slowly around curves to keep the zigzag even.
Care and Storage
Wipe the stainless steel blades clean after use to remove lint and fiber dust. Store the shears closed, ideally in a sheath or a dedicated spot in your notions drawer, so the teeth are not nicked by other tools, and keep them dry.
Project Ideas
Try pinked edges on the inside seams of unlined tote bags and zipper pouches, on fabric gift wrap, on flannel receiving blankets, and on fabric you are cutting into kits or bundles to work on later.
Shop the KAI N5350 9 Inch Pinking Shears at Linda's Electric Quilters.


