
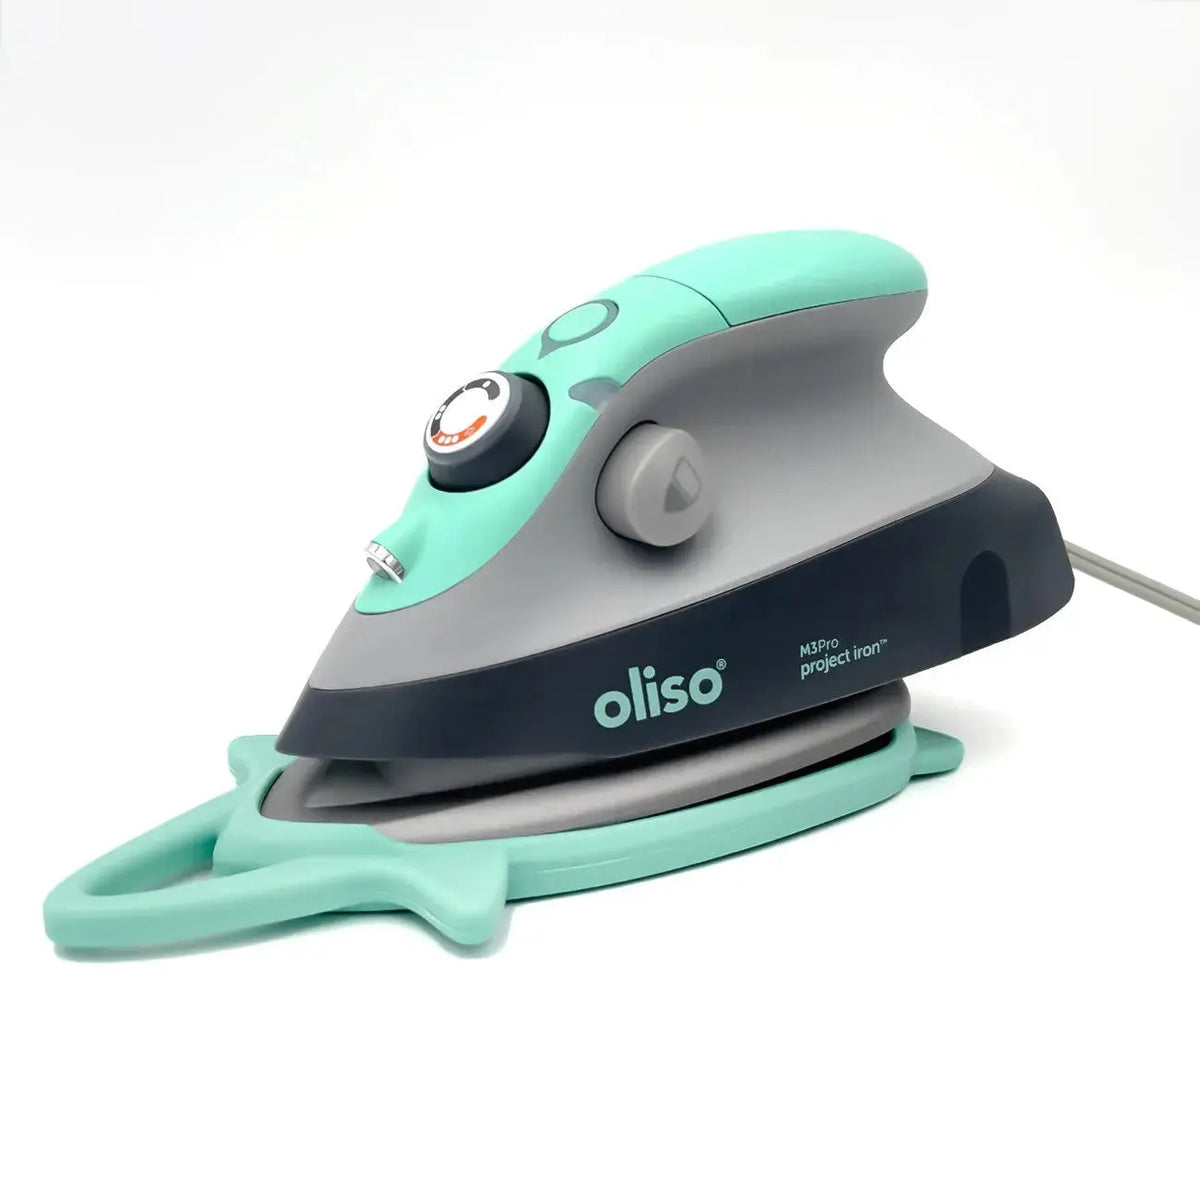
How to Use the Oliso M3Pro Mini Iron in Aqua: Pressing Tips for Quilters
Pressing is half of piecing. Seams pressed flat and creases pressed sharp make blocks line up and finished quilts look crisp instead of wavy. The Oliso M3 Pro Mini Iron With Trivet in Aqua is built for exactly that work: tailor-made for sewing, quilting, and crafting, it delivers the performance of a full-size iron in a sleek, compact design that sits right beside your sewing machine.
What the M3Pro Project Iron Is
The M3Pro is a mini project iron with 1000 watts of power, so it heats rapidly and maintains accurate fabric temperatures. Its Diamond Ceramic-Flow soleplate glides smoothly over fabric, and the detailer tip reaches into small seams and tight corners. Dynamic dual steam helps it press flat seams and sharp creases while removing wrinkles with ease. A patented LED ProLight casts light on the precision tip and fabric so you can see intricate details as you work. This version comes in Aqua and includes a trivet to rest the iron on between presses.
Why Quilters Reach for a Mini Iron
A full-size iron is fine for yardage, but most quilting pressing happens a few inches at a time: one seam allowance, one block corner, one strip set. A compact iron that fits snugly in your hand is easier to maneuver for that precision work, and its ergonomic design minimizes wrist strain during long piecing sessions. Because it fits beside your sewing machine or in your travel bag, you can press each seam as you sew — the habit that improves accuracy most — and take the same iron to class or retreat.
How to Use It: Step by Step
- Set up beside your machine. Place a small pressing surface next to your sewing station and rest the iron on its trivet while it heats. The rapid heat-up means you will not be waiting long.
- Choose your temperature. Set the iron for your fabric and let it reach and hold that temperature. Test on a scrap first when you are working with an unfamiliar fabric.
- Press seams as you sew. After stitching each seam, aim the ProLight at your work so you can see the seam line clearly, then press the seam flat. Use the detailer tip to nudge seam allowances fully open or to one side, especially at bulky intersections.
- Use steam for stubborn creases. For seams that resist lying flat or wrinkled yardage, use the dual steam as you press, moving the soleplate slowly so the heat and steam can do the work.
- Work in small sections. Press one block, row, or border at a time rather than wrestling a whole quilt top under the iron.
- Rest it safely between presses. Set the iron back on its trivet whenever your hands leave it. For convenience, the M3Pro has a 30-minute vertical and 10-minute horizontal standby mode with safety shut-off.
Practical Tips
Let the iron's heat do the pressing instead of scrubbing back and forth, which can stretch bias edges. Use the ProLight when pressing dark fabrics or detailed piecing, where seam lines are easy to lose. Press on a firm surface for the flattest seams, and press each seam before joining it to the next unit, so bulk never builds up under the soleplate.
Care and Storage
Always rest the hot iron on its trivet, never directly on your pressing surface or fabric. Let it cool completely before slipping it into a travel bag, wipe the soleplate only once cool, and store it on its trivet near your machine. The M3Pro carries a 3-year warranty from consumer purchase; for warranty issues, contact Oliso directly.
Project Ideas
Keep the M3Pro at your side for chain piecing, strip sets, and block assembly, where pressing every seam pays off in accuracy. It shines on appliqué, paper piecing, and small patchwork where a big iron is clumsy, and it is equally handy for garment sewing, bag making, and general crafting — anywhere a sharp, flat finish matters.
Shop the Oliso M3 Pro Mini Iron With Trivet Aqua at Linda's Electric Quilters.


