
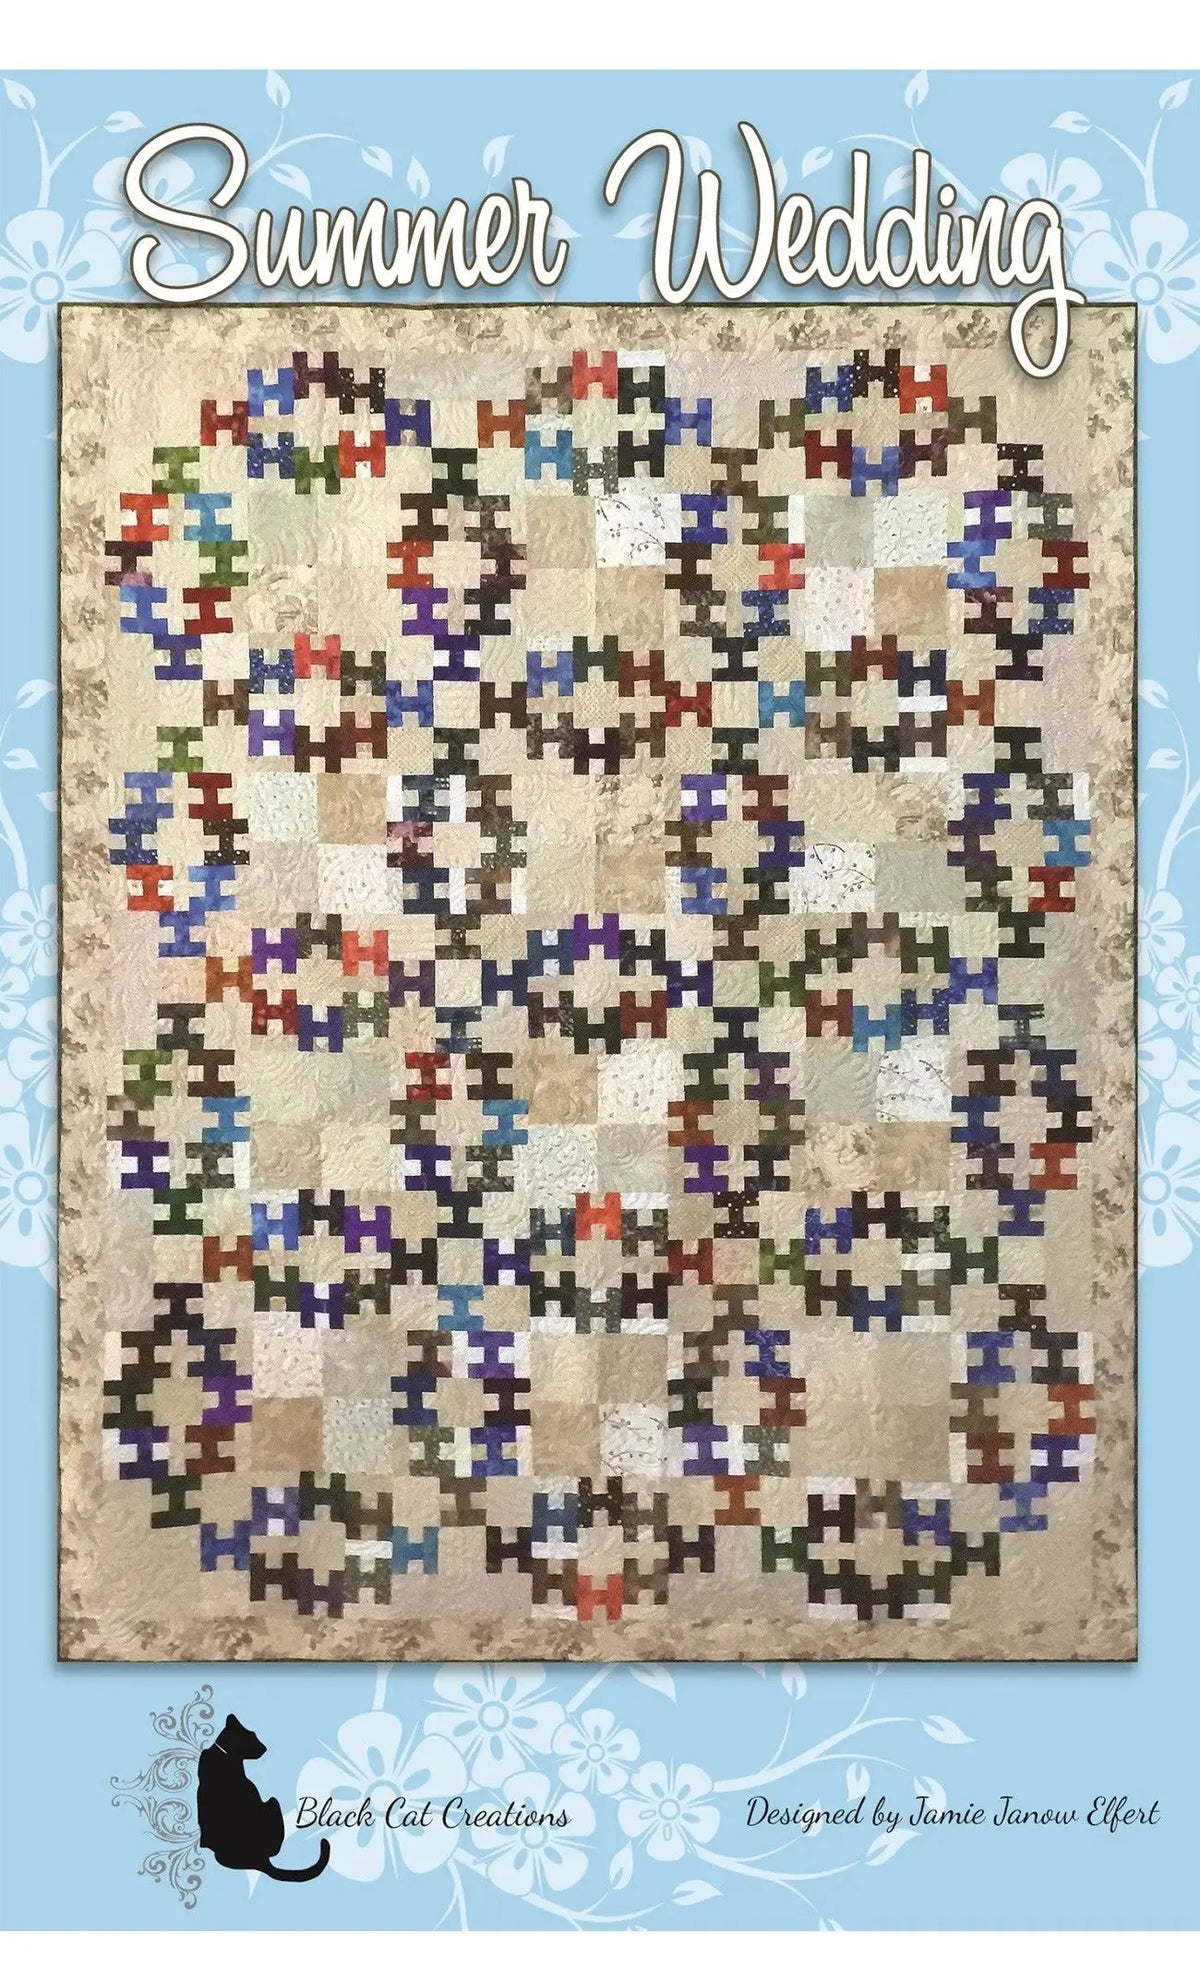
How to Use the Summer Wedding Quilt Pattern: A Treasured Gift Quilt in Four Sizes
Some quilts are made to keep, and some are made to give — and a quilt is one of the most treasured gifts we can offer a special couple. The Summer Wedding pattern helps you create a one-of-a-kind gift quilt using fabrics you already have on hand, paired with just the right background. It answers a familiar problem: occasions sneak up on us, and you still want a handmade gift that feels personal.
What the Summer Wedding Pattern Is and Why Quilters Use It
Summer Wedding is a quilt pattern with instructions for four finished sizes: 51 inches by 69 inches, 69 inches by 87 inches, 87 inches by 105 inches, and 105 inches by 105 inches. That range lets you scale the same design from a throw-size quilt to a big, heirloom-scale bed quilt.
Quilters reach for a pattern like this because it starts from your stash. Instead of buying a whole new coordinated collection, you pair fabrics on hand with a carefully chosen background. The background unifies them, giving assorted fabrics a calm, consistent setting so the quilt reads as one intentional design — economical and personal at once.
How to Use the Summer Wedding Pattern, Step by Step
- Choose your finished size first. Pick from the four sizes in the instructions — 51 by 69 inches, 69 by 87 inches, 87 by 105 inches, or 105 by 105 inches — based on how the quilt will be used and how much sewing time you have before the occasion.
- Shop your stash before you shop a store. Pull fabrics you already have on hand that suit the couple and the season, and lay them out together to check that they play well as a group.
- Select the background fabric. Choose a background that lets your stash fabrics shine and ties them together. Audition options by draping your fabrics over each candidate — the right one makes the other colors look richer.
- Follow the pattern instructions for your size. Work through the cutting and piecing steps for the size you selected, checking measurements as you go so your work stays consistent from the first unit to the last.
- Assemble, quilt, and bind. Join your units into the quilt top, layer it with batting and backing, quilt it in a durable, even style suited to a quilt that will be used and washed, and finish with a neat binding.
- Add a label. Stitch or write a label with the couple's names, the occasion, and the date. A label turns a beautiful quilt into a documented family keepsake.
Practical Tips
Be honest about your calendar: a finished smaller quilt given on time beats an ambitious large one given late. When building from stash, edit firmly — one fabric that fights the group will pull the whole top off balance, and leaving it out costs nothing. Press consistently as you piece, and reserve your background fabric for this project once you have cut into it, so you do not run short partway through a large size.
Care and Storage
Store the pattern flat in a folder or project binder, away from your cutting area, so the instructions stay clean and complete for the next occasion. While the quilt is in progress, keep cut pieces and finished units flat and together in one project box so nothing is lost between sessions. Once gifted, include a care note: gentle washing and flat or low-heat drying.
Project Ideas Beyond a Wedding
Although it was designed with weddings in mind, this pattern adapts beautifully to other celebrations. It would also make a sweet baby shower gift, a spring anniversary surprise, or a winter holiday present — simply change your fabric palette to suit the occasion. Soft pastels make it nursery-ready, fresh spring colors suit an anniversary, and rich seasonal fabrics turn it into a holiday quilt. With four sizes and a stash-friendly approach, it is a pattern you can return to whenever a meaningful occasion calls for something handmade.
Shop the Summer Wedding at Linda's Electric Quilters.


