
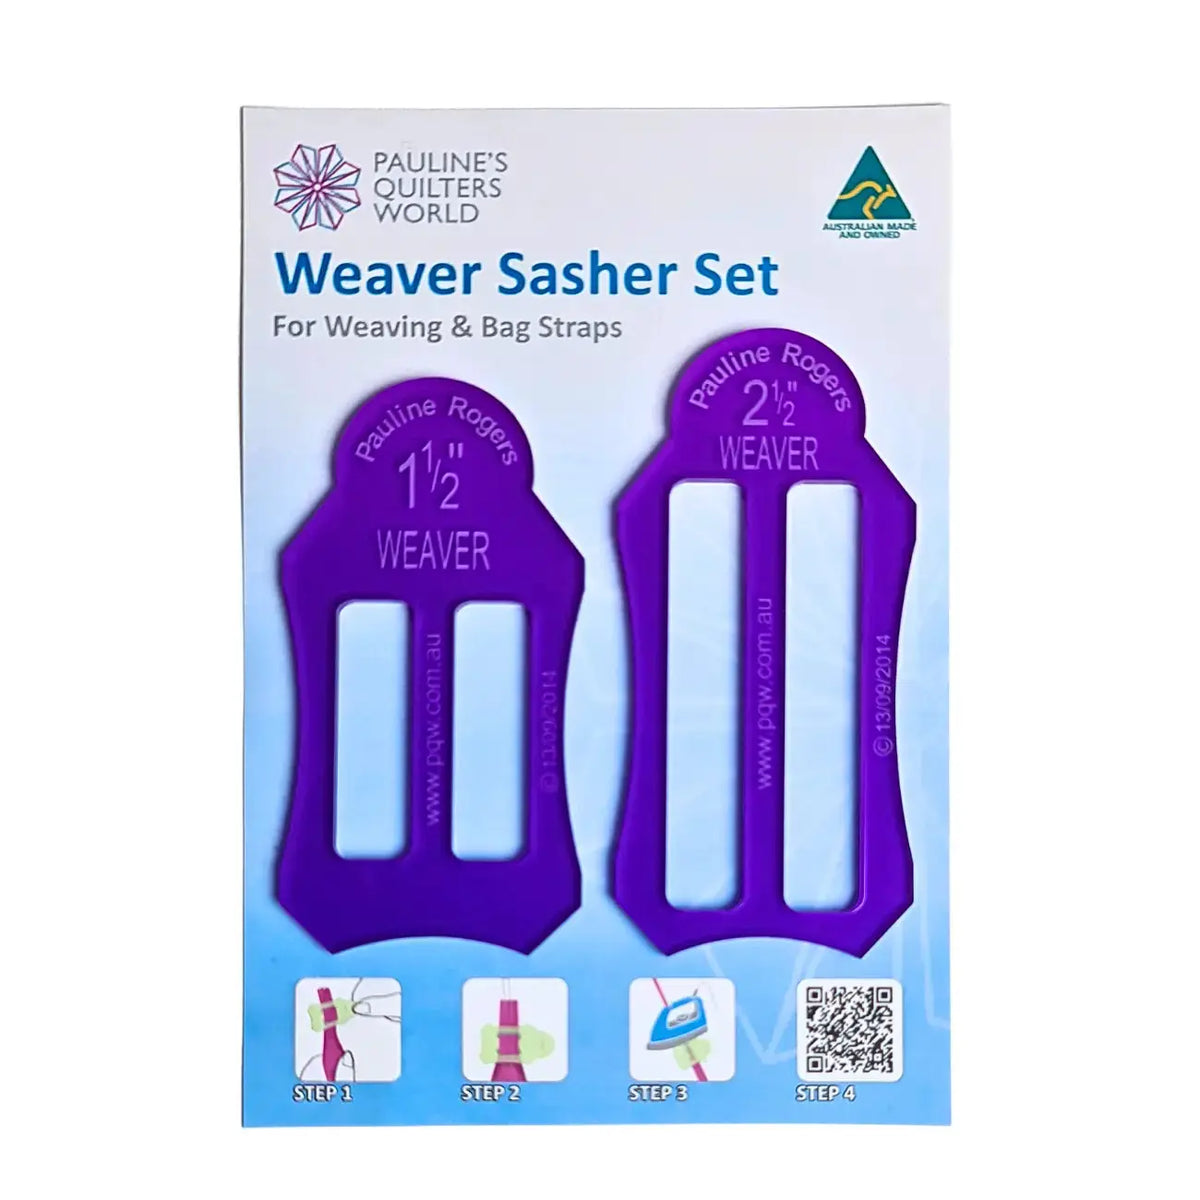
Woven quilts, rugs, and bags all start with neat, evenly folded strips of fabric layered over batting. Folding those strips by hand — pressing them with a hot iron inches from your fingertips — is slow, uneven work. The Weaver Sasher Set from Pauline's Quilters World (it replaces the earlier Bag Strapper Set) does that folding for you, so your weaving strips come out the same width from end to end.
What the Weaver Sasher Set Is
A Sasher is a folding tool that guides a strip of fabric — already layered with batting or wadding — as you slide it along and press the folds in place with your iron. The Weaver Sasher Set includes two sizes, 1 1/2 inches and 2 1/2 inches, so you can make narrower or wider weaving strips depending on your project. The sides of each Sasher have a curved shape, and that curve is deliberate: it lets the curved edge of your iron sit neatly against the tool as you push it along, which keeps the hot iron — and your fingers — safely apart.
Why Quilters and Sewists Use It
Weaving projects live or die on consistency. If one strip is a little wider than the next, the weave puckers and a rug that should lie flat starts to curl. The Weaver Sashers solve that by doing the measuring and folding mechanically: every strip fed through the same tool comes out folded to the same finished width, with the batting already tucked inside, ready to weave or stitch down.
The set was made with patterns like the Woven Floor Rug Pattern in mind, and the same padded strips also suit projects like the Benji Dog Coat Pattern.
How to Use It
- Cut your fabric to twice the tool width. Fabric must be cut twice the size of the Weaver Sasher you are using. For the 2 1/2-inch tool, cut your fabric strip 5 inches wide; for the 1 1/2-inch tool, cut 3 inches wide.
- Cut the batting a half inch narrower. Batting should be cut 1/2 inch narrower than the fabric. With the 2 1/2-inch tool, that means a 4 1/2-inch-wide batting strip; with the 1 1/2-inch tool, 2 1/2 inches wide.
- Layer fabric and batting. Lay the batting strip centered on the wrong side of the fabric strip, so an equal fold of fabric extends on each side.
- Feed the layered strip into the Sasher. Position the tool at the end of the strip so it folds both fabric edges in over the batting as it moves.
- Press as you push. Slide the Sasher slowly along the strip with one hand while following right behind it with your iron, its curved edge fitted against the Sasher's curved side. Press each section before moving on, so the folds are set as you go.
- Repeat for every strip. Work in a batch — cut, layer, fold, and press them all — so your weaving starts with matching strips.
Practical Tips
Respect the cutting math: fabric at twice the tool width and batting a half inch narrower lets the fabric wrap the batting without bunching. Keep your iron moving at the same pace as the Sasher — rushing leaves unfolded sections, and lingering can scorch. If a strip starts to drift, stop and realign rather than steering a crooked fold straight. Make a short practice strip first to get the rhythm before committing your project fabric.
Care and Storage
Let the Sashers cool completely after pressing before putting them away — they sit right against a hot iron in use. Wipe off any batting lint so the tools slide smoothly next time, and store both sizes together so the smaller tool doesn't wander off between projects.
Project Ideas
Start with the project the set was made for: a woven floor rug, using the wide 2 1/2-inch strips. Use the narrower strips for woven placemats, table runners, tote-bag panels, and basket sides, or try the Benji Dog Coat Pattern. Once you are comfortable, mix both widths in one weave for a striped, textured effect.
Shop the Weaver Sasher Set at Linda's Electric Quilters.


