
How to Trim Quilt Blocks Square: Using an 11-Inch Trim-It Ruler for Cleaner Piecing
A quilt comes together most easily when every block finishes at the same size. If one block is a little too large, a little skewed, or carrying extra fabric beyond the piecing, those small differences add up across a row — seams stop matching, points drift, and the finished top can ripple instead of lying flat. Trimming each block before you sew the blocks together is the simple step that prevents most of those problems, and the Lori Holt Cute Cuts Trim-it Ruler 11in x 11in is made specifically for that job.
What This Ruler Is
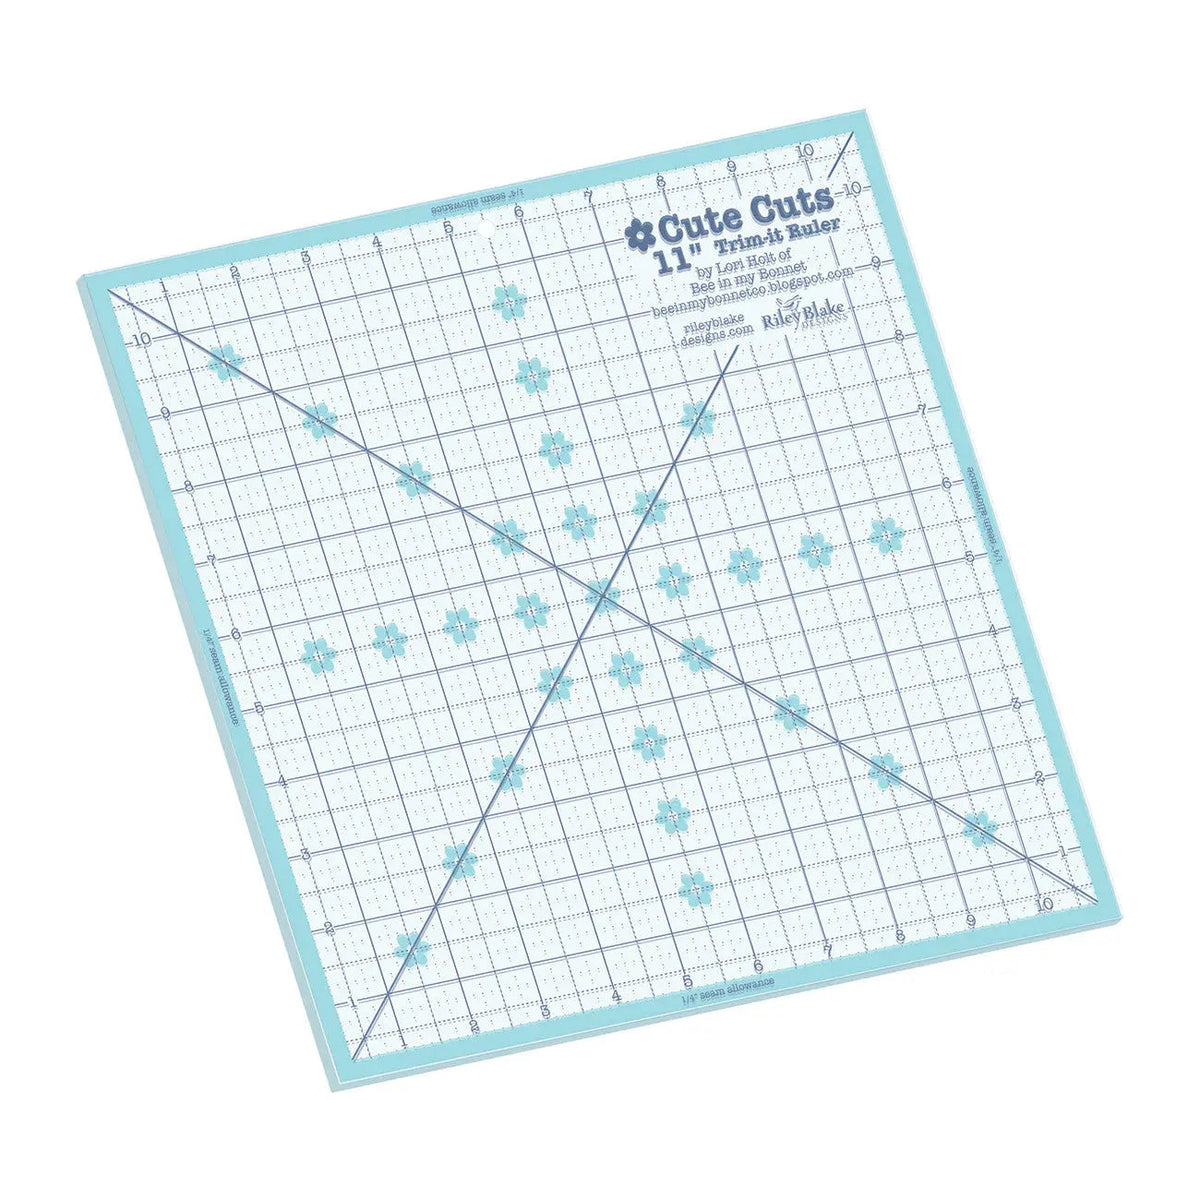
The Trim-it Rulers are designed by Lori Holt of Bee in my Bonnet. This version is a clear plastic quilting ruler measuring 11 inches by 11 inches, and one ruler is included. It is described as non-slip and easy to use for trimming up your blocks after piecing, applique, or embroidery.
Several printed features do the real work. Diagonal lines help you easily centre your block when trimming. Coloured outside 1/4-inch seam allowance marks help you see what will show of your block after it is sewn into your quilt — so you can check, before you cut, whether a point, motif, or applique shape sits too close to the seam line. The ruler also has aqua and denim markings printed in 1-inch grids, marked in 1/8-inch and 1/4-inch increments, giving you fine reference points without overwhelming the fabric underneath. Because the ruler is clear, you can see the block through it while you line everything up.
When an 11-Inch Square Is Useful
A square ruler is sized for the finished block you are trimming toward, so reach for this 11-inch size when your work needs to be squared to that dimension or smaller. It is a practical scale for individual pieced blocks, applique blocks where the background needs to be brought back to size after stitching, and embroidered blocks that may have shifted slightly during hooping and stitching. Applique and embroidery in particular can gently distort a background square, and trimming afterwards restores a clean, sewable edge.
How to Trim a Block, Step by Step
Start by pressing the block flat. Trimming a creased or puckered block only locks the problem in, so take a moment to press seams and smooth the block on a flat surface first.
Next, place the ruler over the block and use the diagonal lines to centre it. If the block has a clear centre — the intersection of a four-patch, the middle of an applique motif, or a design you have fussy cut — align the diagonals through that centre so the excess is shared evenly on opposite sides rather than taken from one edge only.
Before cutting, check the coloured 1/4-inch seam allowance marks around the outside. Imagine that line as the stitching line: everything outside it will be hidden in the seam, and everything inside it will show in the finished quilt. If an important point or motif falls outside that line, nudge the ruler now, not after the first cut.
Use the 1-inch grid and its 1/8-inch and 1/4-inch increments to confirm the ruler is positioned consistently on all four sides. Trim the first two opposite sides, then rotate the block, re-centre it with the diagonals, check the seam allowance marks again, and trim the remaining two sides. Working in that order — centre, check, cut, rotate, repeat — is what produces a block that is both the right size and truly square.
Tips for Better Results
Take off small amounts rather than forcing a badly distorted block to size in one pass; if a block is far off, re-pressing and gentle easing may serve it better than aggressive trimming. Keep your rotary cutting on a stable surface, hold the non-slip ruler firmly so it does not shift mid-cut, and always trim on a cutting mat to protect your table and blade. Finally, trim blocks as you finish each batch rather than saving a whole quilt's worth for the end — consistent blocks make the final assembly faster, flatter, and far less frustrating.
Shop the Lori Holt Cute Cuts Trim-it Ruler 11in x 11in at Linda's Electric Quilters.


