
How to Use a Reversible Cutting Mat for Cleaner, More Accurate Cuts
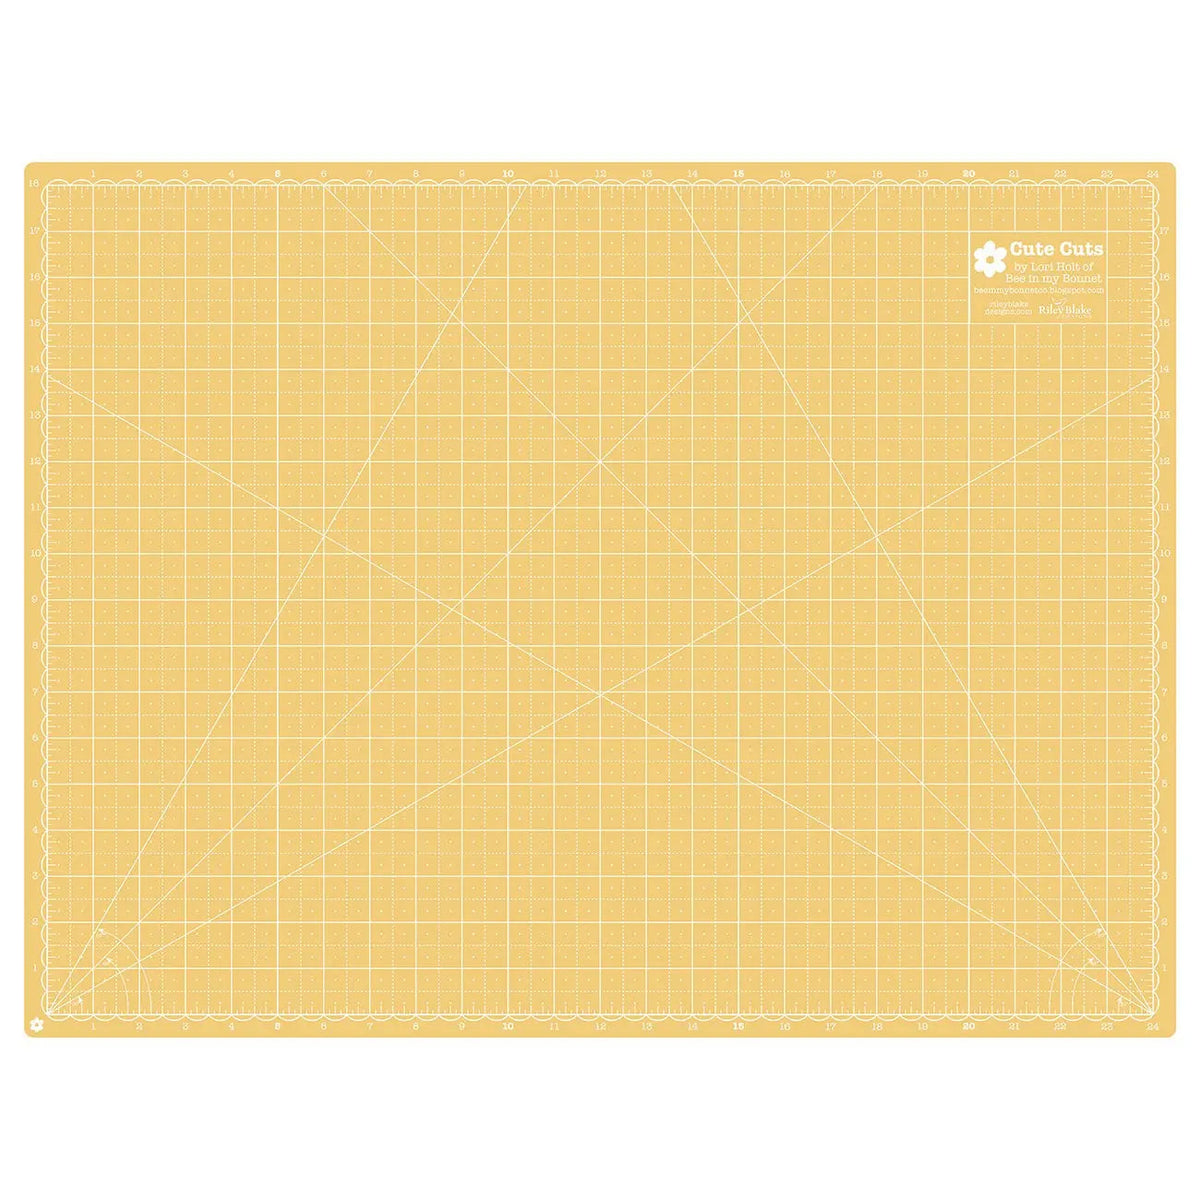
Accurate quilting starts long before the first seam. If your strips are slightly crooked or your squares drift out of size, those small errors add up across a whole quilt top. A good cutting mat gives you a flat, marked, and forgiving surface to measure and cut against — and the Lori Holt 18x24 Cutting Mat in Tea Rose and Honey, designed by Lori Holt of Bee in my Bonnet, is built to do that job on both sides.
What This Mat Is
This is an 18-inch by 24-inch reversible cutting mat made of plastic, in pink and yellow — the colors listed for this version are tea rose and honey. It has triple layers and is self-healing, and it has grids on both sides for a longer life. It is marked in inches only. According to the product description, it is perfect for quilting and general use.
That combination matters in everyday sewing. Triple layers give the mat body, so a rotary blade meets a firm surface instead of a flimsy sheet that flexes. A self-healing surface helps close up the fine lines left by repeated cuts, so old lines are less likely to catch today's blade. And because grids are printed on both sides, you can flip the mat over when one side gets heavily used — or when you want a fresh color and a clearer view.
Why 18 x 24 Inches Is a Useful Size
An 18 x 24-inch mat is a versatile middle size. It is large enough to lay out fat quarters, trim blocks, and cut strips from folded yardage for many quilting projects, yet small enough to sit comfortably on a sewing table, carry to a class, or store upright beside your machine. If you mostly cut smaller pieces, appliqué shapes, and individual blocks, this size often covers the work without taking over the whole table.
How to Use the Grid
Place the mat on a flat, stable table and smooth your fabric over it, aligning a fold or a straight edge with a printed grid line before you cut. Use the inch markings to position your ruler, double-check both ends of the ruler against the same grid line, and hold the ruler firmly with your non-cutting hand spread wide and fingers safely away from the edge. Cut in one smooth pass, keeping the blade vertical against the ruler.
For squaring blocks, align the center or seam lines of the block with the grid, trim two adjoining sides, then rotate the block — not just the ruler — and trim the remaining sides to your finished measurement. Working on a gridded, two-sided surface makes that rotate-and-check routine easy, because you can flip to the side that gives you the clearest contrast against your fabric: the pink tea rose side may read better under dark prints, while the yellow honey side may help pale fabrics stand out.
Tips for a Longer Mat Life
Rotate the mat regularly so cuts spread across the whole surface instead of concentrating along one favorite line, and flip it over from time to time to use the second grid. Store it flat, keep it out of prolonged sunlight and away from heat, and wipe it with a damp cloth when lint builds up. Never iron on it — heat can warp plastic, and a warped mat will never give you a truly straight cut again. Change rotary blades when they dull, too: a dull blade tempts you to press harder and make repeated passes, which gouges any mat faster.
Project Ideas
Keep this mat at the center of your cutting station for strip-piecing, squaring half-square triangles, trimming appliqué blocks, cutting binding strips, and sizing patchwork units before assembly. Its size also suits paper crafting and general cutting tasks beyond quilting, as the description notes.
A cutting mat quietly determines how well everything else fits together. A reversible, self-healing, triple-layer mat in a practical size is a sensible foundation for that work.
Shop the Lori Holt 18x24 Cutting Mat Tea Rose/Honey at Linda's Electric Quilters.


