
Hey everyone! Today we're turning one printed panel into a patriotic pillow you can sew in an afternoon.
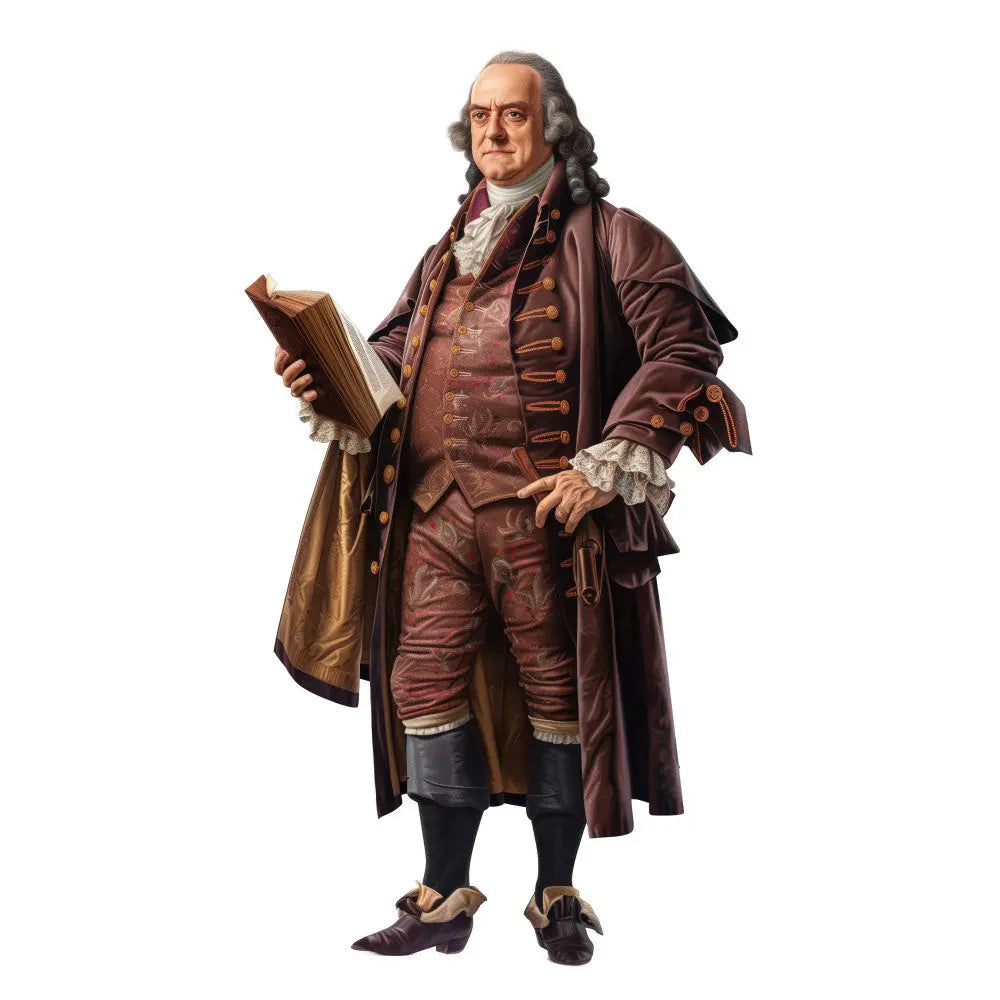
Here we go. The fabric is the 1776 Independence Day Fabric Panel 11. It is 100% premium quilting cotton, and it is proudly printed in the United States of America. That matters here, y'all. The panel is the picture, so the cotton needs to hold the print clean and crisp.
One honest note from the maker: colors on a browser screen may differ in tone from printed cotton fibers. Look at your panel in good daylight, then pick your backing and binding fabrics under that same light.
A panel like this needs no complicated pattern. We're not reinventing the wheel here. The art is already done for you. Your job is to frame it, add a soft back, and get a pillow form inside it.
Why This Panel Suits a Pillow
A pillow is a perfect job for a single panel. You keep the whole scene together, just like it was printed. No cutting the picture into pieces. No matching a stack of seams. Just one strong front that reads across the room.
It is also useful. A pillow gets hugged, leaned on, and tossed on the couch for the Fourth. If I can do this, y'all can do it. It doesn't have to be perfect. You're your own worst critic, folks. Take your time. It's not a race.
Materials List
- 1 panel: 1776 Independence Day Fabric Panel 11
- Backing fabric: 1/2 yard of quilting cotton for an envelope back
- Pillow form: choose one close to your trimmed panel size, 18 inches square is a common, easy size to start from
- Optional thin batting or fusible fleece: same size as your pillow front, if you want a little quilting
- Optional binding: 1/4 yard, cut into 2 1/2-inch strips, if you want a framed edge
- Thread to match your backing, and a quilting thread for the top
- Rotary cutter, ruler, pins or clips, and a walking foot if you have one
First thing: measure your actual panel after you square it up. Write it down. Your form and backing cuts all start from that real measurement.
Brief Steps
Step 1: Press and square. Press the panel flat. Square the edges with a ruler and rotary cutter, taking off as little as you can. Slow down here. A front that starts square finishes square.
Step 2: Quilt the front, if you like. Layer the panel over thin batting or fleece. Start with stitch in the ditch around the printed border, if it has one. Then echo about 1/4 inch out. Use a walking foot and a stitch length around 2.5. Keep it light. You want soft, not stiff.
Step 3: Cut the envelope back. Cut two backing pieces, each the full width of your front and about two-thirds of its height, plus 1 inch for hems. For an 18-inch front, two pieces about 18 by 13 inches works well. Hem one long edge on each with a double 1/2-inch fold.
Step 4: Layer front and back. Lay the front right side up. Lay the back pieces right side down on top, hemmed edges overlapping in the middle by 3 to 4 inches. Pin around every 3 to 4 inches.
Step 5: Sew and turn. Sew around all four sides with a 1/2-inch seam. Clip the corners, careful not to cut your stitches. Turn right side out through the opening. Push the corners out gently. Just like that, you're ready for the form.
Step 6: Add the form. Roll the form in half, slide it in, then let it open into the corners. Smooth it flat. Fluff, step back, and enjoy it.
Practical Tips From the Table
Warn yourself at the moment of risk: the corners. Sew a sharp turn too fast, and that corner can pucker. Slow down, needle down, pivot clean. I have rushed that turn and picked it out more than once. The fix is easy if you catch it early.
Keep your quilting light on a printed panel. Dense stitching can fight the picture and make the front feel boardy. A ditch line, a little echo work, and you're done. Let the print do the talking.
Want options? Skip the quilting for the fastest finish. Add binding for a framed look. My preference is a simple quilted front with no binding, nice and soft, but the other ways work fine too. Completely up to you.
Most of all, enjoy this one, folks. It is patriotic, it is personal, and it came off your own table. Be proud of that finish.
Thanks so much for sewing along with me today. We'll see you next time. Bye.
Shop the 1776 Independence Day Fabric Panel 11 at Linda's Electric Quilters.


