
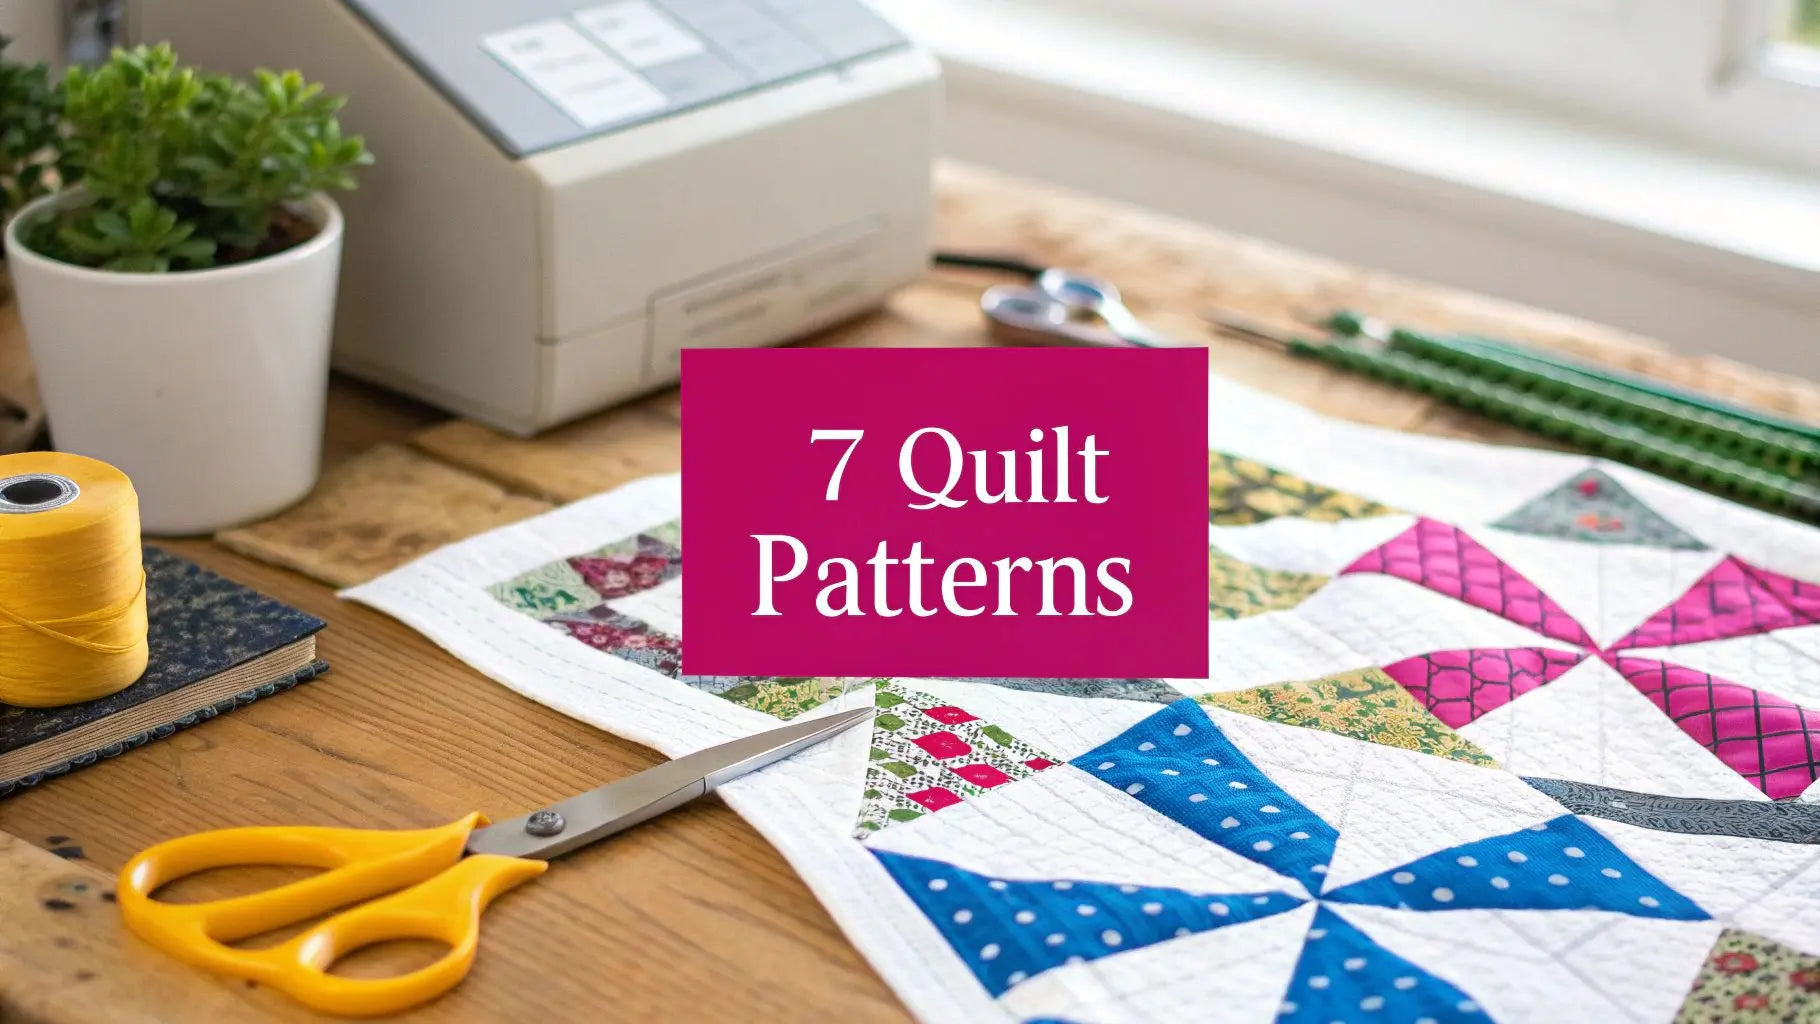
Welcome to the wonderful world of quilting! It's a craft filled with creativity, comfort, and the joy of making something beautiful with your own two hands. If you're just starting out, the sheer number of patterns and techniques can feel overwhelming, but the secret is starting simple. You don't need years of experience to create a stunning quilt; you just need the right first project.
This guide is designed to get you started with confidence. We've curated a list of seven fantastic and truly easy quilt patterns for beginners, each chosen to help you master fundamental skills. From precise fabric cutting and piecing to sewing a perfect quarter-inch seam, these projects are the building blocks of your quilting journey. We'll break down each pattern, explaining why it’s a great choice and providing practical, educational tips to ensure your first quilt is a success you can be proud of.
To ensure your success, having the right supplies is essential. At Linda's, we have over 30,000 products to help you succeed, from vibrant pre-cut fabric bundles perfect for these patterns to the essential threads, rulers, and notions you'll need. Let's dive in and find the perfect pattern to begin your quilting adventure.
1. Rail Fence Pattern
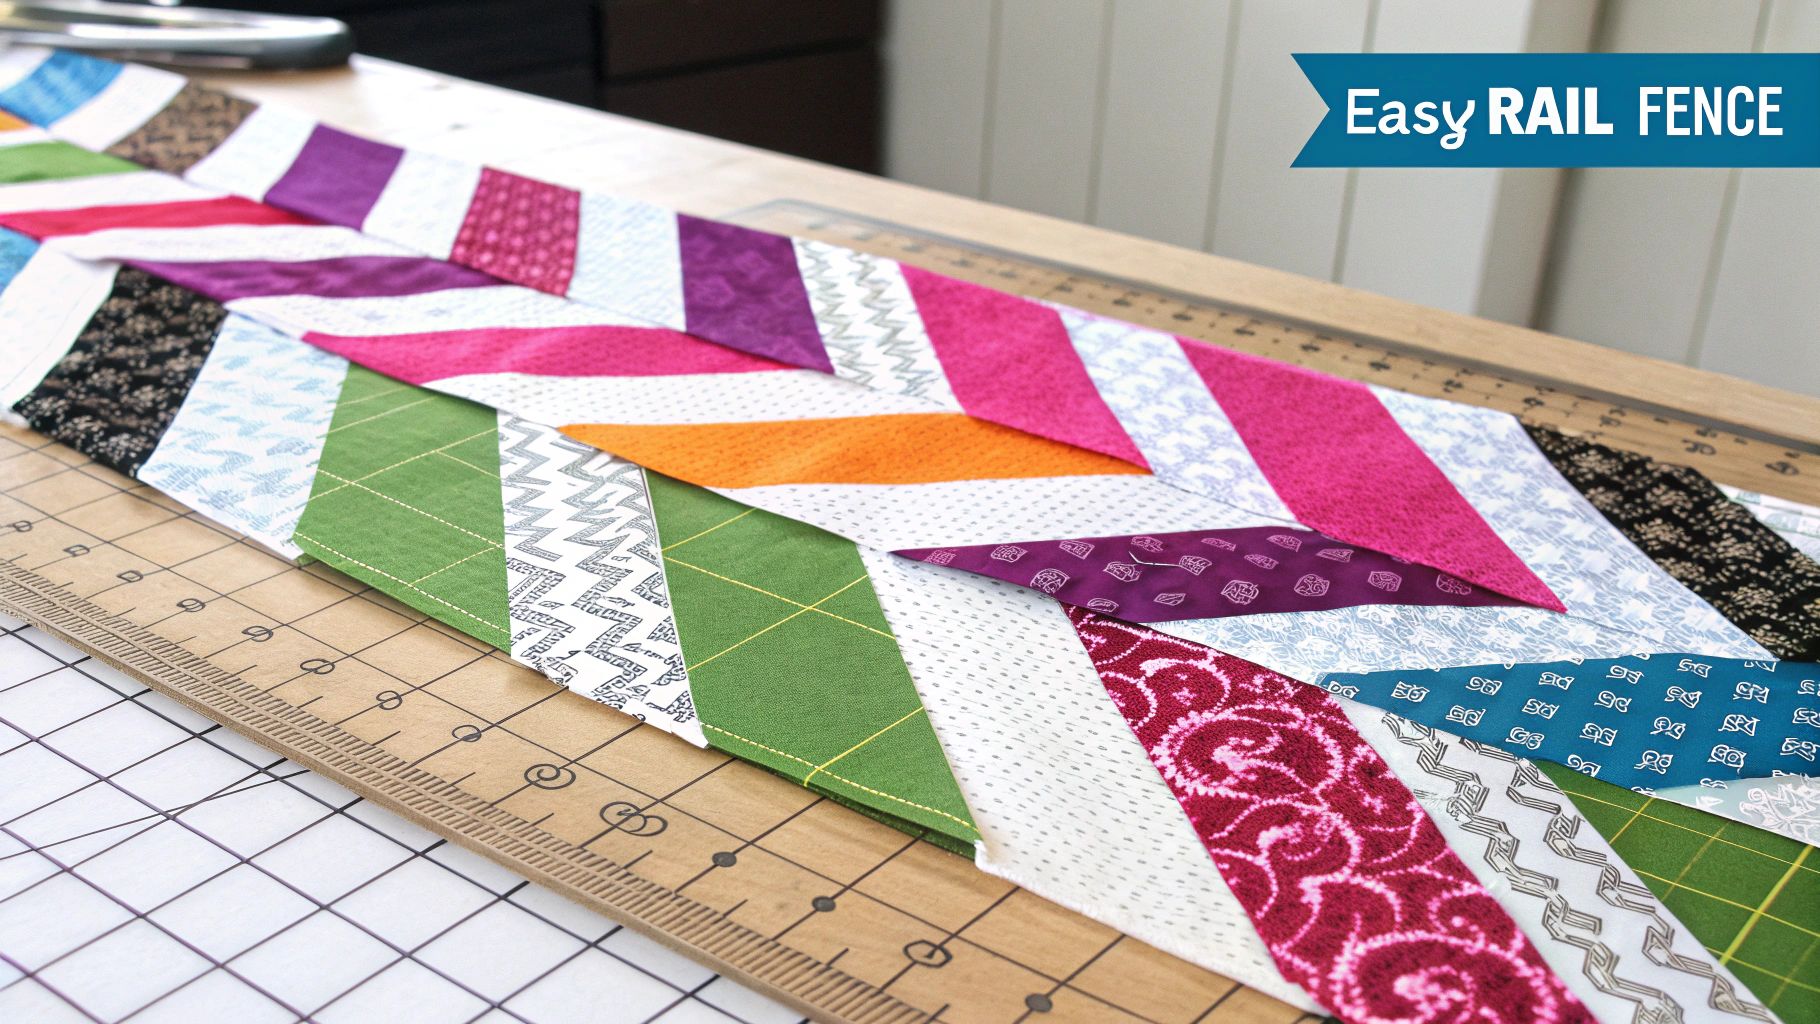
The Rail Fence is a quintessential first project and one of the most beloved easy quilt patterns for beginners. Its charm lies in its simplicity. The entire quilt is constructed from rectangular fabric strips sewn together into blocks, which are then arranged to create a dynamic zigzag or "fence" effect. This pattern requires only straight-line sewing and basic cutting, making it an excellent way to build fundamental quilting skills without feeling overwhelmed.
The core of the Rail Fence pattern is the block, typically made of three or four fabric strips sewn together along their long edges. Once you create a stack of these identical blocks, the magic happens when you start arranging them. By simply rotating each block 90 degrees, you can create various striking designs, from classic zigzags to cascading steps or even complex-looking diamonds.
Why It's Great for Beginners
The Rail Fence pattern is ideal for newcomers because it minimizes complexity while maximizing visual impact. It's a forgiving pattern that doesn't demand perfect point matching, which is often a source of frustration for new quilters. This makes it a fantastic project for mastering the quarter-inch seam allowance, learning how to press seams effectively, and understanding how block orientation affects the final design. The repetitive nature of strip piecing helps build muscle memory and confidence.
Actionable Tips for a Perfect Rail Fence
- Fabric Selection: Choose fabrics with strong contrast in color or value (light vs. dark) to make the "fence" design pop. A jelly roll (a bundle of pre-cut 2.5-inch strips) is a perfect shortcut for this pattern, providing perfectly coordinated strips ready to sew.
- Consistent Cutting: Use a rotary cutter, mat, and ruler to ensure all your strips are cut to the exact same width. This is the key to creating uniform blocks that fit together perfectly.
- Seam Pressing: Press the seams of your strips in one direction. When you sew the blocks together, nesting the seams (placing seams pressed in opposite directions against each other) will help you achieve crisp, aligned intersections.
- Use a Walking Foot: A walking foot attachment for your sewing machine helps feed the multiple layers of fabric evenly, preventing puckering and shifting as you sew your strips together.
Pro-Tip: Before sewing your blocks into rows, lay them out on a design wall or a large, clear floor space. This allows you to visualize the final pattern and easily rearrange blocks until you're happy with the composition.
A Rail Fence quilt is more than just a beginner project; it’s a canvas for creativity. You can see beautiful examples in traditional Amish quilts using solid colors or modern interpretations like those from Missouri Star Quilt Company that use vibrant prints or gradient fabrics.
Ready to start this project? Find the perfect jelly rolls, a sharp rotary cutter, and all the essential quilting notions you need at Linda's to bring your Rail Fence project to life.
2. Four Patch Pattern
The Four Patch is a cornerstone of quilting and one of the most fundamental easy quilt patterns for beginners. It is a simple block constructed from four equal squares of fabric sewn together in a two-by-two grid. This classic pattern is the essential building block for countless intricate and beautiful quilt designs, making it the perfect project for mastering core quilting skills.
The beauty of the Four Patch lies in its versatility. You can use just two contrasting fabrics for a classic checkerboard effect or go "scrappy" by using a wide variety of different fabrics for a vibrant, energetic look. The final quilt design is created by arranging these simple blocks, often alternating them with plain squares of fabric to allow the pattern to shine.
Why It's Great for Beginners
The Four Patch is the ideal starting point for learning precision. It teaches the absolute importance of accurate cutting and maintaining a consistent quarter-inch seam allowance. Success with this pattern builds a strong foundation for more complex projects that require matching points and intersections. Because the construction is straightforward, new quilters can focus on technique, learning how to press seams effectively to create perfectly flat, square blocks.
Actionable Tips for a Perfect Four Patch
- Fabric Selection: For a high-impact design, choose fabrics with strong value contrast (light vs. dark). Charm packs (bundles of pre-cut 5-inch squares) are an excellent shortcut, saving you time on cutting.
- Chain Piecing: To work efficiently, sew your squares into pairs without cutting the thread between them. This technique, known as chain piecing, saves time and thread while helping you maintain a consistent rhythm.
- Seam Pressing: Press the seam on each pair of squares toward the darker fabric to prevent it from showing through the lighter side. When you join the pairs to complete the block, the seams will "nest" together, creating a perfectly aligned center point.
- Square Up Your Blocks: Use a square quilting ruler to trim each finished Four Patch block to its final, exact size. This step, called "squaring up," ensures all your blocks are uniform and will fit together flawlessly in the final quilt top.
Pro-Tip: To create nested seams, press the seams of your first row of blocks to the right and the seams of your second row of blocks to the left. When you sew the rows together, the opposing seams will lock into place perfectly.
The Four Patch is a timeless pattern seen everywhere from traditional Amish quilts and Irish Chain designs to the modern, scrappy masterpieces by designers like Anna Maria Horner. Its simplicity is a canvas for your creativity.
Ready to master this essential block? Find the perfect charm packs, a high-quality square ruler, and all the quilting notions you need at Linda's to create a stunning Four Patch quilt.
3. Nine Patch Pattern
A foundational block in quilting history, the Nine Patch is one of the most versatile and easy quilt patterns for beginners. It builds upon basic square-piecing skills and introduces the concept of block construction in a simple, manageable way. The design consists of nine same-sized squares arranged in a three-by-three grid, often creating a checkerboard effect by alternating light and dark fabrics. This pattern requires only straight seams and accurate cutting, making it the perfect next step for quilters who have mastered simpler blocks.
The classic Nine Patch block is constructed by sewing three squares together to form a row, and then sewing three of these rows together. The real beauty of the Nine Patch lies in its versatility. You can use it as a standalone block, alternate it with plain squares for a classic look, or combine it with other blocks to create intricate secondary patterns. It’s a true building block of quilt design.
Why It's Great for Beginners
The Nine Patch is an excellent skill-builder because it introduces the importance of matching seam intersections without being overly complex. It’s a fantastic way to practice precision cutting and maintaining a consistent quarter-inch seam allowance. Assembling the three-by-three grid helps new quilters understand block construction and how pressing seams in specific directions can lead to flatter, more accurate results. The pattern is also incredibly scrap-friendly, allowing you to use up small leftover pieces of fabric.
Actionable Tips for a Perfect Nine Patch
- Try Strip Piecing: For a much faster method, sew long strips of fabric together first, then cross-cut them into row segments. This technique, popularized by quilters like Bonnie Hunter, ensures perfect alignment and saves a significant amount of time.
- Press for Success: Press the seams of your top and bottom rows in one direction (e.g., outwards) and the seams of your middle row in the opposite direction (e.g., inwards). This allows the seams to "nest" together when you join the rows, resulting in perfectly matched corners.
- Pin at Intersections: Place a pin directly where the seams of two rows meet to prevent any shifting while you sew. This is a crucial step for achieving those sharp, professional-looking points.
- Check Your Seam Allowance: Before you start, make a test block. If your finished block isn't the correct size, you may need to use a "scant" quarter-inch seam, which is just a thread's width smaller than a true quarter-inch.
Pro-Tip: Lay out all your cut squares on your cutting mat or a small design board before you start sewing. This helps you keep your color placement organized and prevents you from accidentally sewing the wrong pieces together.
The Nine Patch is a timeless design seen everywhere from traditional Amish quilts to modern interpretations by designers like Camille Roskelley. It proves that simple elements can create stunningly complex and beautiful results.
Ready to tackle this classic block? Visit Linda's online or in-store to find the perfect charm packs (pre-cut 5-inch squares), precision rulers, and high-quality cotton fabrics to make your Nine Patch quilt a masterpiece.
4. Log Cabin Pattern
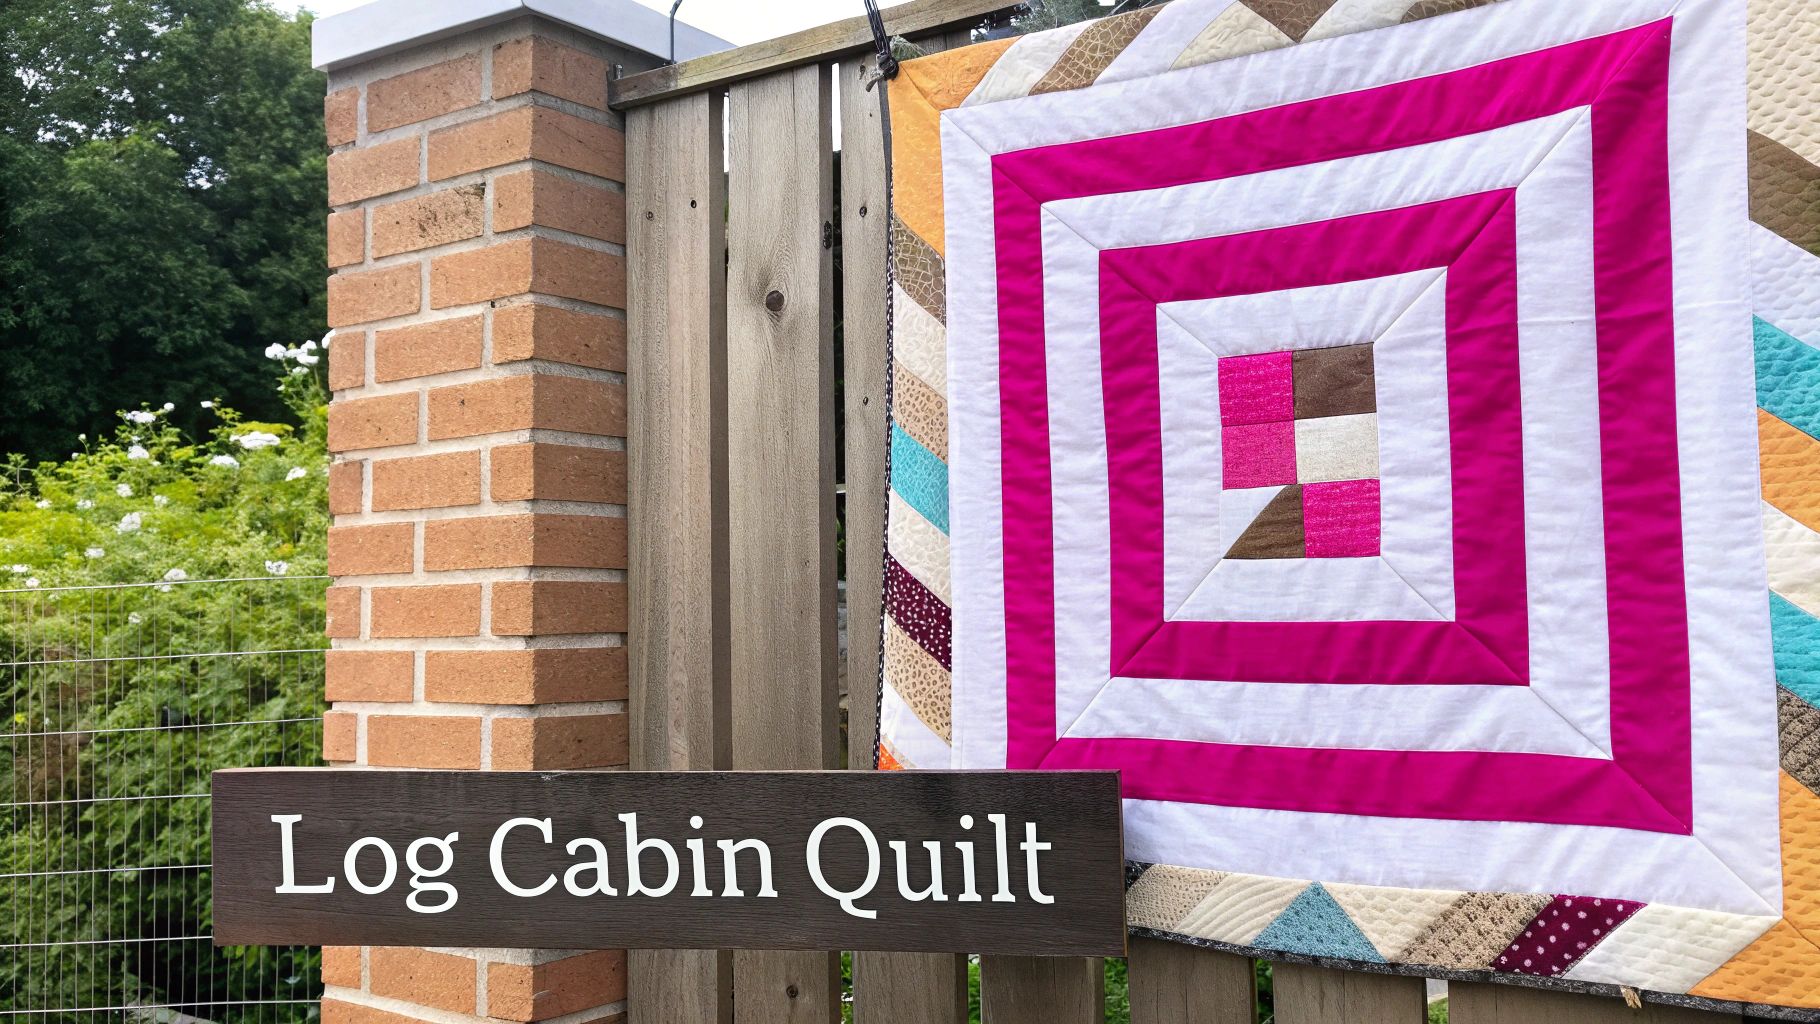
The Log Cabin is a timeless design and one of the most versatile easy quilt patterns for beginners. The block is constructed around a central square, traditionally red to symbolize the hearth of a home, with fabric "logs" or strips added sequentially around it. This pattern masterfully plays with color and value by placing light fabrics on two adjacent sides and dark fabrics on the other two, creating a distinct diagonal divide within each block.
What makes the Log Cabin so captivating is the incredible variety of secondary patterns that emerge when the blocks are combined. By simply turning the blocks, you can create designs like "Barn Raising," "Sunshine and Shadow," or "Straight Furrows," each with a completely different visual effect. This built-in versatility makes it a pattern that quilters return to again and again.
Why It's Great for Beginners
The Log Cabin block is an excellent skill-builder that introduces the concept of block construction in a simple, step-by-step process. Since you are sewing strips onto a growing center, it only requires straight-line sewing and doesn't involve any complex angles or points. This repetitive "sew and flip" method helps new quilters perfect their seam allowance and pressing techniques, building a strong foundation for more intricate patterns down the road.
Actionable Tips for a Perfect Log Cabin
- Fabric Selection: The key to a dynamic Log Cabin quilt is strong contrast. Separate your fabrics into two distinct piles: light and dark. Using a precut charm pack for the centers and a jelly roll for the logs can save time and ensure coordination.
- Accurate Cutting: Precision is important for Log Cabin blocks. Use a quality rotary cutter and ruler to ensure your center square and all log strips are cut to the exact same width for blocks that fit together flawlessly.
- Pressing is Key: Consistently press your seams toward the newly added log (away from the center). This helps the block lay flat and reduces bulk, making it much easier to quilt later.
- Stay Organized: Keep your light and dark strips separate and maintain a consistent order of adding them around the center square. This ensures every block has the same light/dark orientation.
Pro-Tip: Before you start your project, make one or two test blocks. This helps you check your cutting accuracy, confirm your quarter-inch seam is correct, and get comfortable with the construction process before cutting into all your beautiful fabric.
The Log Cabin has a rich history, from traditional quilts of the Civil War era to modern, scrappy interpretations by artists like Victoria Findlay Wolfe. It’s a design that truly stands the test of time.
Ready to build your first Log Cabin? Stop by Linda's to find the perfect center squares, coordinating jelly rolls, and precision cutting tools you need to build your quilt block by block.
5. Flying Geese Pattern
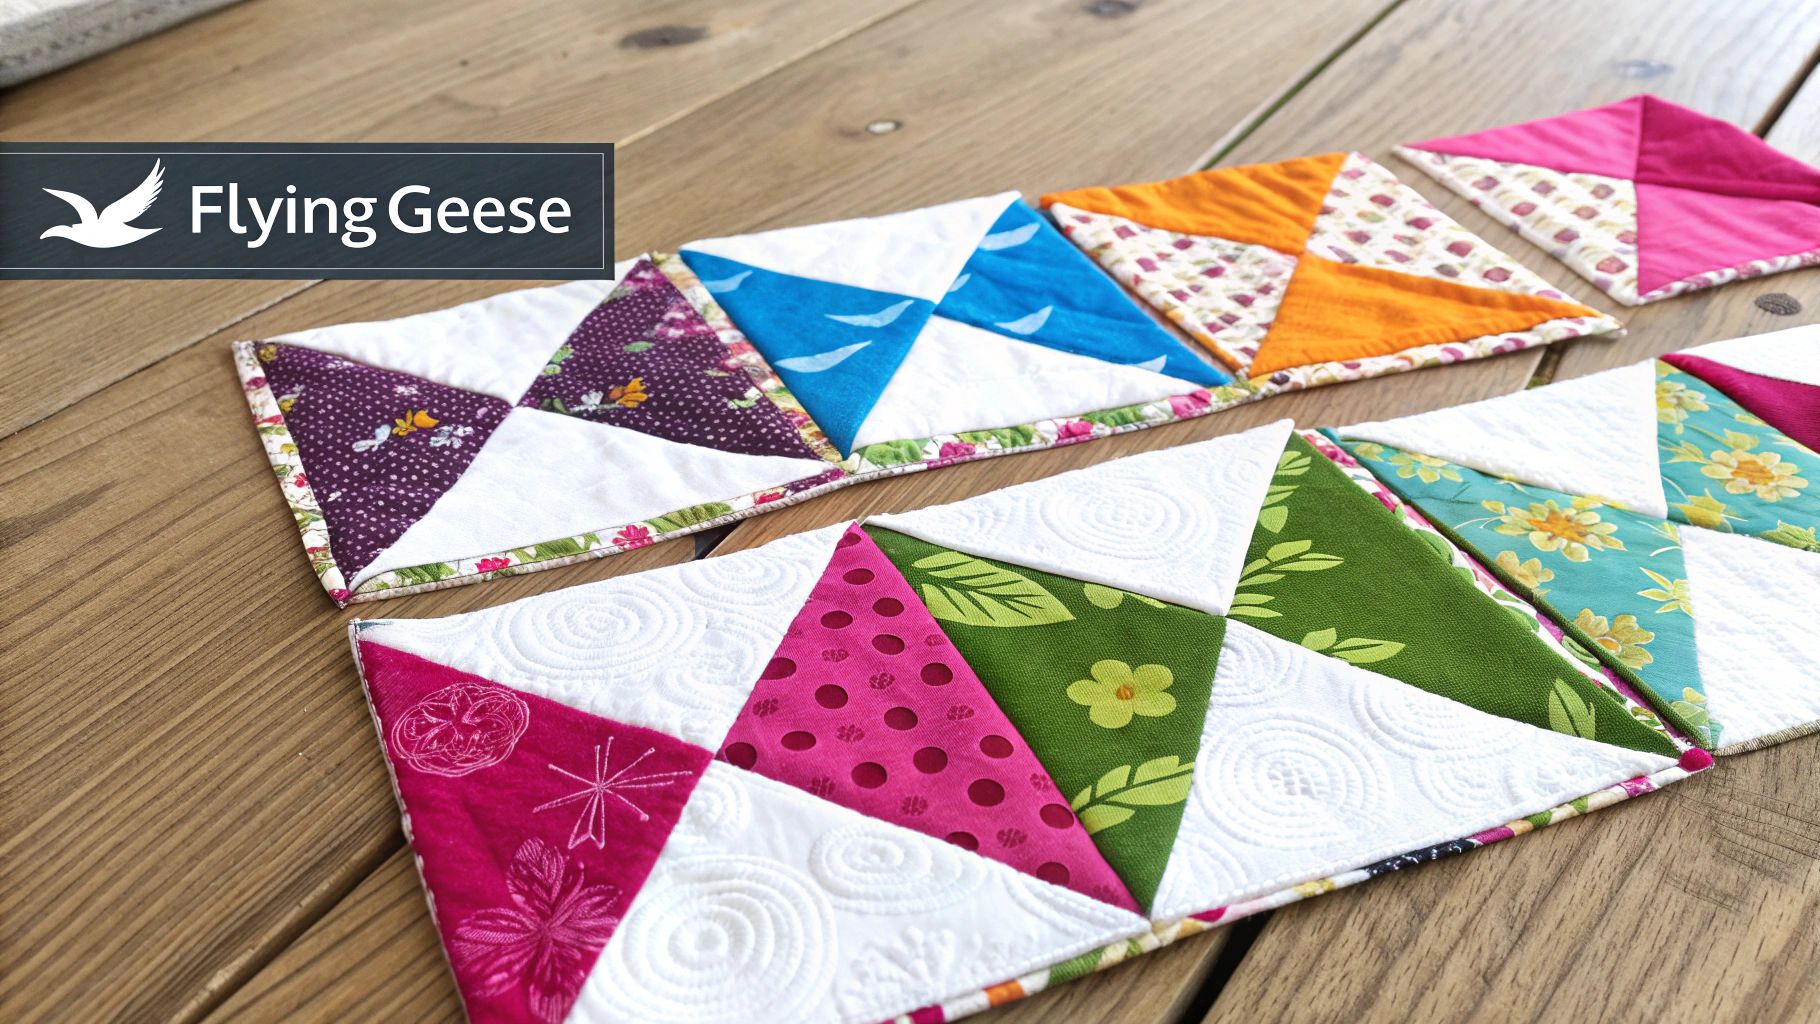
The Flying Geese pattern is a classic design that adds a sense of movement and direction to any quilt. While it may look complex, it’s one of the most versatile and easy quilt patterns for beginners thanks to several clever construction methods. The block consists of a large triangle (the "goose") flanked by two smaller triangles (the "sky"), creating a simple rectangular unit that can be arranged in endless configurations.
At its core, the Flying Geese pattern is about creating these iconic rectangular blocks and arranging them to form chevrons, zigzags, or sawtooth borders. The dynamic, directional nature of the blocks makes them perfect for creating visual interest, leading the eye across the quilt top. Methods like the "four-at-a-time" technique allow beginners to make multiple precise blocks at once with minimal fabric waste.
Why It's Great for Beginners
The Flying Geese pattern introduces beginners to working with triangles and bias edges in a controlled, manageable way. Modern, no-waste techniques popularized by quilters like Eleanor Burns eliminate complicated math and tricky cutting, making the process straightforward and rewarding. Mastering this block opens the door to countless other quilt designs and builds a quilter's confidence in handling different geometric shapes beyond simple squares and rectangles.
Actionable Tips for a Perfect Flying Geese
- Choose the Right Method: Start with a beginner-friendly technique like the "four-at-a-time" or "no-waste" method. These methods use squares to create the triangles, avoiding the need to cut individual triangles and handle stretchy bias edges.
- Starch is Your Friend: Lightly spray your fabric with starch or a sizing spray before cutting. This will give the fabric more body and stability, preventing the bias edges from stretching out of shape as you sew.
- Accurate Trimming: After sewing, use a quilting ruler with a 45-degree line to trim your blocks to the exact unfinished size. This step is crucial for ensuring all your geese are uniform and will fit together perfectly in the final quilt.
- Pressing Matters: Press your seams toward the smaller "sky" triangles. This helps reduce bulk at the points and allows the seams to nest neatly when you join the blocks together.
Pro-Tip: Pay close attention to your quarter-inch seam allowance. A scant quarter-inch seam is often recommended for Flying Geese to ensure that the point of the "goose" triangle isn't lost when you sew the blocks together.
Flying Geese are a cornerstone of quilt design, appearing in everything from traditional Migration quilts to modern minimalist designs. You can see stunning examples in the work of Deb Tucker of Studio 180 Design, who has developed specialized rulers to make their creation even more precise.
Ready to make your geese fly? Stop by Linda's to find the perfect high-contrast fabrics, specialty rulers, and spray starch you need to create crisp, beautiful Flying Geese blocks for your next project.
6. Disappearing Nine Patch
The Disappearing Nine Patch is one of the most magical and easy quilt patterns for beginners. It offers the satisfaction of creating an intricate-looking design from a very simple starting point. The technique involves sewing a basic nine-patch block, cutting it into four equal quadrants, and then rearranging those new pieces to create a more complex, secondary pattern. It's a fantastic introduction to the concept of deconstruction and reconstruction in quilting.
The process begins by creating a standard nine-patch block using nine squares of fabric arranged in a three-by-three grid. Once sewn, this block is "disappeared" by making two cuts, one vertically and one horizontally, through its center. The four resulting smaller blocks are then rotated and sewn back together. When you repeat this process across an entire quilt top, the original nine-patch vanishes, revealing a stunning, interconnected design that looks far more complicated than it actually is.
Why It's Great for Beginners
The Disappearing Nine Patch is a huge confidence booster. It teaches fundamental skills like piecing squares and pressing seams while delivering a high-impact visual result that appears advanced. This pattern is perfect for learning how fabric placement affects the final design and for mastering the art of sub-cutting blocks. Because the initial block is so simple, it allows beginners to focus on accuracy without being overwhelmed, making it an ideal project for using pre-cut 5-inch squares (charm packs).
Actionable Tips for a Perfect Disappearing Nine Patch
- Fabric Choice Matters: Select fabrics with good contrast. The placement of your light, medium, and dark fabrics in the initial nine-patch block will dramatically change the look of the final quilt. Play around with a few test blocks first.
- Accurate Piecing is Key: Your initial nine-patch block needs to be as square and accurate as possible. This ensures that when you sub-cut it, all your resulting pieces will be a uniform size and fit together perfectly.
- Consistent Cutting: Use a sharp rotary cutter and a reliable quilting ruler to make your two cuts through the center of the block. Measure carefully to find the exact midpoint for clean, even quadrants.
- Layout Before You Sew: Once you have your new set of blocks, arrange them on a design wall or the floor. Rotating the pieces can create wildly different effects, so take the time to find a layout you love before sewing them into rows.
Pro-Tip: Press your seams open on the initial nine-patch block. This will help the block lie very flat and make it much easier to cut accurately. It also reduces bulk where the new seams will intersect.
The Disappearing Nine Patch was famously popularized in tutorials by Jenny Doan of Missouri Star Quilt Company, who showed just how accessible this impressive pattern could be.
Ready to make some quilting magic? Grab a charm pack, the perfect thread, and a high-quality rotary cutter from Linda's to get started on your own Disappearing Nine Patch masterpiece.
7. Simple Squares Pattern
The Simple Squares pattern is arguably the purest form of patchwork and a perfect entry point into the world of quilting. Often called a "Postage Stamp" or "Charm Square" quilt, this design is one of the most fundamental easy quilt patterns for beginners. It is constructed entirely from squares of the same size sewn together in a simple grid, shifting the focus from complex cutting and piecing to the art of fabric selection and arrangement.
The beauty of this pattern is its straightforward construction. You simply sew individual squares into rows, then sew the rows together to form the quilt top. This direct approach allows beginners to focus on mastering essential skills like sewing a consistent quarter-inch seam, pressing, and handling fabric. The result can range from a scrappy, traditional masterpiece to a sleek, modern design, all depending on the fabrics you choose.
Why It's Great for Beginners
The Simple Squares pattern is fantastic for new quilters because it eliminates the most intimidating aspects of the craft, like triangles or matching intricate points. It's a forgiving project where the visual impact comes from your fabric choices rather than technical precision. This pattern is perfect for building confidence, understanding how colors and prints interact, and learning the basic workflow of quilt construction from start to finish. It’s also an excellent way to use pre-cut fabric squares like charm packs (5-inch squares) or layer cakes (10-inch squares).
Actionable Tips for a Perfect Simple Squares Quilt
- Start with Pre-Cuts: Using a charm pack or layer cake saves you cutting time and provides a perfectly coordinated set of fabrics, making the selection process much easier.
- Chain Piece for Speed: To sew your quilt top efficiently, use chain piecing. This involves sewing pairs of squares together one after another without cutting the thread in between, creating a long "chain" of pairs that you can clip apart later.
- Alternate Seam Pressing: Press the seams in your first row to the left, the second row to the right, the third row to the left, and so on. This allows the seams to "nest" together when you sew the rows, helping you achieve perfectly aligned corners.
- Use a Design Wall: Before sewing your rows together, lay out all your squares on a design wall or a large floor space. This lets you play with the arrangement to control the flow of color and pattern, ensuring you love the final look.
Pro-Tip: For your very first attempt, use larger squares (5 to 10 inches). They are easier to handle, and the quilt top comes together much faster, providing a quick and satisfying finish that will inspire you to keep quilting.
The Simple Squares pattern is a timeless classic, seen in everything from traditional "I Spy" quilts for children to sophisticated modern designs. You can find inspiration in countless quilting books and online galleries from communities that celebrate this foundational pattern.
Ready to create a patchwork masterpiece? Find the perfect charm packs, a high-quality rotary cutter, and all the notions you need at Linda's to assemble your beautiful Simple Squares quilt.
Beginner Quilt Pattern Comparison Matrix
| Pattern | Implementation Complexity 🔄 | Resource Requirements ⚡ | Expected Outcomes 📊 | Ideal Use Cases 💡 | Key Advantages ⭐ |
|---|---|---|---|---|---|
| Rail Fence Pattern | Very low - straight-line sewing only | Low - 2-4 fabric strips per block | Impressive zigzag/fence-like appearance | Beginners seeking easy, quick projects | Extremely beginner-friendly, quick, forgiving of minor errors |
| Four Patch Pattern | Low - simple 2x2 squares | Low - few fabrics, squares 4-12" | Fundamental block, versatile layouts | Learning basic quilting skills | Perfect for skill-building, fast, versatile |
| Nine Patch Pattern | Moderate - 3x3 grid with many seams | Moderate - multiple fabrics | Strong graphic checkerboard effect | Advancing beginners, coordinating fabrics | Teaches precision, visually interesting, efficient strip-piecing |
| Log Cabin Pattern | Moderate to high - sequential strip piecing | Moderate to high - many pieces | Complex secondary patterns, diagonal light/dark | Intermediate quilters wanting versatility | Highly versatile, scrap-friendly, stunning secondary designs |
| Flying Geese Pattern | Moderate - triangle piecing with bias edges | Moderate - precise triangle cutting | Dynamic directional movement | Introducing triangles, versatile block/border use | Versatile, multiple no-waste methods, dynamic visuals |
| Disappearing Nine Patch | Low to moderate - Nine Patch plus sub-cutting | Moderate - accurate cuts required | Complex-looking secondary patterns | Beginners wanting advanced-looking quilt | Appears complex beyond skill level, good intro to block manipulation |
| Simple Squares Pattern | Very low - grid of equal squares | Low - same-size squares | Simple grid emphasizing fabric selection | Absolute beginners focusing on fabric | Quick, no complex piecing, excellent for charm packs and scrappy quilts |
Bring Your Quilt to Life with the Perfect Finishing Touches
You've explored a fantastic collection of easy quilt patterns for beginners, from the straightforward Simple Squares to the dynamic Flying Geese and the clever Disappearing Nine Patch. Each pattern offers a unique educational journey into the art of quilting, proving that you don't need years of experience to create something beautiful. The real magic, however, happens when you transform that beautifully pieced top into a finished, functional quilt. This final stage is where your creation gains its warmth, structure, and lasting character.
The journey from a collection of fabric squares to a cozy quilt is a testament to your growing skills. By now, you understand the importance of a consistent quarter-inch seam and the visual impact of well-chosen fabrics. The final steps—choosing batting, backing, and a quilting design—are just as crucial as the initial piecing. This is your opportunity to complete your artistic vision.
Key Takeaways for Your Quilting Journey
As you move forward, keep these core principles in mind. They are the foundation upon which all your future quilting projects will be built:
- Master the Basics: Patterns like the Rail Fence and Four Patch are more than just simple designs; they are training grounds for fundamental skills. Consistently practicing accurate cutting and precise seam allowances on these projects will make more complex patterns feel far less intimidating down the road.
- Embrace the Process: Quilting is a marathon, not a sprint. The Log Cabin pattern, with its repetitive, meditative process, teaches patience and precision. Celebrate each completed block as a victory and enjoy the satisfaction of seeing your quilt grow piece by piece.
- Don't Fear Mistakes: Every quilter has a seam ripper that has seen plenty of action. A slightly mismatched point or a wobbly stitch is not a failure; it's a handmade touch that adds character to your work and serves as a lesson for the next project.
Actionable Next Steps: From Quilt Top to Heirloom
Your pieced top is a beautiful canvas, but it's not a quilt just yet. To bring it to life, you need to assemble the "quilt sandwich," which consists of your top, the batting, and the backing fabric.
- Select Your Batting: This is the heart of your quilt. Do you want a thin, lightweight quilt with a traditional flat look? Choose a cotton batting. Are you aiming for a fluffy, warm quilt with prominent stitch definition? A high-loft polyester or wool batting might be the perfect choice.
- Choose the Right Backing: The backing fabric is the final piece of the puzzle. It should be at least four inches larger than your quilt top on all sides to allow for shifting during the quilting process. You can choose a solid color, a coordinating print, or even piece together leftover fabric for a unique "scrappy" back.
- Plan Your Quilting: How will you stitch the three layers together? You can start with simple "stitch-in-the-ditch" quilting, which follows the existing seam lines, or quilt straight lines diagonally across the blocks. This final stitching is what gives your quilt its texture and durability.
Mastering these finishing techniques is what elevates your project from a simple craft to a lasting treasure. The right combination of batting, backing, and quilting stitches ensures your work will withstand cuddles, washes, and years of love. This is where your skill as a quilter truly shines, turning a set of easy quilt patterns for beginners into a legacy of comfort and creativity.
Ready to find the perfect materials to complete your first masterpiece? At Linda's Electric Quilters, we specialize in providing beginners and experts alike with high-quality batting, threads, and backing fabrics to ensure a professional finish. Explore our curated selection and get expert advice to bring your quilting vision to life at Linda's Electric Quilters.


