
Welcome to the vibrant world of quilting! Starting a new craft can feel overwhelming, but mastering a few fundamental building blocks is the key to creating stunning quilts with confidence. This guide is designed to educate you on the most approachable and essential quilting block patterns for beginners. Each one is a mini-lesson in a crucial skill, from precise cutting and piecing to achieving perfect seam allowances. We'll break down the construction of classic blocks like the Nine Patch and Half-Square Triangle, share actionable tips for success, and show you how these simple shapes form the foundation of countless beautiful designs. By focusing on these core patterns, you'll build the skills needed to tackle more complex projects. Get your rotary cutter ready, because your quilting journey starts now. Find every tool, fabric, and notion you'll need to succeed and finish your project at Linda's Electric Quilters.
1. Nine Patch Block
The Nine Patch is arguably the most quintessential of all quilting block patterns for beginners, and for good reason. It’s constructed from nine equal squares arranged in a simple 3x3 grid, making it an incredibly forgiving first project. The design's strength lies in its simplicity, relying only on straight cuts and consistent seams to create a visually appealing checkerboard effect, typically by alternating light and dark fabrics.
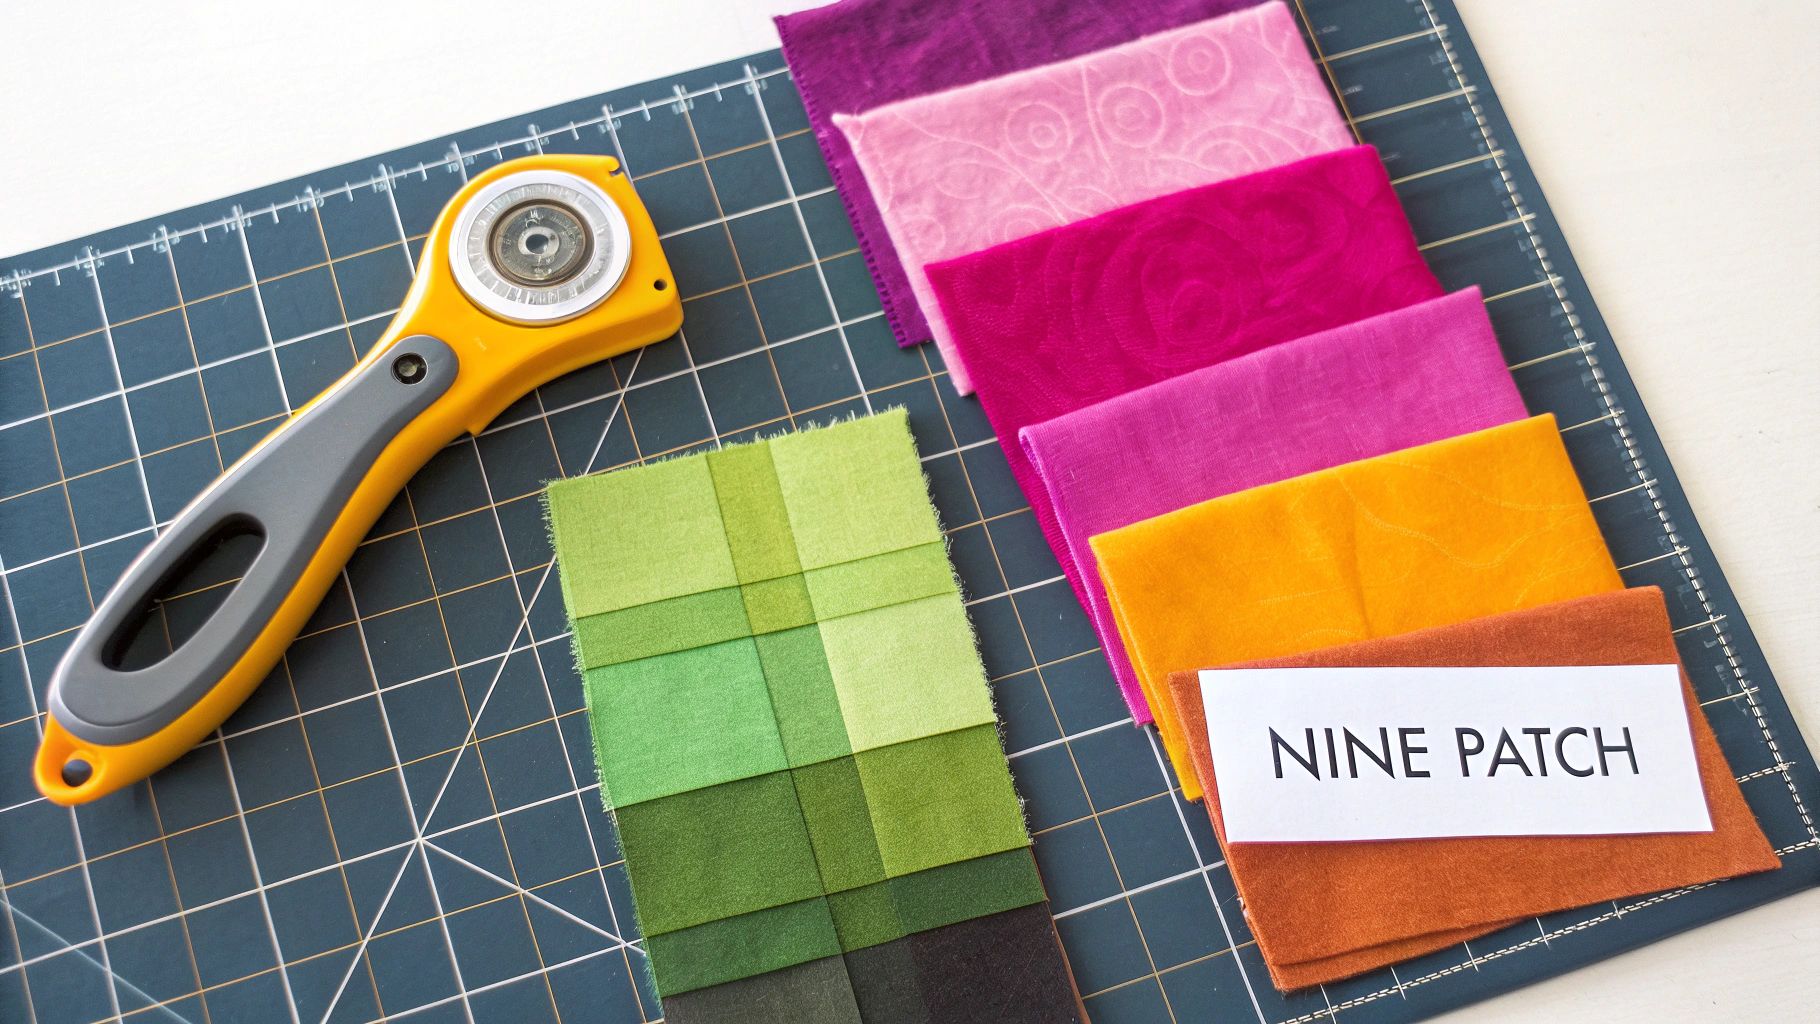
This foundational block is the perfect starting point to master core quilting skills. Its straightforward construction builds confidence while teaching precision in cutting, sewing a consistent quarter-inch seam, and pressing. From the bold, solid colors found in traditional Amish quilts to scrappy designs using fabric remnants, the Nine Patch is endlessly versatile. Once you've created your blocks, Linda's has the perfect batting and backing fabric to turn them into a finished quilt.
Tips for a Perfect Nine Patch
To ensure your first block is a success, focus on consistency. A sharp rotary cutter and a quality cutting mat are essential for creating uniform squares.
- Start Manageable: Begin with squares that finish at 3 inches (cut them at 3.5 inches). This size is easy to handle without being too small and fiddly.
- Press with Purpose: Pressing your seams toward the darker fabric not only hides the seam allowance but also helps the seams "nest" together when you join the rows, resulting in perfectly aligned corners.
- Work Efficiently: Master the art of chain piecing. By sewing your squares together in a continuous chain without cutting the thread between them, you save significant time and thread.
- Plan Your Layout: Before sewing your three rows together, lay them out on a design wall or a flat surface. This allows you to check the color placement and ensure everything looks just right.
The Nine Patch is more than just a block; it's a fundamental lesson in quilting that forms the basis for countless other complex designs. To explore how this block fits into larger projects, you can find inspiration and get started with these easy quilt patterns for beginners.
2. Rail Fence Block
The Rail Fence is one of the most rewarding quilting block patterns for beginners because it introduces the efficient technique of strip piecing. The block is made by sewing long strips of fabric together lengthwise, then cutting this "strip set" into squares. By simply rotating these squares, you can create surprisingly complex and dynamic patterns like zigzags, diamonds, or stair-steps across your quilt.
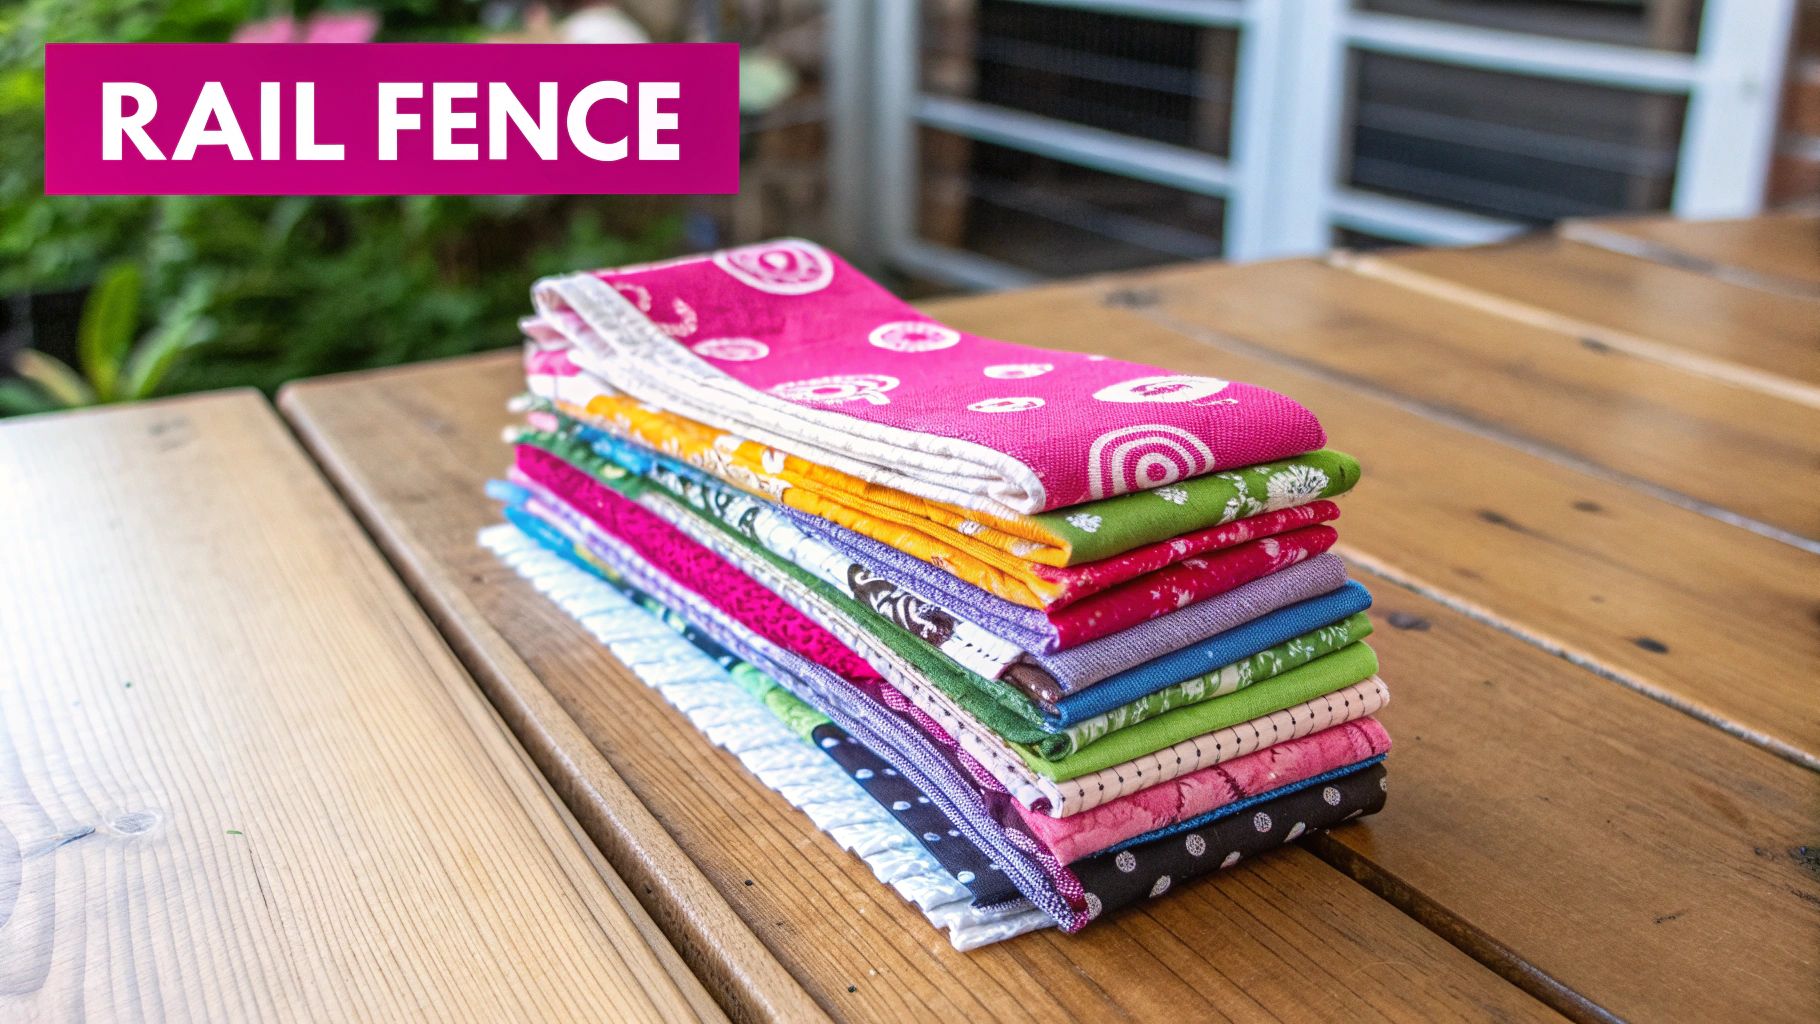
This block is a fantastic way to learn how to sew long, straight seams and master the art of cutting accurately from a larger pieced unit. It’s particularly effective for showcasing beautiful fabric collections, creating modern gradated looks with ombre fabrics, or using up leftover strips in a scrappy design. The simplicity of its construction allows beginners to produce a visually stunning quilt top with minimal frustration. Find gorgeous pre-cut fabric strips at Linda's to make this project even faster.
Tips for a Perfect Rail Fence
Success with the Rail Fence block comes from consistency in your strip widths and seam allowances. Using the right tools will make all the difference in achieving a professional finish.
- Start with Easy Strips: Begin with 2.5-inch wide strips, often called "jelly roll" strips. This standard size is easy to cut and manage, and a quality rotary cutter is essential for keeping them straight.
- Prevent Stretching: When sewing long strips together, use a walking foot if you have one. This helps feed the fabric layers evenly and prevents the bottom strip from stretching out of shape.
- Press for Flatness: Press all your seams in one direction. This reduces bulk and helps the block lie flat.
- Square Up First: After sewing your strips into a set and pressing, carefully "square up" one end before you begin cutting your blocks. This ensures every block will be a perfect square.
- Audition Your Layout: Lay out all your finished blocks on a floor or design wall before sewing them together. This crucial step allows you to finalize your pattern and ensure the colors flow exactly as you envisioned.
The Rail Fence block is a wonderful stepping stone from simple squares to more advanced strip-piecing techniques. To see how this block fits into a larger learning path, explore these essential quilt projects for every skill level and find your next creative challenge.
3. Half Square Triangle (HST) Block
The Half Square Triangle, or HST, is one of the most versatile and foundational units in quilting. Formed by joining two right triangles along their longest side, these simple squares are the building blocks for an incredible number of complex and beautiful quilt designs. For beginners, mastering the HST opens up a world of creative possibilities beyond basic squares.
Learning to make accurate HSTs is an essential step in advancing your quilting skills. These blocks are used to create everything from classic Pinwheel and Flying Geese patterns to modern chevron and sawtooth star designs. Their diagonal seam introduces the concept of working with bias edges, a key skill for any quilter to develop.
Tips for a Perfect Half Square Triangle
Precision is key when creating HSTs, as even small inaccuracies can affect your final quilt top. Using high-quality tools, like a dependable marking pen and a sharp rotary cutter from Linda's selection, will set you up for success.
- Cut with a Formula: For the traditional two-at-a-time method, add 7/8 inch to your desired finished block size. For a 3-inch finished square, cut your initial fabric squares to 3 7/8 inches.
- Stabilize Your Fabric: The diagonal edge of an HST is a bias edge, which can stretch easily. Lightly pressing your fabric with starch before cutting and sewing helps stabilize it and prevent distortion.
- Trim for Accuracy: The most critical step is trimming your HSTs to the exact size after sewing and pressing. This ensures all your blocks are perfectly uniform, which is vital for a square quilt top.
- Work Efficiently: For larger projects, consider the 8-at-a-time method. This technique allows you to create eight identical HSTs from just two larger squares of fabric, saving time and effort.
- Mark Clearly: Use a fine-tipped fabric marker to draw a diagonal line on the back of your lighter fabric. This line will be your sewing guide, so make sure it’s clear and precise.
Mastering the HST is a gateway to more intricate quilting block patterns for beginners. For further reading on why block accuracy is so important, explore our guide on what to do if your quilt top is not square.
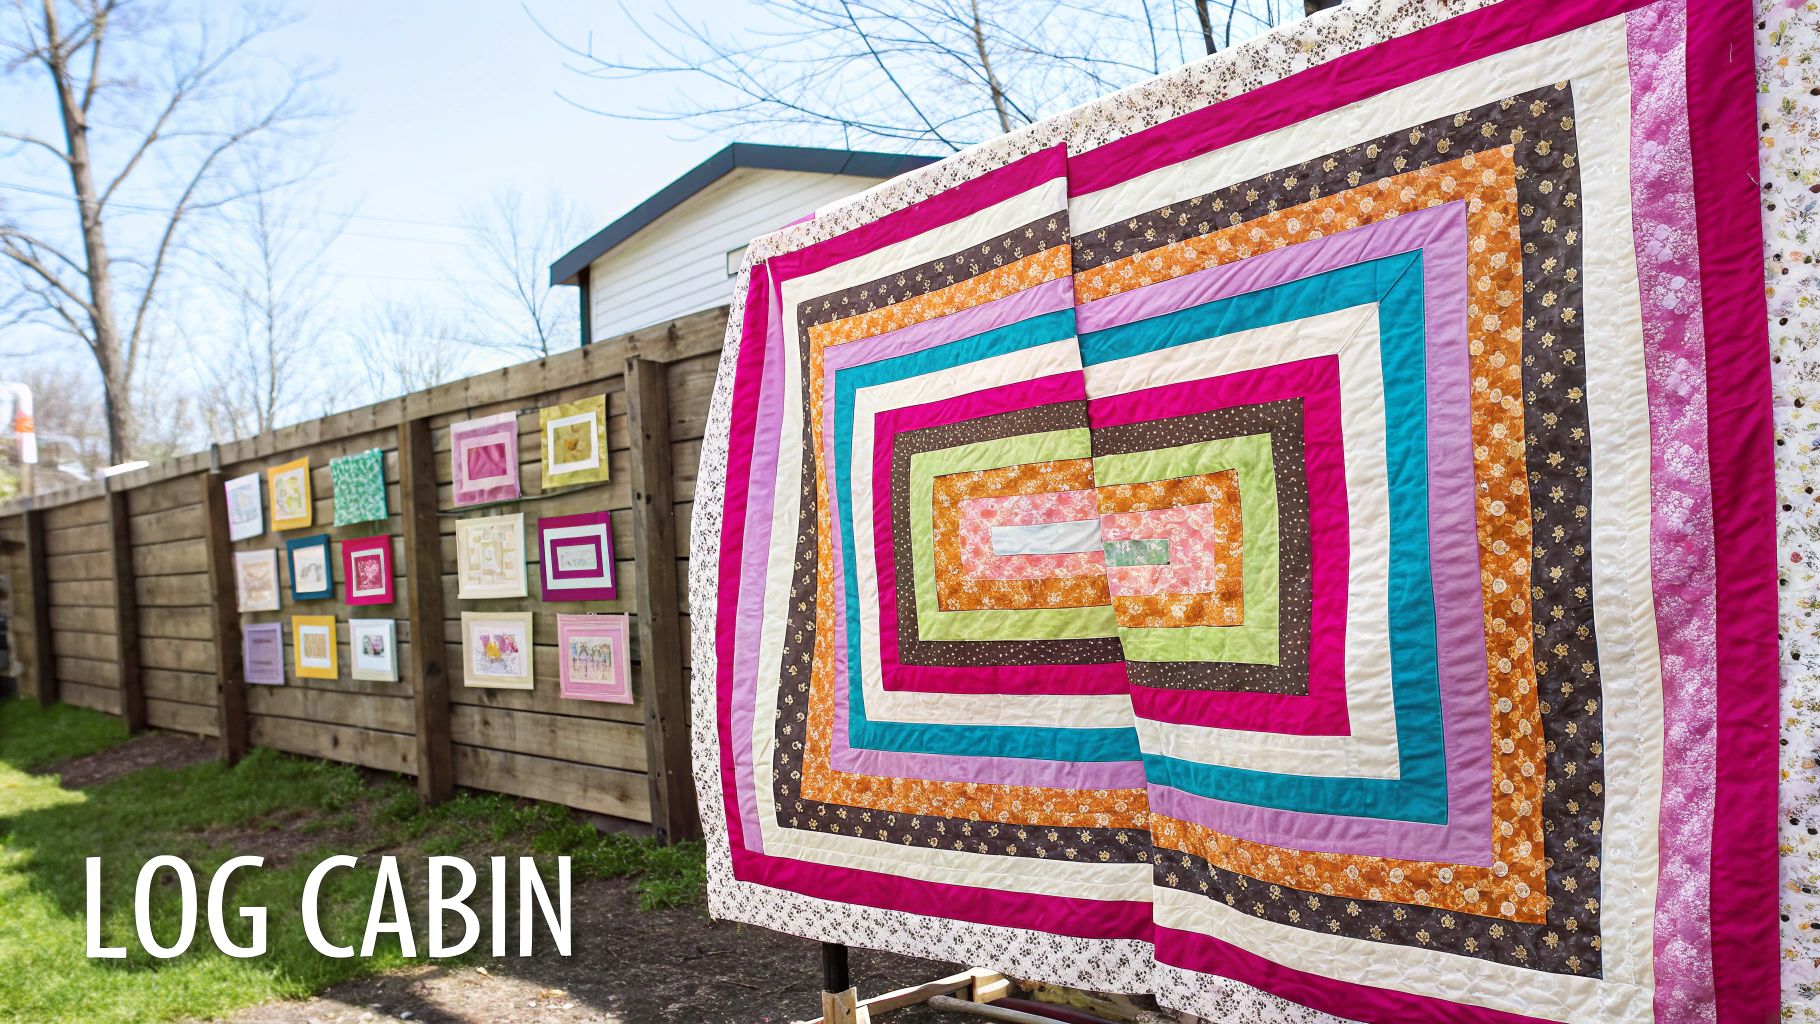
4. Log Cabin Block
Steeped in American quilting history, the Log Cabin block is a visually striking pattern that is surprisingly simple to construct. It’s built around a central square, often red to symbolize the hearth of a home, with fabric "logs" or strips added around it in a spiral. This method of building from the center out makes it one of the most beloved quilting block patterns for beginners, as you only need to sew straight lines. The traditional design places light fabrics on two sides and dark fabrics on the other two, creating a powerful diagonal line when multiple blocks are combined.
The Log Cabin is a masterclass in value and color placement. By arranging the finished blocks in different ways, you can create secondary patterns like zig-zags, diamonds, or straight furrows. It’s an ideal block for using up scraps (like in a jelly roll) and learning how fabric choices impact the overall design. The block's construction teaches you to sew an accurate quarter-inch seam and press seams properly to manage bulk.
Tips for a Perfect Log Cabin
Precision is key to keeping your cabin from going crooked. Your first strip sets the foundation for the entire block.
- Cut Strips First: Before you begin, cut all your light and dark strips to a consistent width (e.g., 2.5 inches). This speeds up the process immensely.
- Press Away from the Center: As you add each log, press the seam allowance away from the center square. This distributes the bulk evenly and helps your block lie flat.
- Trim as You Go: Instead of pre-cutting your logs to a specific length, sew a slightly longer strip to the block, then trim it flush with your ruler. This guarantees a perfectly square block.
- Use a Design Wall: A design wall (or even just a patch of floor) is invaluable for arranging your blocks. Playing with the layout allows you to see the stunning secondary patterns emerge before committing to a final design.
The Log Cabin's versatility makes it a timeless classic. Once your quilt top is assembled, choosing the right filling is the next step to bringing it to life. To understand your options, you can get a complete guide to batting choices for the passionate quilter and ensure your masterpiece has the perfect finish.
5. Flying Geese Block
The Flying Geese block is a beautiful, rectangular unit that adds a sense of movement and direction to any quilt. It consists of a large central triangle (the "goose") flanked by two smaller triangles (the "sky"). While they might look complex, these versatile blocks introduce beginners to the art of sewing triangles, a crucial skill for more advanced quilting block patterns for beginners. They are perfect for creating striking borders, intricate sashings, or dynamic patterns like chevrons.
Mastering the Flying Geese block opens up a world of design possibilities, from traditional migration-inspired quilts to modern projects featuring bold gradients. The precision required to match the points sharpens a quilter's accuracy and attention to detail, making it an excellent next step after mastering basic squares.
Tips for a Perfect Flying Geese Block
Accuracy is key to creating sharp points and avoiding a blunted "goose" nose. These tips will help you sew them with confidence.
- Try the Four-at-a-Time Method: This popular technique, also called the "no-waste" method, allows you to make four identical units at once from one large square and four smaller squares. It’s efficient and highly accurate.
- Press Seams Open or To the Sky: Pressing seams toward the "sky" triangles helps the points stay sharp. Alternatively, pressing the seams open can reduce bulk, which is especially helpful when joining many units together.
- Trim "Dog Ears": After sewing, you’ll notice small triangles of fabric extending past the block's edge. Trimming these "dog ears" is essential for reducing bulk and ensuring your blocks fit together perfectly.
- Maintain Your Seam Allowance: A consistent quarter-inch seam is non-negotiable for Flying Geese. Any deviation can throw off the final dimensions and blunt the main triangle's point.
The elegance of Flying Geese blocks can truly elevate a project, and the choice of batting will make the texture pop. To get a better understanding of how different materials can affect your final quilt, you can explore quality batting options to complement your design.
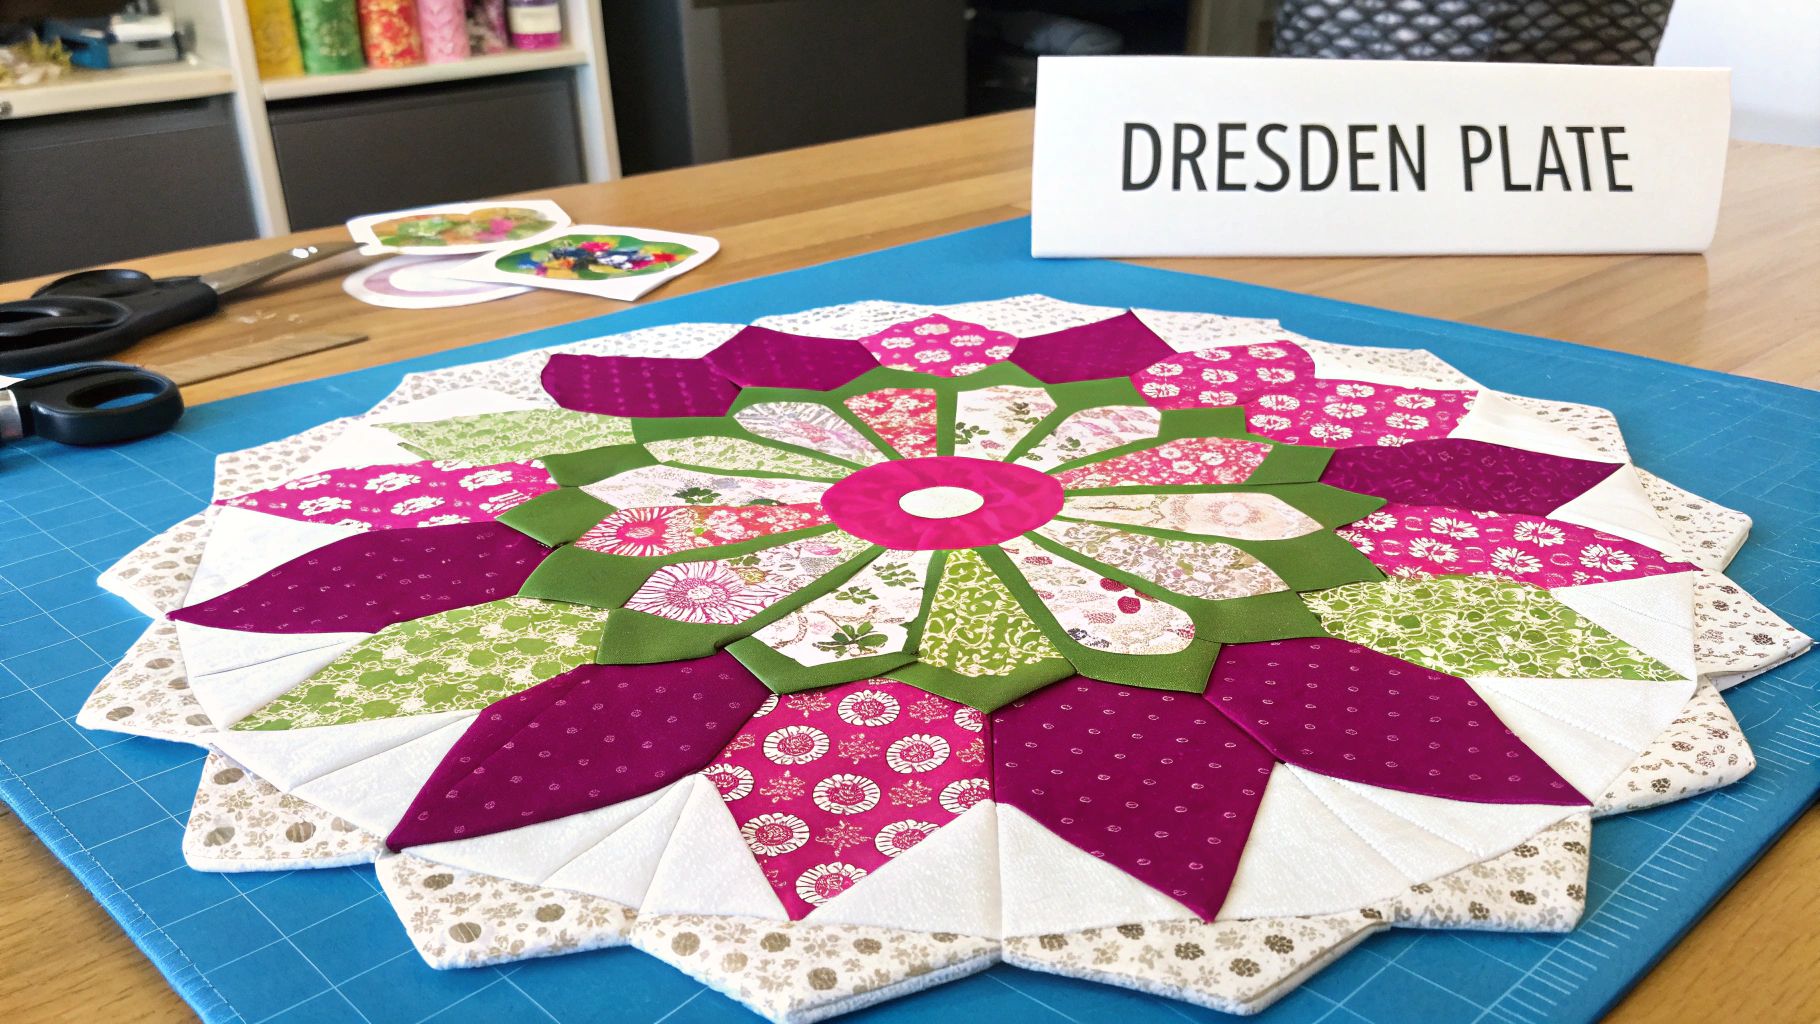
6. Dresden Plate Block
The Dresden Plate is a stunning vintage block that introduces beginners to the art of appliqué. Named for the decorative plates made in Dresden, Germany, this block features wedge-shaped "petals" sewn together and then applied to a background fabric to form a beautiful circle. While it looks intricate, modern techniques have made it one of the more accessible decorative quilting block patterns for beginners.
This block is perfect for quilters ready to move beyond basic piecing and explore new skills like sewing curves and appliqué. It offers a huge impact with relatively simple steps, making it a rewarding project. The Dresden Plate shines in everything from 1930s reproduction quilts using feedsack-style prints to modern versions featuring bold, graphic fabrics.
Tips for a Perfect Dresden Plate
Success with a Dresden Plate comes from accurate cutting and careful pressing. Using the right tools will make the process much smoother and more enjoyable.
- Use Templates: For perfectly uniform petals, use a specialty Dresden Plate ruler or create your own templates from freezer paper or plastic. This ensures every wedge is identical.
- Try Fusible Web: For an easy introduction to appliqué, start with fusible web. You can iron the finished plate directly onto your background fabric before machine stitching the edges.
- Press Seams Open: As you sew the wedges together to form the plate, press the seams open. This distributes the fabric bulk evenly and helps the plate lie perfectly flat.
- Secure the Center: Once your plate is appliquéd to the background, cover the raw edges in the middle with a small fabric circle. This gives your block a clean, professional finish.
The Dresden Plate is a gateway to more artistic and decorative quilting. To get started on your own vintage-inspired project, explore the beautiful fabric collections available at Linda's to find the perfect prints for your petals.
Beginner Quilting Block Patterns Comparison
| Block Name | Implementation Complexity 🔄 | Resource Requirements ⚡ | Expected Outcomes 📊 | Ideal Use Cases 💡 | Key Advantages ⭐ |
|---|---|---|---|---|---|
| Nine Patch Block | Low - Basic straight seams, simple 3x3 grid | Low - Basic rotary cutting tools | Fundamental quilting skills, basic checkerboard | Beginner practice, quick projects, scrap use | Easy to learn, minimal waste, versatile in colors |
| Rail Fence Block | Low to Medium - Strip piecing, block rotation | Low - Fabric strips and rotary cutter | Dynamic zigzag/diamond patterns, strip piecing | Showcasing fabric collections, stash-busting | Fast construction, forgiving, impressive patterns |
| Half Square Triangle | Medium - Diagonal seams, bias edge handling | Medium - Various cutting and pressing tools | Versatile block for many patterns, dynamic lines | Intermediate quilt patterns needing diagonal design | Versatile, multiple construction methods |
| Log Cabin Block | Medium to High - Multiple strip additions | Medium - Coordinated strips, possible paper | Strong diagonal patterns, symbolic, complex | Scrap utilization, symbolic quilts, advanced layouts | Teaches systematic piecing, rich historical meaning |
| Flying Geese Block | Medium - Triangle piecing, precise points needed | Medium - Triangle templates or tools | Directional movement, effective border elements | Borders, sashing, designs needing directional flow | Dynamic design, versatile layouts, efficient methods |
| Dresden Plate Block | High - Curved seams, appliqué techniques | High - Templates, appliqué supplies | Elegant circular medallions, vintage style | Appliqué learning, showcasing special fabrics | Sophisticated look, teaches appliqué, adaptable |
Turn Your Blocks into a Masterpiece with Linda's
You've just walked through some of the most essential and rewarding quilting block patterns for beginners. From the straightforward grid of the Nine Patch to the classic charm of the Log Cabin, each block serves as a fundamental building block for your quilting skills. These patterns are more than just practice exercises; they are the vocabulary of quilting, enabling you to combine simple shapes into complex and beautiful designs. Mastering these foundational techniques- like achieving precise quarter-inch seams and accurate cutting- is the single most important step you can take toward creating quilts you'll be proud to display and share.
From Practice to Project
The journey doesn't end with a stack of finished blocks. The next exciting phase is assembly, where your individual creations come together to form a cohesive whole. This is where your creativity truly shines. You can arrange your Half Square Triangles into dynamic chevrons, your Rail Fence blocks into a mesmerizing zigzag pattern, or combine multiple block types into a unique sampler quilt. Remember, every master quilter started with these same simple blocks. The confidence you build today with a Flying Geese unit will empower you to tackle more intricate designs tomorrow.
Your Next Actionable Steps
Now that you have the knowledge, it's time to put it into action and transform your practice pieces into a finished project.
- Choose Your Project: Decide whether to create a small item like a pillow cover or table runner, or go for a larger lap quilt.
- Select Your Finishing Supplies: The right batting, backing fabric, and thread are crucial for a professional finish. High-quality materials prevent bunching, lie flat, and ensure your quilt lasts for generations.
- Explore Finishing Techniques: Learn about basting, quilting, and binding. These final steps are what turn a quilt top into a functional and beautiful quilt.
Don't let your beautiful blocks sit in a drawer. The final stage is where the magic happens, and having the right tools and supplies makes all the difference. At Linda's, we are committed to helping you complete your project with confidence, providing everything from premium longarm quilting services to the finest threads and fabrics.
Ready to take your beginner quilt blocks to the next level? Visit Linda's Electric Quilters to find all the high-quality batting, backing, and notions you need to complete your first masterpiece. Let our expert team help you choose the perfect supplies to bring your creative vision to life. Shop our collection today at Linda's Electric Quilters


