
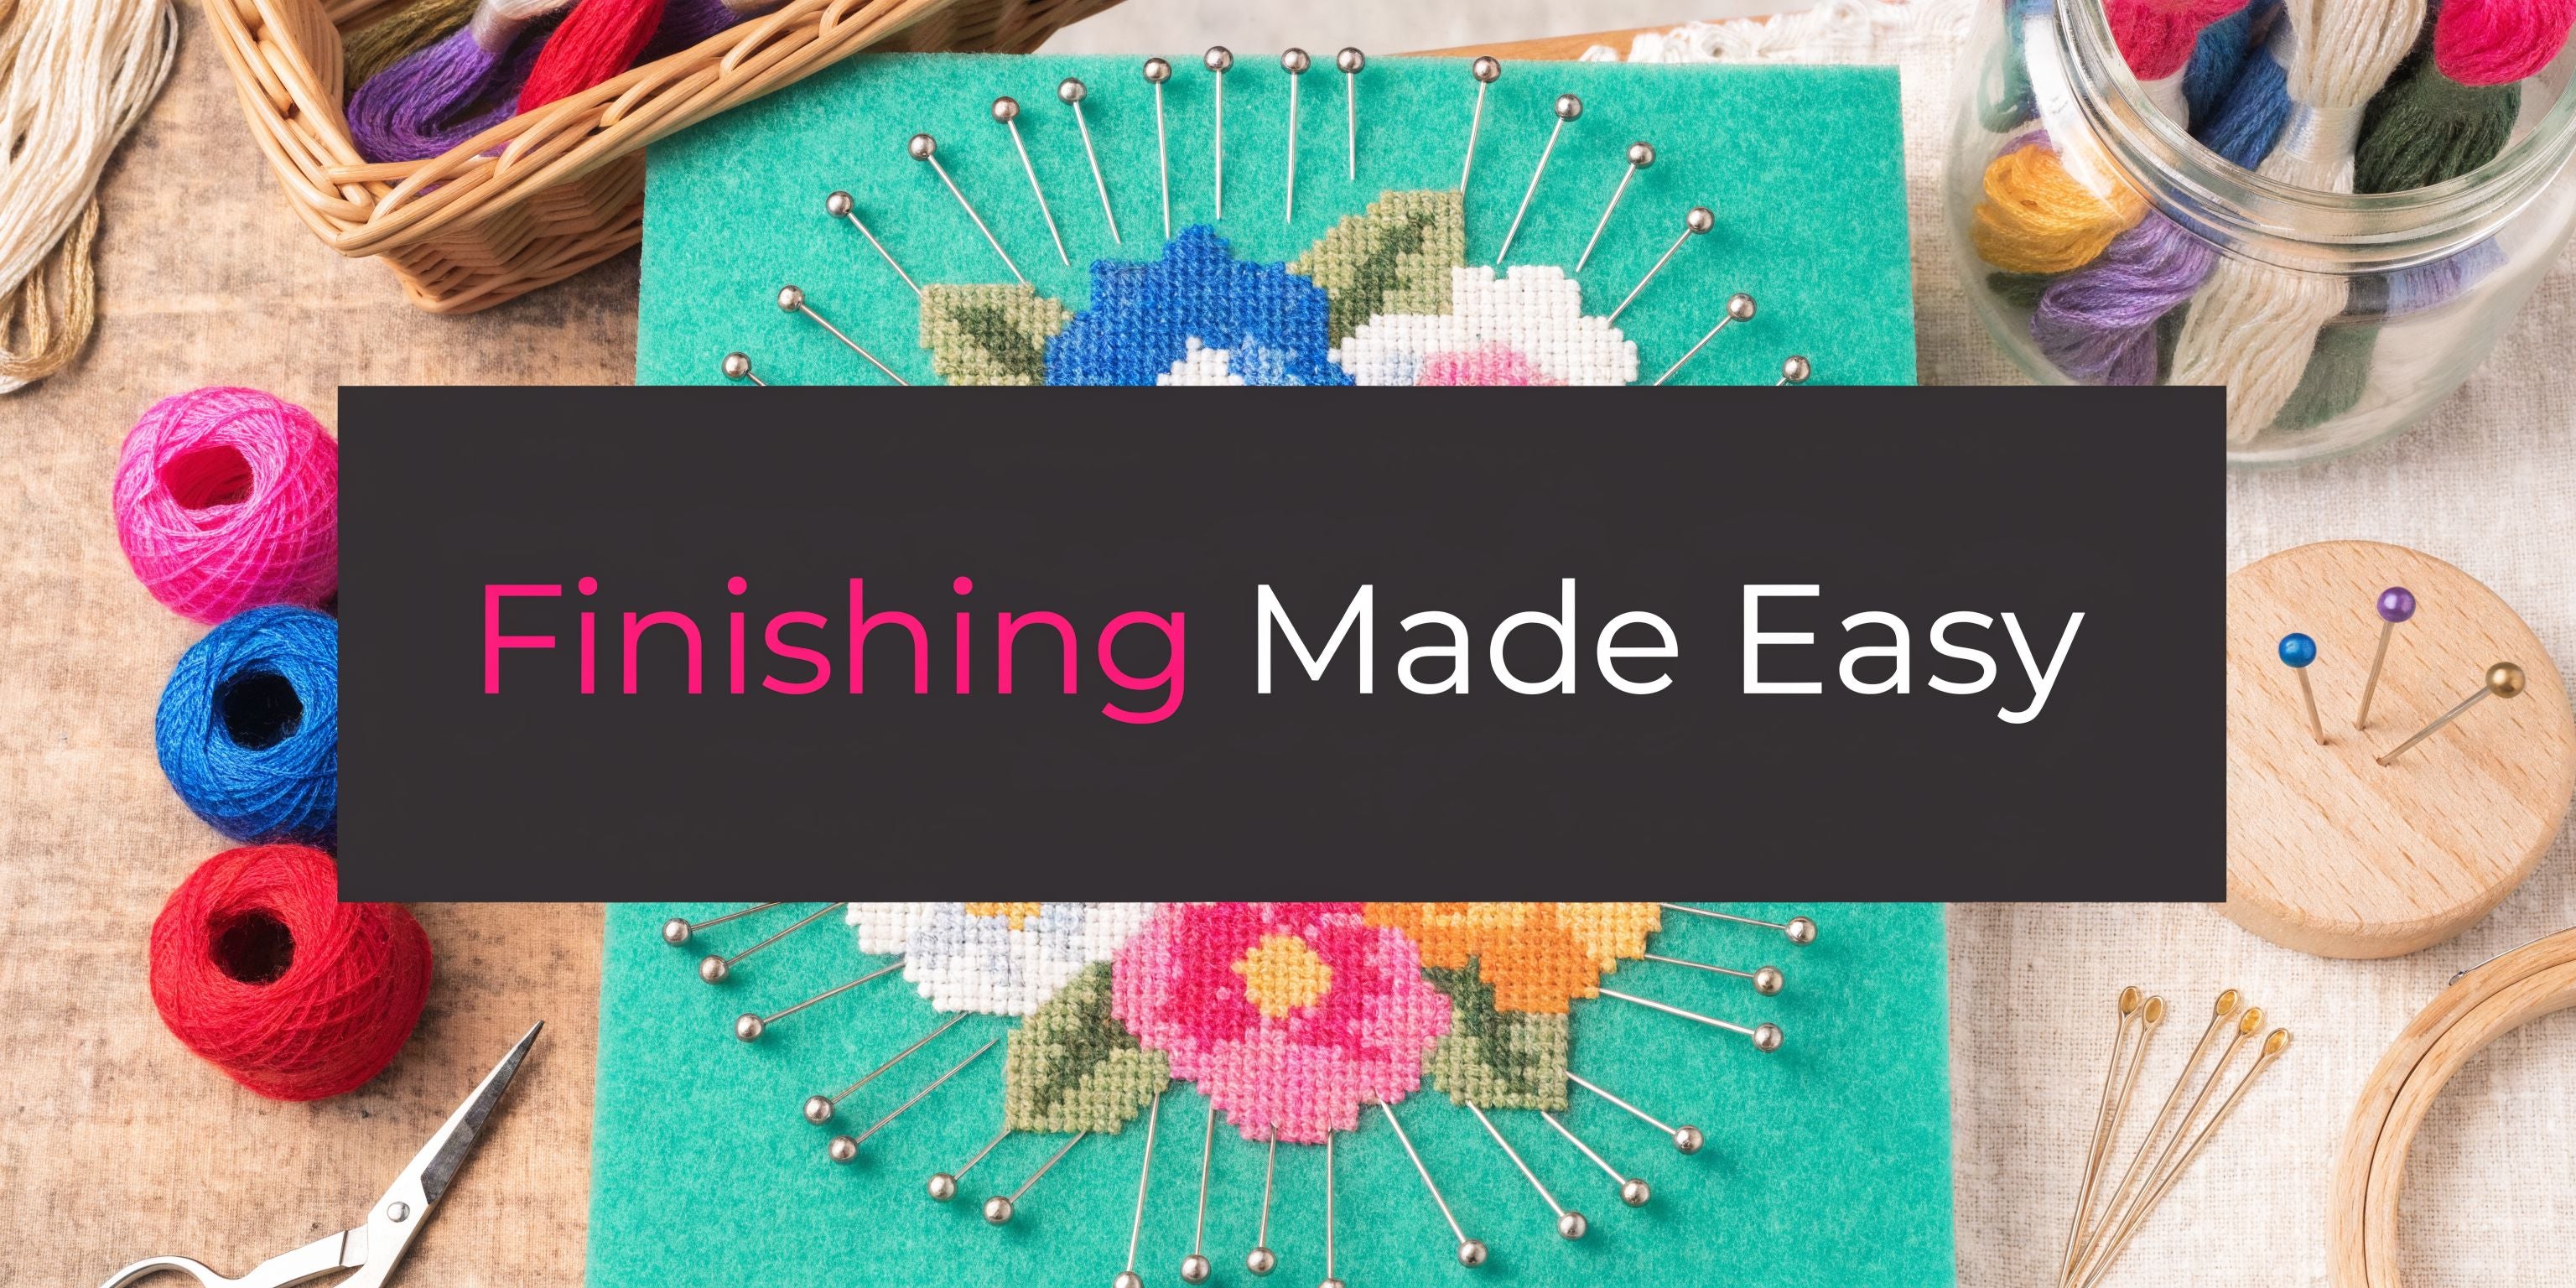
You tie off the last thread, turn the piece over, and suddenly the stitching is done but the project isn’t. That moment catches a lot of people off guard. The front looks lovely, the back looks a little wild, the fabric may be rippled, and now you have to decide whether this becomes wall art, a pillow, an ornament, or something in between.
That’s where finishing a cross stitch stops feeling like an afterthought and starts acting like a craft of its own. Good finishing protects the hours you put into the piece. Better finishing also changes how the stitching reads. A modest sampler can look polished and intentional. A holiday motif can turn into a gift people use.
At the far end of the scale, cross stitch has reached astonishing size. The record-holder, a replica of The Battle of Grunewald, measures 9.2 by 4.05 meters, used 150 kilometers of thread in 220 colors, and required 29 stitchers over a year to complete according to this account of the record cross stitch project based on The Battle of Grunewald. Even at that scale, stitching wasn’t the end. Finishing still mattered.
Most of us aren’t mounting a museum-size masterpiece. We’re trying to make sure our ornament hangs straight, our framed piece sits flat, and our pillow corners don’t sag. That’s manageable. It just takes a few good habits, the right tools, and a clear sense of what works.
Your Last Stitch Is In Now What
The first thing to do is pause before trimming anything.
A freshly finished piece often looks a little worse than it really is. Hoop marks, hand oils, mild fabric skew, and loose fibers can make a beautiful design seem unfinished in the wrong way. Don’t judge it yet. Most of what bothers you at this stage is fixable.
Decide what the piece wants to be
Some projects tell you right away.
A narrow seasonal design may want a simple frame. A square motif often makes a strong pillow front. Small round or oval pieces work beautifully as ornaments, sachets, or flat-finished objects. The mistake I see most often is forcing every stitched piece into a frame just because framing feels official.
Ask three practical questions:
- Will it be handled often. If yes, a soft finish or protected display usually makes more sense than an exposed flat mount.
- Does the design have enough margin. If the fabric border is tight, that affects your finishing choices immediately.
- Do you want texture or formality. Cross stitch behind glass reads differently from cross stitch mounted with visible depth.
Finishing should match the life of the piece, not just the shape of the design.
Don’t cut first and think later
A lot of finishing trouble starts with early trimming. Once fabric is gone, your options narrow fast. Leave generous margins until you’re certain whether you’re mounting, framing, sewing, or lacing.
If you do nothing else at this stage, do this:
- Set the piece on a flat surface.
- Check for lint, pet hair, and visible marks.
- Measure the stitched area.
- Decide on the final use before you cut the fabric.
That small pause saves a surprising amount of grief.
Essential Prep For a Flawless Finish
Before any board, frame, trim, or backing comes near your project, prepare the fabric. Proper fabric preparation makes a homemade finish look professional.

Cross stitch fabric can shift while you stitch, even when your tension feels steady. According to Caterpillar Cross Stitch, up to 95% of fabric distortions are caused by uneven tension during stitching, and proper blocking resolves this with an 85 to 90% success rate on the first try when done correctly. Their finishing guidance also notes that air drying after pinning can take 24 to 48 hours. You can read that full guidance in their article on advanced cross stitch washing and blocking techniques.
Wash gently, not aggressively
Finished stitching holds oils from your hands, dust from the room, and sometimes residue from hoops or grime from travel bags. A gentle wash freshens the fabric and gives you a clean foundation for blocking.
Use cool water and a gentle, non-biological detergent. Don’t scrub. Don’t twist. Don’t wring.
A simple routine works best:
- Fill a basin with cool water and add a small amount of gentle detergent.
- Let the piece soak briefly so the fibers relax.
- Move it lightly through the water with your hands.
- Rinse thoroughly until the water runs clear.
- Roll it in a towel to blot moisture.
The towel roll matters more than people think. Wringing can set distortion into the fabric, especially on Aida and evenweave that already carry tension from stitching.
Blocking is what straightens the story
Blocking is the step that takes a slightly wonky finish and makes it square, flat, and calm.
Lay the damp piece face-down on a clean towel or blocking surface. Then reshape it to the exact dimensions of the stitched area and fabric grain. Rust-proof pins are worth using here. This isn’t the place for random household pins.
Count threads if you need to. On a piece that has drifted out of square, precision matters more than speed.
What to pin and where
Pin at key intersections first, then fill in around the perimeter. Work from the center logic of the design outward, checking that the margins remain even.
Watch for these trouble spots:
- Pulled corners that want to twist inward
- Hoop dents that create false edges
- One side stretching longer than the opposite side
- Center motifs looking level while the fabric itself is skewed
Over-pinning can create fresh distortion, so use enough pins to hold shape, not so many that the cloth becomes forced.
Practical rule: Pin for accuracy, not for punishment. The fabric should be guided into shape, not stretched like canvas.
If the piece dried badly once before, damp blocking can still rescue it. Just don’t skip measuring.
Here’s a visual walkthrough if you like seeing the process in motion before trying it yourself.
Iron from the back
Once the piece is fully dry, press from the back on a thick towel. That towel gives the stitches room to keep their height.
Never slide the iron around as if you’re pressing a shirt. Lift and place. Moderate heat is enough. If you press from the front, you flatten the stitch texture you spent all that time creating.
A thick towel, a clean pressing surface, and patience do better work than a hotter iron ever will.
Prep tools worth having on hand
This is the finishing kit I’d keep together instead of scavenging each time:
| Tool | Why it matters |
|---|---|
| Rust-proof pins | Hold exact dimensions during blocking without risking stains |
| Gentle non-biological detergent | Cleans fabric and floss more safely |
| Thick white towels | Useful for blotting, blocking, and pressing |
| Clear ruler | Helps center and measure without guessing |
| Pressing cloth | Adds a layer of safety if you’re nervous about heat |
If your project still looks imperfect after washing and blocking, don’t panic. Prep reveals what kind of finish the piece is ready for. It doesn’t disqualify the work.
Choosing Your Flat Display Method
Flat display comes down to two strong options. You can mount the piece as a rigid, finished object, or you can frame it for more protection and a more traditional look.
Neither is universally better. They solve different problems.

A flat finish mounting method that uses acid-free board and stitchery tape has a 92% user-reported satisfaction rate for avoiding glass reflections, while asymmetry shows up in 35% of first attempts without careful centering, based on the method summary tied to this flat finish mounting tutorial using mount board and stitchery tape. That lines up with what many stitchers learn the hard way. A neat mount depends less on glue and more on measuring.
Mounting for a crisp, modern finish
Mounting shines on small to medium projects, especially those you want to display without frame glare.
You start with a washed, blocked, pressed piece. Then trim the fabric with enough margin to wrap around the board. Acid-free mount board is the standard because it supports the work without introducing a questionable backing material.
Best use cases for mounting
- Seasonal decor that comes out for a short display period
- Small samplers with clean edges and balanced margins
- Gift pieces where a light, low-profile finish suits the design
- Soft-color projects that lose some charm behind reflective glass
The critical point is centering. If the design sits even a little off, the whole finish looks homemade in the wrong way. I always recommend laying the piece on the board and checking all four sides with a ruler before anything is secured.
A simple mounting workflow looks like this:
- Trim the fabric with a workable border.
- Find the center of the design and the center of the board.
- Clip temporarily and inspect from the front.
- Secure corners first.
- Pull opposite sides evenly to the back.
- Recheck the front before finishing the remaining sides.
Framing for protection and longevity
Framing is still the right answer for many projects. It protects from dust, handling, and daily household life in a way open mounting does not.
That doesn’t mean every stitched piece should be pressed directly against glass. In fact, that’s one of the worst-looking choices for textured stitching. If the stitches touch the glass, the work can look squashed and lose the dimensional character that makes cross stitch attractive.
Glass or no glass
Here’s the trade-off in plain terms:
| Choice | Works well when | Main drawback |
|---|---|---|
| With glass | You want dust and handling protection | Reflection can mute the texture |
| Without glass | You want stitch texture to remain prominent | Fabric stays more exposed |
| With spacers or matting | You want protection without crushing stitches | Requires more planning |
Matting or spacer bars create breathing room. Shadow-box style framing can also help when the piece has beads, specialty stitches, or a raised finish.
If you love the look of cross stitch because it has texture, give that texture space.
Self-finish or frame shop
When making this choice, practicality matters more than pride.
Self-finishing works well when the piece is modest in size, square enough after blocking, and simple in presentation. A frame shop is worth considering when the margins are narrow, the fabric is delicate, or the project carries sentimental weight and you don’t want to experiment on it.
A useful decision filter:
- Do it yourself if the design is straightforward and you enjoy measuring.
- Send it out if the piece needs specialty framing, mat cuts, or archival handling beyond your comfort level.
What doesn’t work well
Some habits cause trouble over and over:
- Thin or non-archival backing boards can warp or discolor over time.
- Rushing the centering leads to a piece that looks crooked forever.
- Too much adhesive can show through or create stiffness in the wrong areas.
- Ignoring margin balance makes even a pretty design feel awkward.
If you’re finishing a cross stitch for display, your eye should land on the stitching first. Not the puckers, not a crooked border, and not a board edge peeking where it shouldn’t.
Creating Soft and Dimensional Finishes
Some cross stitch wants softness. It wants a seam, a backing fabric, a little loft, and a purpose beyond the wall.
That’s where pillows, ornaments, and sachets come in. They’re forgiving, useful, and often more charming than a formal frame.

Pillows that look full, not floppy
A cross stitch pillow needs support, but it doesn’t need to feel like upholstery unless that’s the look you want. The front is usually firmer than the backing fabric, so balance matters.
Choose a backing cotton that complements the style of the design rather than shouting over it. Small florals, tone-on-tone prints, checks, and classic quilting cottons all work well. If you want a cozier finish, plush backing can be lovely on winter or nursery pieces, but make sure the stitched front still feels like the star.
For structure, a thin batting layer behind the stitched front helps smooth the fabric and soften the edge of the stitches. Then use stuffing that fills the corners well without making the center bulge.
A reliable pillow sequence
- Cut the stitched front generously so you can square it before assembly.
- Layer batting behind the stitched panel if the fabric feels too thin.
- Place backing right sides together and stitch with an even seam allowance.
- Trim corners carefully so they turn neatly.
- Turn, stuff, and shape before closing the final opening by hand.
The hand-closed seam matters. A rushed closure can spoil a good pillow.
Ornaments with clean edges
Ornaments are where finishing habits get sharper fast. Small pieces reveal every wobbly cut and every uneven trim.
Round and square ornaments both benefit from a firm inner layer. Some stitchers use board, some use multiple layers of felt, and some prefer lightly padded construction. There isn’t one perfect choice. There is only the finish that suits the design.
Good ornament finishes often include:
- Coordinated cording for a polished edge
- Wool felt or cotton backing to hide threads
- A hanging loop attached securely before the final seam is closed
- Light padding so the ornament has body without becoming puffy
If the design is delicate, avoid overly bulky trim. If it’s playful or holiday-themed, pom-poms and brighter cording can work.
Sachets and small dimensional pieces
Sachets don’t need much stitching space to become satisfying projects. They’re ideal for motifs, alphabets, florals, and tiny seasonal charts.
Use a tightly woven backing and line it if you’re filling it with scented material. That helps keep the filling from escaping through seams. Keep the scent mild. The cross stitch should still be the attraction.
A sachet also gives you room to play with shape. Square is easiest. Rectangles suit monograms. Small round finishes can be charming if your sewing is accurate.
Soft finishes reward careful pressing and accurate cutting more than fancy sewing.
Fabric and padding choices that change the result
Here’s the practical difference between common approaches:
| Element | Softer result | Crisper result |
|---|---|---|
| Backing fabric | Plush or textured fabric | Quilting cotton or linen blend |
| Interior support | Loose stuffing | Felt or batting plus light stuffing |
| Edge finish | Gathered or padded edge | Tight corded or stitched edge |
When people say a soft-finished piece looks homemade, they usually mean one of three things. The corners are dull, the stuffing is uneven, or the backing fabric fights the front. Fix those, and the whole piece improves.
Mastering Edging and Backing Techniques
The edge is where a finished piece declares its style. The back is where it proves whether that style can hold up.
A neat back doesn’t have to be a perfect back. That old advice, “don’t worry about the back,” helps beginners stop panicking, but it can be taken too far. The back matters when the piece will be handled, gifted, turned over, or displayed without a permanent frame.
That’s one reason a more reversible style of finishing has gained attention. The discussion collected in this FAQ on cross stitch backs and neat finishing expectations points to a practical preference for function over flawlessness, while also noting that a simple felt cover can improve presentation.
Edging that suits the piece
Edging should support the design, not distract from it.
Twisted cording is a classic choice because it can pick up floss colors from the design. Lace softens floral and vintage motifs. Pom-pom trim adds cheer, especially on ornaments and children’s designs. A narrow fabric binding can look cleaner than all of them on modern pieces.
Good matches
- Sampler and heirloom styles pair well with cording or lace.
- Holiday pieces can carry playful trim without looking overdone.
- Modern geometric designs often look strongest with plain edges and clean lines.
The mistake is treating every edge treatment as universally flattering. It isn’t.
Backing that hides the chaos without creating new problems
For ornaments, mounted finishes, and many small gifts, backing felt is the workhorse. It hides carried threads, protects the stitches, and gives the piece a complete look.
Whip stitch works. Blind stitching often looks cleaner. Glue-only finishes can be tempting, but they tend to show their limits with time, especially if the adhesive seeps, hardens, or shifts.
A practical backing routine:
- Cut the backing after the front is fully finished and shaped.
- Match the backing color to the edge or the dominant design tone.
- Pin or clip before stitching so the back doesn’t creep.
- Use a fine needle and thread that disappears into the backing.
The back of a handled piece should feel intentional, even if no one but you ever studies it.
What “neat enough” really means
A good back is one that does its job.
It doesn’t need to impress another stitcher under bright light. It needs to avoid loose tails, bulky lumps, exposed raw edges, and thread paths that catch on fingers or snag with use. That standard is kinder and more useful than perfectionism.
If you want to lean into a reversible or eco-conscious finish, choose methods that can be reopened later. Sewn felt covers, removable inserts, and non-permanent structural layers give you flexibility. They also make future cleaning or repair far easier than a fully sealed finish.
Common Finishing Mistakes and How To Fix Them
Most finishing mistakes look catastrophic for about ten minutes. Then you take a breath, stop cutting, and start troubleshooting.
The biggest myth in finishing a cross stitch is that one wrong move ruins the piece. Usually it doesn’t. It just changes the route.

One finishing problem comes up again and again. Fabric gets cut too short. Basic tutorials often mention adding strips, but they rarely walk through how to make the repair behave and look intentional. A practical rule from this video on fixing cross stitch fabric cut too short is to add at least 6 inches to your design dimensions at the start so you have enough room for finishing.
If you cut the fabric too short
Short margins are frustrating, but they’re often salvageable.
The first question is whether the missing fabric will be visible in the final finish. If the answer is no, your repair can be purely structural. If yes, your repair needs to be visually thoughtful too.
Solid fixes that work
- Add side strips in matching or complementary fabric, then use those added sections for mounting or sewing.
- Convert to a pillow front where a seam allowance and backing fabric can solve the margin problem.
- Use patchwork framing around the stitched piece so the added fabric becomes a design feature.
- Appliqué onto a larger fabric panel for bags, wall hangings, or quilt blocks.
Matching fabric type matters. A soft evenweave joined to a stiff cotton behaves differently under tension. If the repair area will be pulled around a board, test the stretch first.
Repair mindset: If the added fabric looks intentional, most people will assume it was always part of the design.
If the mounted piece puckers
Puckers usually come from uneven tension on the back, poor centering, or trying to mount before the piece was square.
The fix is annoying but simple. Undo enough of the mounting to release the strain. Then re-center and secure opposite sides gradually instead of finishing one whole edge at a time.
A better sequence is corner, opposite corner, side, opposite side, then fill in. That keeps the pull balanced.
If glue shows or seeps
Glue mistakes are why many experienced stitchers use the least adhesive possible.
If glue has bled into visible fabric, don’t scrub at it. That usually drives the problem deeper. Let it dry completely first so you can assess whether it’s a surface issue, a darkened spot, or a stiff patch.
Sometimes the best fix is design-based rather than chemical:
- Cover the area with trim if it sits near an edge
- Add a backing layer or mat if the damage is outside the stitched field
- Repurpose the piece into a smaller object where the damaged area can be cut away safely
If the back feels too messy to finish proudly
This is more common than people admit.
A piece with a busy back can still become a handsome gift. Felt covers, fabric backings, mounted panels, and lined soft finishes all solve the presentation problem without requiring heroic thread surgery after the fact.
The key is to avoid making the back bulkier during cleanup. Don’t pile knots on top of knots. Trim loose tails carefully, anchor what’s unstable, and cover the rest with a proper backing.
Mistakes that are easiest to prevent
A short list saves a lot of grief:
| Mistake | Better habit |
|---|---|
| Cutting margins early | Decide the finish first |
| Mounting an unblocked piece | Wash, block, and press before display work |
| Choosing trim before measuring | Finish the shape first, then choose edging |
| Forcing one finish style on every project | Let the design and margin decide |
Good finishers aren’t people who never make mistakes. They’re people who know which mistakes can be disguised, which can be repaired, and which require starting the finish over with a steadier hand.
Preservation Tips and Quick Project Ideas
A finished piece deserves ordinary, consistent care. Not heroic rescue work later.
Keep framed or mounted work out of strong direct sunlight. Dust it gently. Store soft finishes clean and dry. If you pack seasonal items away, avoid crushing them under heavier decor. Cross stitch holds up well when it isn’t asked to survive bad storage.
For soft-finished pieces, think like a sewer rather than a display framer. Clean hands matter. Stable storage matters. If an item is scented, padded, or embellished, make sure it can breathe and won’t transfer color or oils to neighboring pieces.
Three small projects that teach good finishing habits
Mini pillow front
A small square motif teaches accurate cutting, layered construction, corner turning, and invisible closing. Use quilting cotton for the back and a light support layer behind the stitching.
Flat-finished seasonal sign
This is perfect for practicing measuring, centering, wrapping fabric over a rigid board, and adding a neat backing. It’s one of the fastest ways to improve your eye for symmetry.
Ornament with felt back
A small ornament teaches edge control better than almost anything else. You’ll practice shaping, backing, trim placement, and hand stitching that stays tidy in a very visible format.
What to gather before you start the next one
Build a finishing basket instead of starting from scratch every time:
- A good ruler and cutting tools for accurate trimming
- Acid-free board for flat finishes
- Wool or craft felt for backing ornaments and small pieces
- Quilting cottons for pillow backs and framing accents
- Batting or stuffing for dimensional finishes
- Fine hand-sewing needles and matching thread for invisible closures
- Decorative trims like cording, lace, or pom-poms for the final touch
If you want your cross stitch to last, finish it with the same care you gave the stitching. This is the difference between a completed project and a kept one.
When you’re ready to turn stitched fabric into a display piece, gift, ornament, or pillow, Linda's Electric Quilters is a smart place to shop for the finishing supplies that make the job easier. Their selection of fabrics, batting, threads, felt, notions, and sewing essentials makes it simple to gather everything in one order, whether you need acid-free mounting basics, a beautiful cotton for a pillow back, or the hand-sewing tools for neat edging and backing.


