
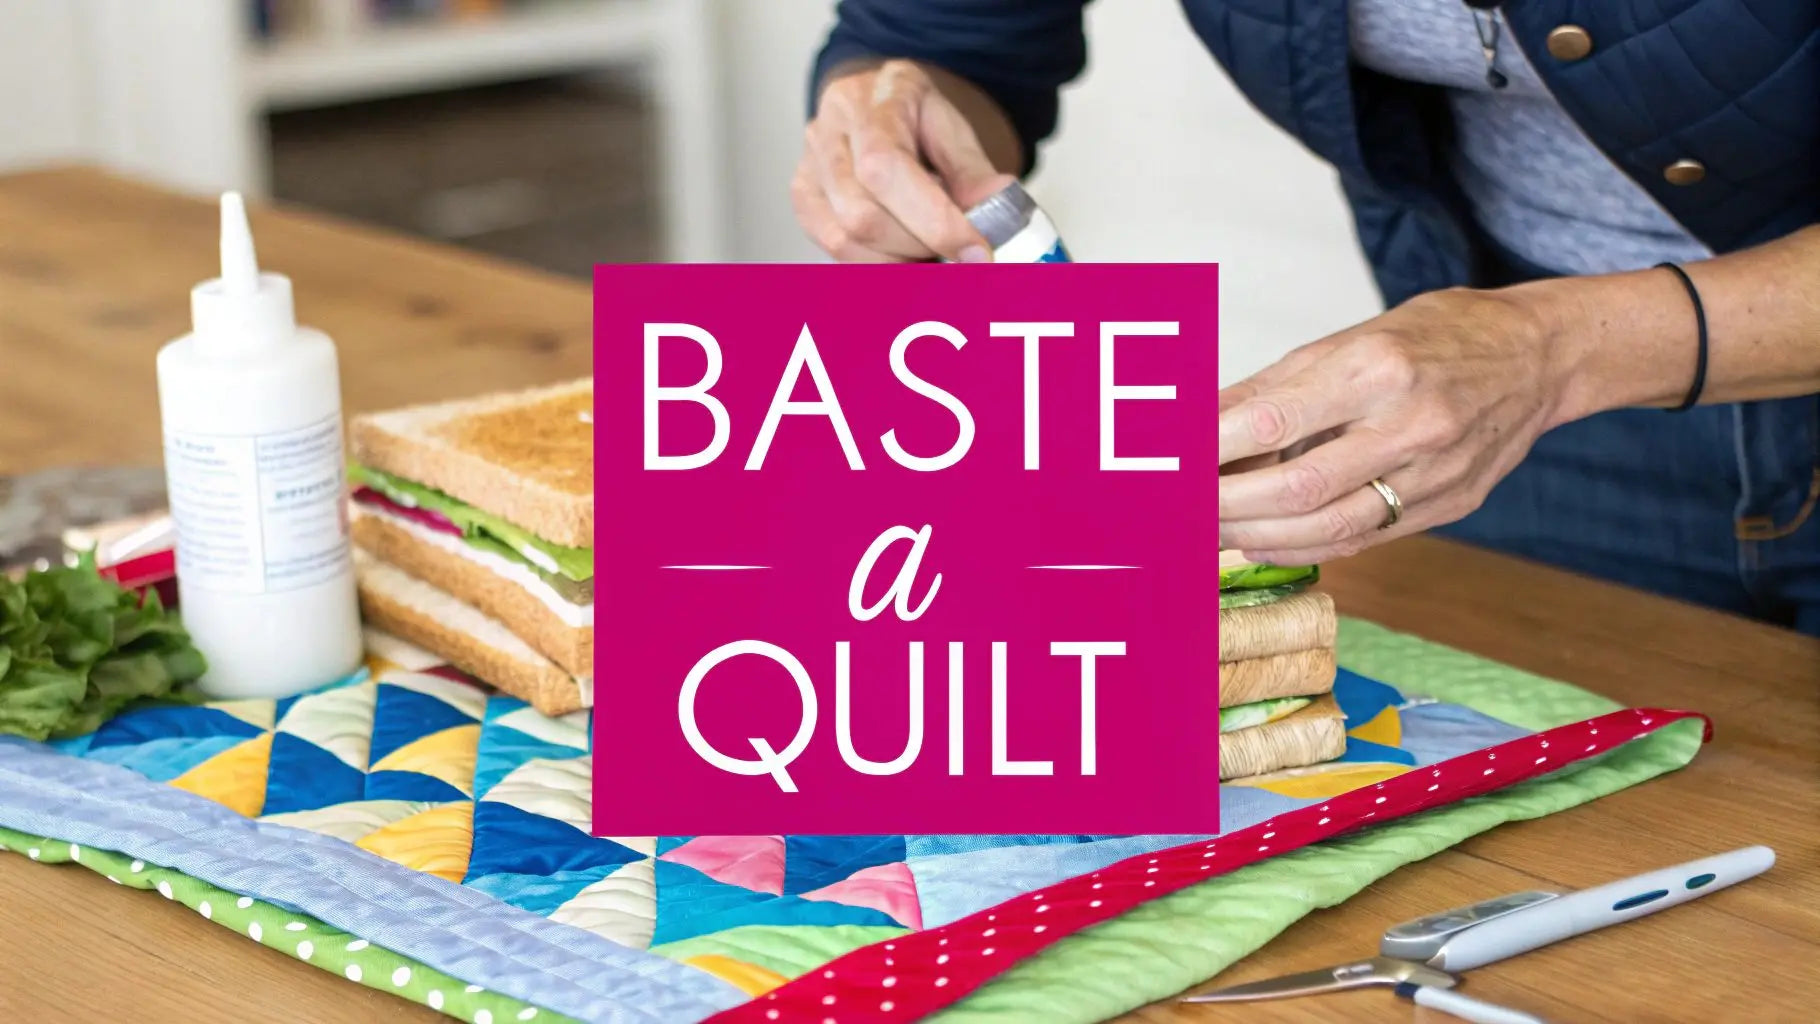
Learn How to Baste a Quilt Perfectly in Easy Steps
Learn How to Baste a Quilt Perfectly in Easy Steps: So, you’ve pieced your beautiful quilt top, chosen the perfect batting, and have your backing ready to go. Now what? Before you can start the fun part—the actual quilting—you have to get all three layers to play nicely together. This is where basting comes in. Basting is the crucial step of temporarily securing your quilt top, batting, and backing into a "quilt sandwich," and mastering this technique is the key to a professional finish.
Getting this right is absolutely essential for preventing shifting, which is the number one enemy of smooth, pucker-free quilting. At Linda's, we want to empower you to create beautiful projects, and that starts with a flawless foundation.
Why Basting Is Your Secret to a Flawless Quilt
I can't stress this enough: the success of your entire quilting project hinges on a good baste. Think of it as the scaffolding for a building; it holds everything securely in place while you add the beautiful, final stitches that bring your quilt to life.
Skip this step or rush through it, and you're inviting trouble. You'll get frustrating puckers on the back, shifting layers, and a design that just doesn't line up anymore. When you take the time to baste properly, all three layers act as a single, cohesive unit, making your quilting experience so much smoother and more enjoyable.
There are three main ways to get the job done, and the one you choose often comes down to the size of your quilt and what you feel most comfortable with:
- Pin Basting: A classic method using special curved safety pins to hold the sandwich together.
- Spray Basting: A quick and popular option that uses a temporary adhesive spray to bond the layers.
- Thread Basting: The old-school approach of using long, temporary hand stitches to tack everything in place.
No matter which path you take, the goal is always the same: stability. If you're looking for more ways to build your quilting confidence, check out our guide on essential quilt projects for every skill level.
A well-basted quilt is a joy to quilt. I promise, spending a little extra time here will save you hours of frustration and stitch-ripping later. It's the single most important thing you can do for a professional-looking finish.
Whether you're tackling a small wall hanging or a sprawling king-sized quilt, using quality supplies will make all the difference. Get your project started on the right foot with our curated selection of basting tools and notions at Linda's.
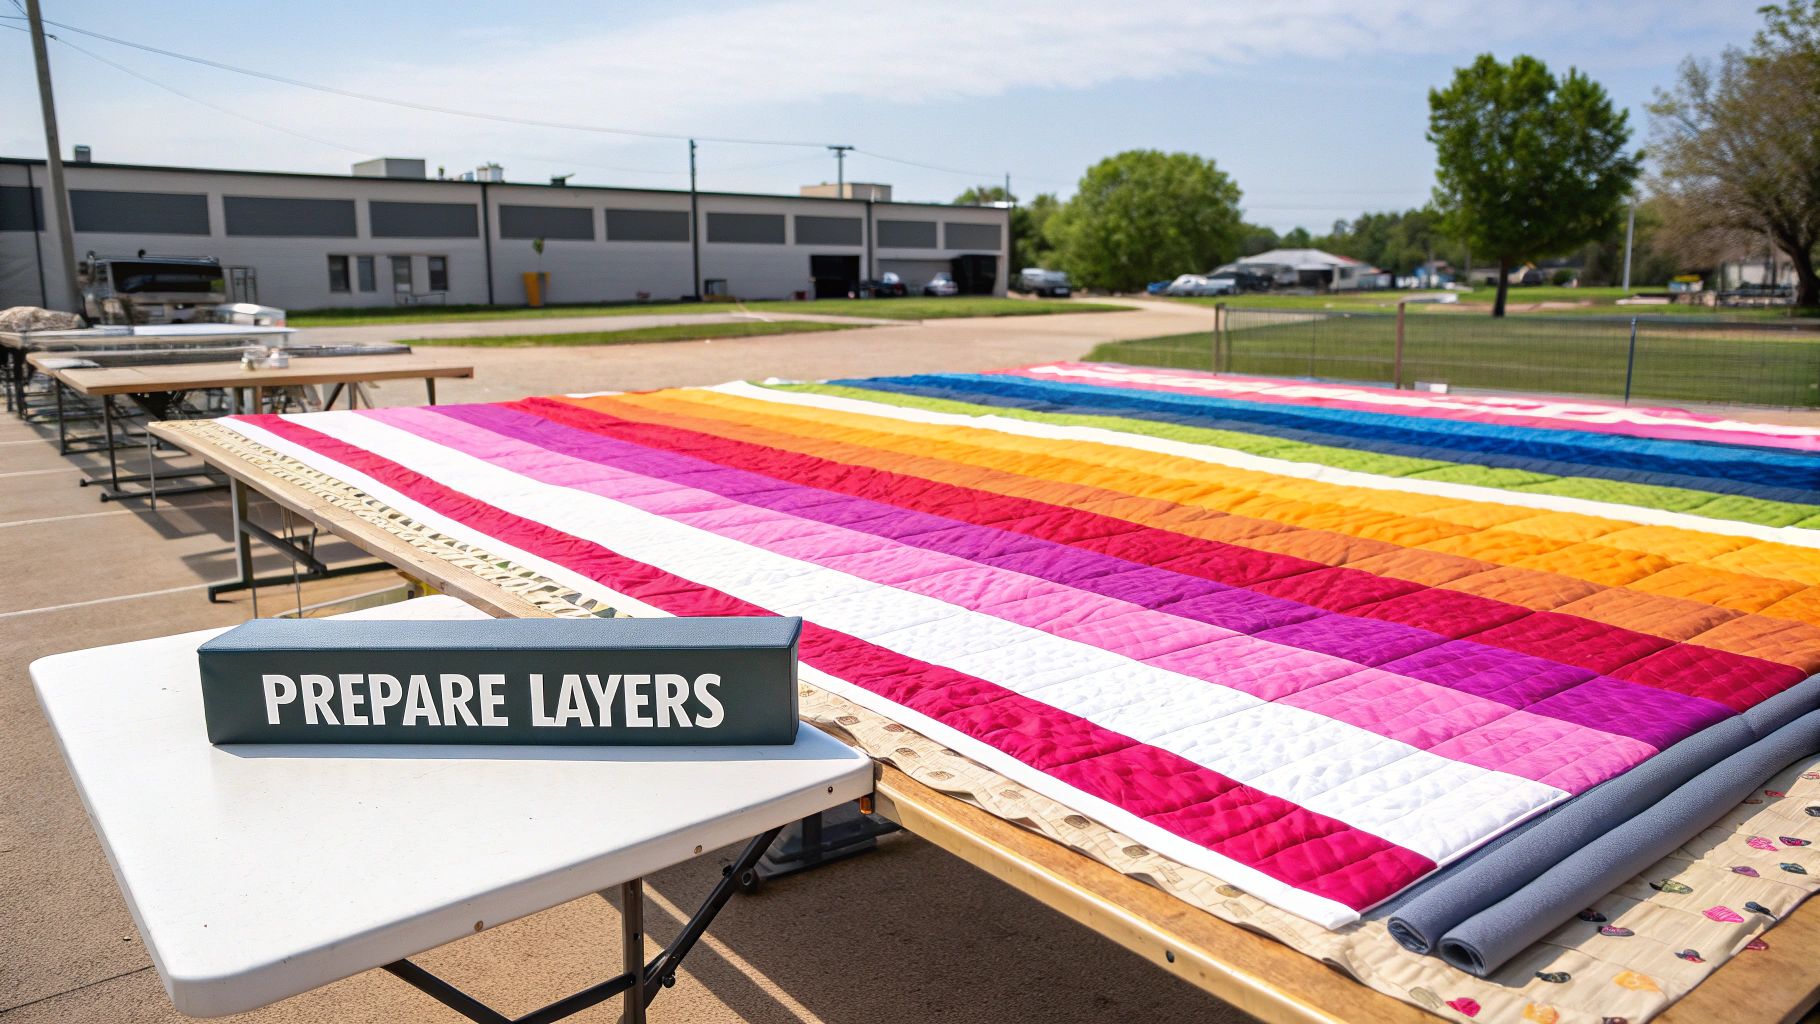
Preparing Your Quilt Sandwich for Success
Every beautiful quilt starts with a perfectly prepared quilt sandwich. I can't stress this enough: this stage is the foundation of your entire project. Any little wrinkle, bit of lint, or slight misalignment here will only become a bigger headache once you start quilting. Believe me, taking the time to get this right is the secret to that professional, polished finish we all crave.
First things first: break out the iron. Every single crease has got to go! Give your quilt top and backing fabric a thorough pressing with a hot iron until they are completely smooth. Pay extra close attention to the seams on your quilt top—you want them laying perfectly flat and crisp.
Setting Up Your Basting Space
Now, you need to find a large, flat surface where you can really spread out. A clean floor is a popular choice for a reason, but a big dining table works just as well if you have one. When it's time to cut your layers, you'll want the right tools for the job. A good guide to sewing cutting mats can be a huge help in making sure your fabric and batting edges are perfectly straight.
With your workspace prepped, it's time to lay down your backing fabric, wrong side facing up. Grab some painter’s tape and secure one edge to your surface. Then, move to the opposite side, pull the fabric taut—but don't stretch it out of shape—and tape that side down. Do the same for the last two sides until your backing is as smooth and tight as a drum.
Next, carefully unroll your batting over the secured backing. The kind of batting you use makes a massive difference in the final look and feel of your quilt. If you're wondering what to choose, we've put together a comprehensive guide to batting choices for the passionate quilter right here on our blog. Gently smooth the batting from the center out to the edges, getting rid of any folds or bumps.
Pro Tip: Before you lay down your quilt top, run a lint roller over the back of it. It’s a tiny step that makes a huge difference, preventing stray threads from peeking through lighter-colored fabrics after you've quilted everything together.
Finally, place your perfectly pressed quilt top, right side up, over the batting. Take a moment to center it just right. Then, smooth it down just like you did with the batting layer, always working from the middle outwards to the edges. And just like that, your quilt sandwich is pristine and ready for the basting magic to begin.
Choosing the Right Basting Method for You
There's no one-size-fits-all answer when it comes to basting. The best method really comes down to the quilt itself, your personal style, and what you’re trying to achieve. The three big players are pins, spray, and thread, and what works for a huge king-sized quilt might not be the right call for a small, detailed wall hanging.
Don't underestimate the time this step takes! Quilters typically spend 10-20% of their total project time just on basting. It's that important for stopping layers from shifting around and ensuring your stitches look perfect. It's interesting to see how preferences split: around 40% of traditional quilters swear by hand basting for its control, while 35% reach for spray baste to save time. Another 25% prefer machine basting, which hits a nice middle ground. If you're curious, you can get a bigger picture from these quilting market insights to see how things are trending.
The tools you use make a massive difference. This little guide gives you a quick visual rundown of the essentials for each method.
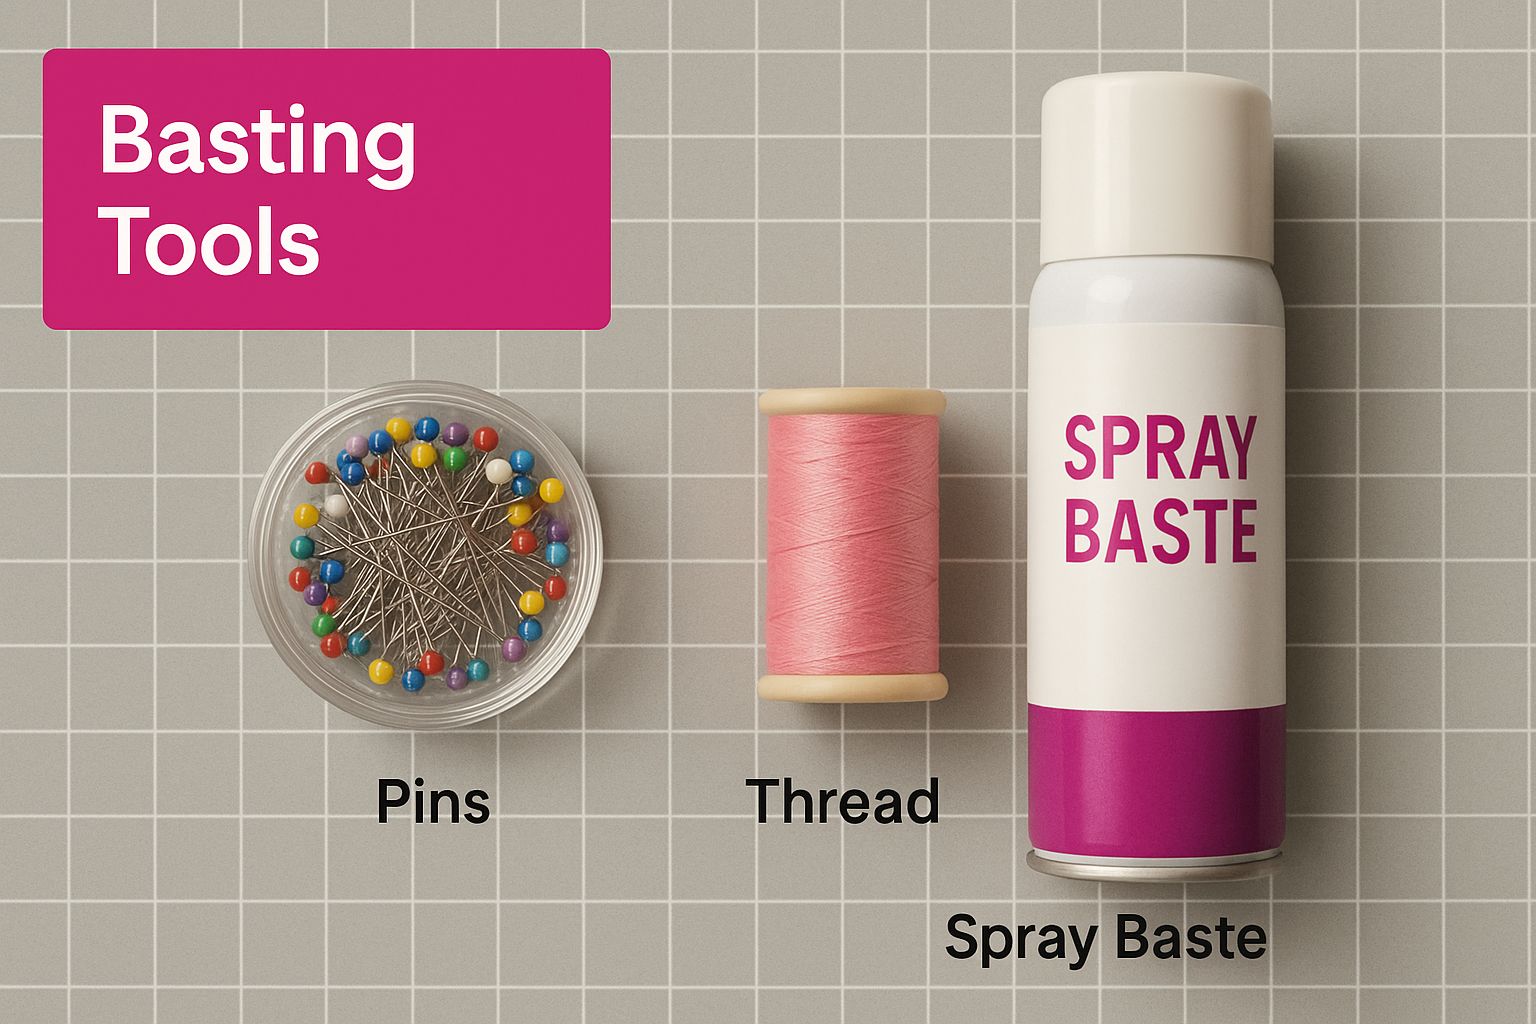
As you can see, the supplies couldn't be more different, which just goes to show how unique each approach really is.
Deciding which basting method to use can feel overwhelming, but breaking them down can make the choice a lot clearer.
Quilt Basting Method Comparison
| Method | Best For | Pros | Cons | Recommended Tool from Linda's |
|---|---|---|---|---|
| Pin Basting | Beginners, large quilts, those who want a reusable option. | Economical, reusable, allows for adjustments. | Can leave small holes, pins need to be removed during quilting. | Curved Safety Pins |
| Spray Basting | Quick projects, machine quilting, avoiding pins. | Very fast, provides even coverage, no objects to quilt around. | Requires good ventilation, can be messy, single-use. | Odif 505 Temporary Fabric Adhesive |
| Thread Basting | Hand quilting, heirloom projects, ultimate stability. | Unmatched security, no shifting, precise control over layers. | Very time-consuming, requires removal after quilting. | Hand Sewing Needles |
Ultimately, the best method is the one that gives you the most confidence as you head to your machine or settle in with your needle and thread.
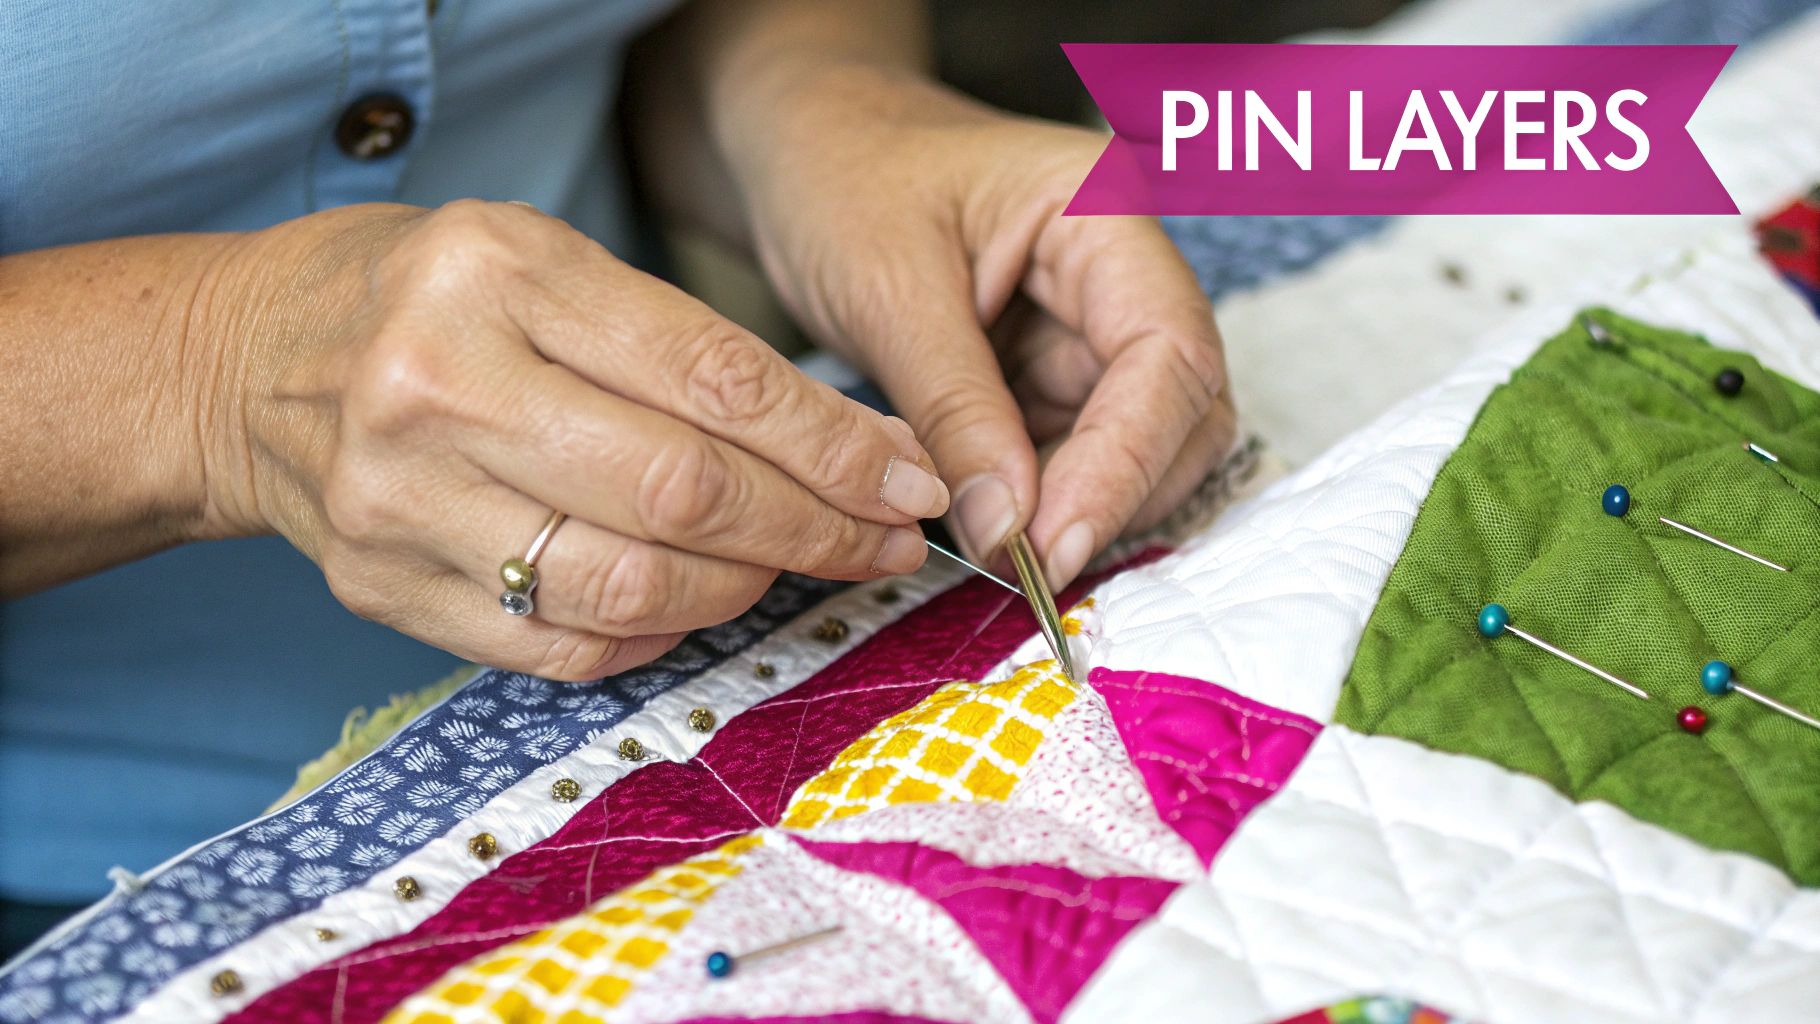
Pin Basting Explained
Pin basting is the classic, tried-and-true technique for a reason. It relies on special curved safety pins that are designed to make life easier. That little bend helps you scoop through all three layers of your quilt sandwich and fasten the pin without causing the fabric to bunch up. It's a fantastic, eco-friendly option that offers serious stability.
For the best experience, you'll want high-quality, rust-proof curved safety pins. At Linda’s, we offer durable pins that glide through fabric easily. When it comes to spacing, aim to place a pin every 4-6 inches, or about the width of your hand. This gives you great security across the whole quilt and stops those annoying baggy spots from popping up.
The Speed of Spray Basting
If you're short on time, spray basting is a game-changer. This method uses a temporary spray adhesive to gently tack the quilt layers together. When you get it right, you're left with a perfectly smooth quilt sandwich with zero pins to navigate around while you stitch.
The trick is to work in a space with plenty of airflow and to use a light, even mist. Here at Linda's, we always suggest using a spray made for fabric, like the Odif 505, which holds tight and then washes out completely. Just work in sections: fold back half your quilt top, give the batting a quick spray, smooth the top down, and then do the other side. You can grab a can today and see what a difference it makes.
The Control of Thread Basting
For the quilter who wants absolute precision, especially for detailed patterns or hand quilting, you can't beat traditional thread basting. This involves using a simple needle and thread to make long, running stitches that create a grid across your quilt.
This method definitely takes more time and patience, but the reward is total stability. Your layers are locked in place and will not budge—which is absolutely critical for those heirloom quilts where every stitch counts. You get complete control over the quilt's tension and how it drapes.
To complete this traditional method, all you need are quality Hand Sewing Needles and some thread, both of which you can find in our shop.
Mastering Your Chosen Basting Technique
Alright, your quilt sandwich is layered and smooth—now it's time to lock it all in place. Every basting method has its own little dance, but they all share one golden rule: always work from the center out. This simple movement is your secret weapon against puckers, pushing any trapped air or tiny wrinkles toward the edges where they can escape.
The Pin Basting Process
If you're using pins, that center-out strategy is everything. Plant your very first pin right in the heart of your quilt. From there, smooth the fabric away from the center with your hands and start placing more pins in a pattern that radiates outwards, almost like sunbeams.
A good rule of thumb is to place a pin every 4-6 inches, or about the width of your hand. This keeps everything secure and prevents those sneaky layers from shifting around while you quilt.
Closing pin after pin can be a real workout for your fingers. We've all been there. Thankfully, a simple tool can make all the difference.
Linda’s Pro Tip: Give your fingertips a break and speed things up with a Kwik Klip tool. This handy gadget is specifically designed to open and close curved safety pins with hardly any effort. It’s a total game-changer, making pin basting faster and way more comfortable. Find this and other amazing notions in our store to make your project easier.
A Guide to Spray Basting
Spray basting is fantastic, but it requires a bit of a different technique to avoid turning your sewing room into a sticky mess. The key is the “fold-and-spray” method.
Start by gently folding back one half of your quilt top, which exposes the batting underneath. Following the directions on your spray can, give the batting a light, even mist of adhesive. Then, carefully smooth the quilt top back into place, working from the center fold out to the edges.
Once that side is done, repeat the process for the other half. Flip the entire quilt sandwich over and do the exact same thing with the backing fabric. And trust us on this one—make sure you're in a well-ventilated space! Ready to try it? Pick up a can of Odif 505 Temporary Fabric Adhesive and get your project moving faster.
The Art of Thread Basting
For a truly stable quilt, nothing beats old-school thread basting. It's a method that has been perfected over generations, giving you incredible control.
Grab a long needle and some thread in a contrasting color so it's easy to see and remove later. Start in the center and sew big, running stitches—about 1-2 inches long—out to one edge. Head back to the center and stitch out to the opposite side to create a long horizontal line.
Keep doing this to create more horizontal, vertical, and even diagonal lines. You’re essentially creating a large grid that holds the entire quilt sandwich firmly together. The stitches don’t need to be pretty, they just need to do their job until the final quilting begins. And when you get to that stage, the right machine makes all the difference. Check out our recommendations for deciding on a sewing machine to find the perfect partner for your projects.
Avoiding and Fixing Common Basting Problems
Let's be honest, even when you're careful, basting can go a little sideways. We've all been there—puckers, shifting fabric, and those dreaded baggy spots. These frustrations are super common, but the good news is they're almost always preventable and fixable.
The key is figuring out why they happen in the first place. Once you understand the cause, you're on your way to a perfectly smooth quilt sandwich every time.
The number one problem we see is puckering on the quilt back. This almost always happens because the backing fabric wasn't pulled completely taut before the basting began. Any slack at all will get pushed around during the quilting process, eventually creating nasty folds and tucks.
The Fix: Always, always tape your backing down securely to a flat surface. You want it smooth and tight like a drum before you even think about adding the other layers. Trust us, this simple step is a non-negotiable for a flawless finish.
Getting this stage right has a huge impact on your final quilt. Properly basted quilts can see up to a 50% decrease in puckering and shifting. It even improves the evenness of your quilting stitches by around 30%. You can dig deeper into how quality construction is shaping the quilt market if you're curious.
Method-Specific Issues and Solutions
Of course, each basting method brings its own unique set of challenges. Here’s how to tackle them head-on.
- Pin Basting: Noticing baggy areas between your pins? That’s a dead giveaway they're spaced too far apart. You should aim for a pin every 4-6 inches—about the width of your hand—to keep all three layers working together as a single unit.
- Spray Basting: Going too heavy with the adhesive can create stiff, gummy spots on your quilt that are no fun to quilt through. The trick is to use a light, even mist from about 10-12 inches away. Work in smaller sections to avoid oversaturating the fabric.
Another big culprit behind shifting layers is an unsquare quilt top. If your piecing isn't perfectly square, it can tug and pull the other layers out of alignment as you baste. We have a whole guide on what to do if your quilt top is not square that you might find helpful.
Your Quilt Basting Questions Answered
No matter how well you plan, a few questions always seem to pop up right when you're in the middle of basting. Let’s tackle some of the ones we hear all the time so you can feel totally confident before that first stitch.
One of the big ones is, "How close should my basting pins be?" A great rule of thumb I’ve always used is to keep them about a hand's width apart. This gives you enough security to stop the layers from shifting around, but it won't make your quilt top feel like a pincushion.
Another classic: "Can I baste my quilt on a bed?" You can, but I'd really recommend against it. A hard, flat surface like a clean floor or a big table gives you so much more control. It's the best way to avoid those sneaky hidden wrinkles that only show up later.
Practical Concerns
The pre-washing debate! So many quilters ask if they should pre-wash their fabrics and batting. Honestly, it’s a personal choice. Pre-washing can prevent shrinkage later on and gets rid of any factory chemicals. The key is, if you wash one part, wash them all. That way, everything shrinks at the same rate.
And what about that basting spray? We get asked a lot if it will gum up a quilt. The temporary adhesive sprays we carry are designed to wash out completely in the first laundering. No sticky residue left behind.
Getting answers and sharing tips is a huge part of the quilting journey. Don't hesitate to connect with others for advice. Finding your local crafting community can be an incredible resource for troubleshooting and inspiration.
Now that your quilt sandwich is perfectly secured, you're ready for the really fun part—the quilting! For all the essential tools and supplies you need to finish your project beautifully, visit us at Linda's Electric Quilters. Explore our amazing selection at https://lindas.com.


