
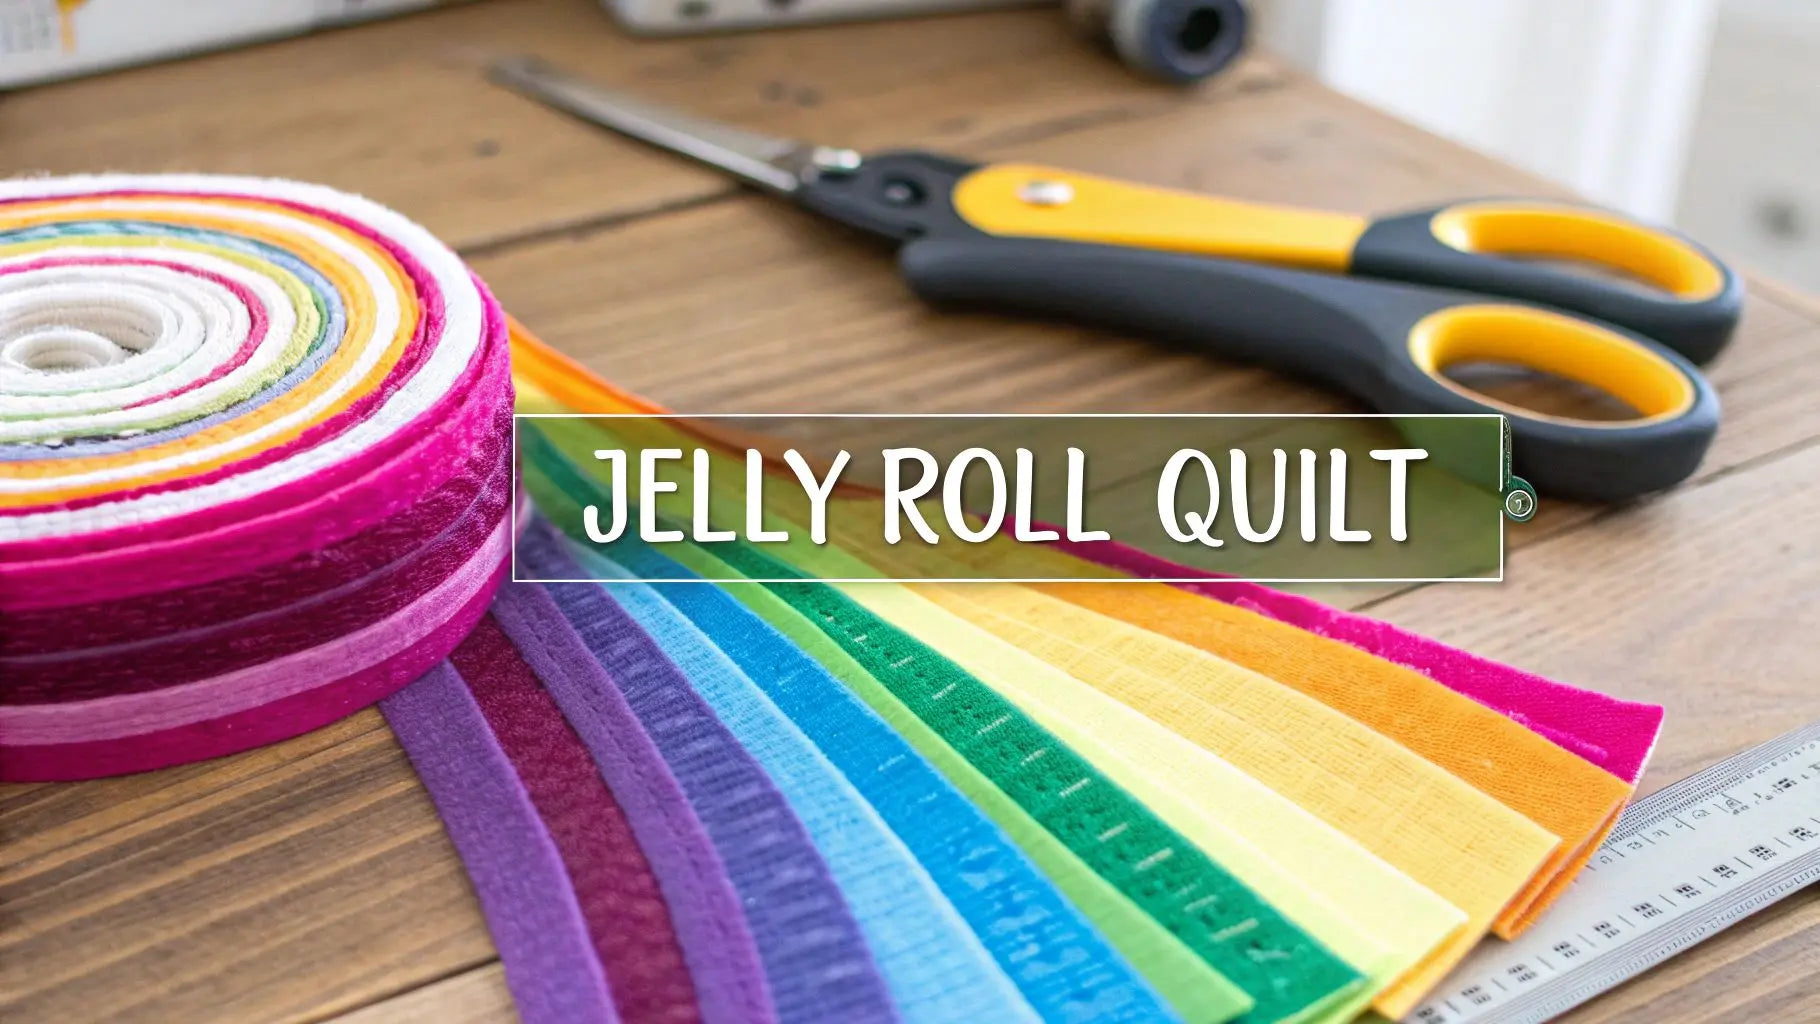
If you've ever felt intimidated by the thought of cutting dozens of fabric strips for a quilt, the jelly roll quilt pattern is about to become your new best friend. It’s a fast, fun, and visually stunning project that’s perfect for quilters of all levels, from absolute beginners to seasoned pros. The secret? It all starts with pre-cut 2.5-inch fabric strips, which means you get to skip the most tedious part and jump right into the creative process. This guide will walk you through creating your own beautiful quilt, from selecting your materials to the final stitch.
Getting Started with Your First Jelly Roll Quilt
Diving into your first jelly roll quilt is such a thrill. These projects are a huge favorite in the quilting community because they offer a fantastic shortcut to a gorgeous quilt without sacrificing any of the creativity. The real magic is in the "jelly roll" itself—a beautifully curated bundle of coordinating fabric strips that takes all the guesswork out of picking colors and prints that work together.
The jelly roll was a genuine game-changer for modern quilting. The whole concept is tied to the fabric bundle format first introduced by Moda Fabrics way back in 2006. A standard bundle gives you 40 pre-cut strips of fabric, each measuring 2.5 inches wide by about 42 inches long. This simple innovation made quilt-making so much faster and more approachable for everyone.
Selecting the Perfect Jelly Roll
Honestly, choosing your jelly roll is one of the most delightful parts of the whole process. The fabric collection you pick sets the entire mood and personality of your quilt.
Think about the feeling you want to create. A soft, dreamy pastel roll could become a cherished baby quilt. A bundle of bold, vibrant batiks might turn into a striking modern wall hanging.
Here are a few things to consider when you're browsing:
- Color Palette: Are you dreaming of a rainbow of colors, a simple two-tone design, or a subtle, sophisticated blend of monochromatic shades?
- Print Scale: A good mix of large-scale prints, small geometrics, and even some solids adds so much visual interest and depth to the finished quilt.
- Theme: Many collections are designed around a specific theme, like holidays, seasons, or styles like modern farmhouse or vintage traditional.
Your jelly roll is the heart of your quilt. Don't rush this step! Spend time looking through collections online or in your local shop until you find one that truly inspires you. When you love your fabric, the entire sewing process feels like a joy, not a chore.
Gathering Your Essential Tools
While the jelly roll takes care of the fabric, having the right tools on hand will make the actual construction smooth, precise, and enjoyable. You don’t need a sewing room overflowing with gadgets, but a few key items are non-negotiable if you want a professional-looking result.
Your basic toolkit should definitely include a comfortable rotary cutter with a fresh, sharp blade, a self-healing cutting mat, and a few clear acrylic rulers in different sizes. A quality sewing machine that you're comfortable with and good-quality thread are, of course, essential.
Investing in these basics ensures your seams will be straight, your cuts will be accurate, and your finished quilt will be something you can be proud of for years to come. For a deeper dive into different fabric types, check out our ultimate guide to pre-cut fabrics, which explains how jelly rolls fit into the wider world of quilting.
Ready to find the perfect starting point for your project? Explore the amazing collection of jelly rolls, rulers, and cutters at Linda's to find everything you need to start your masterpiece.
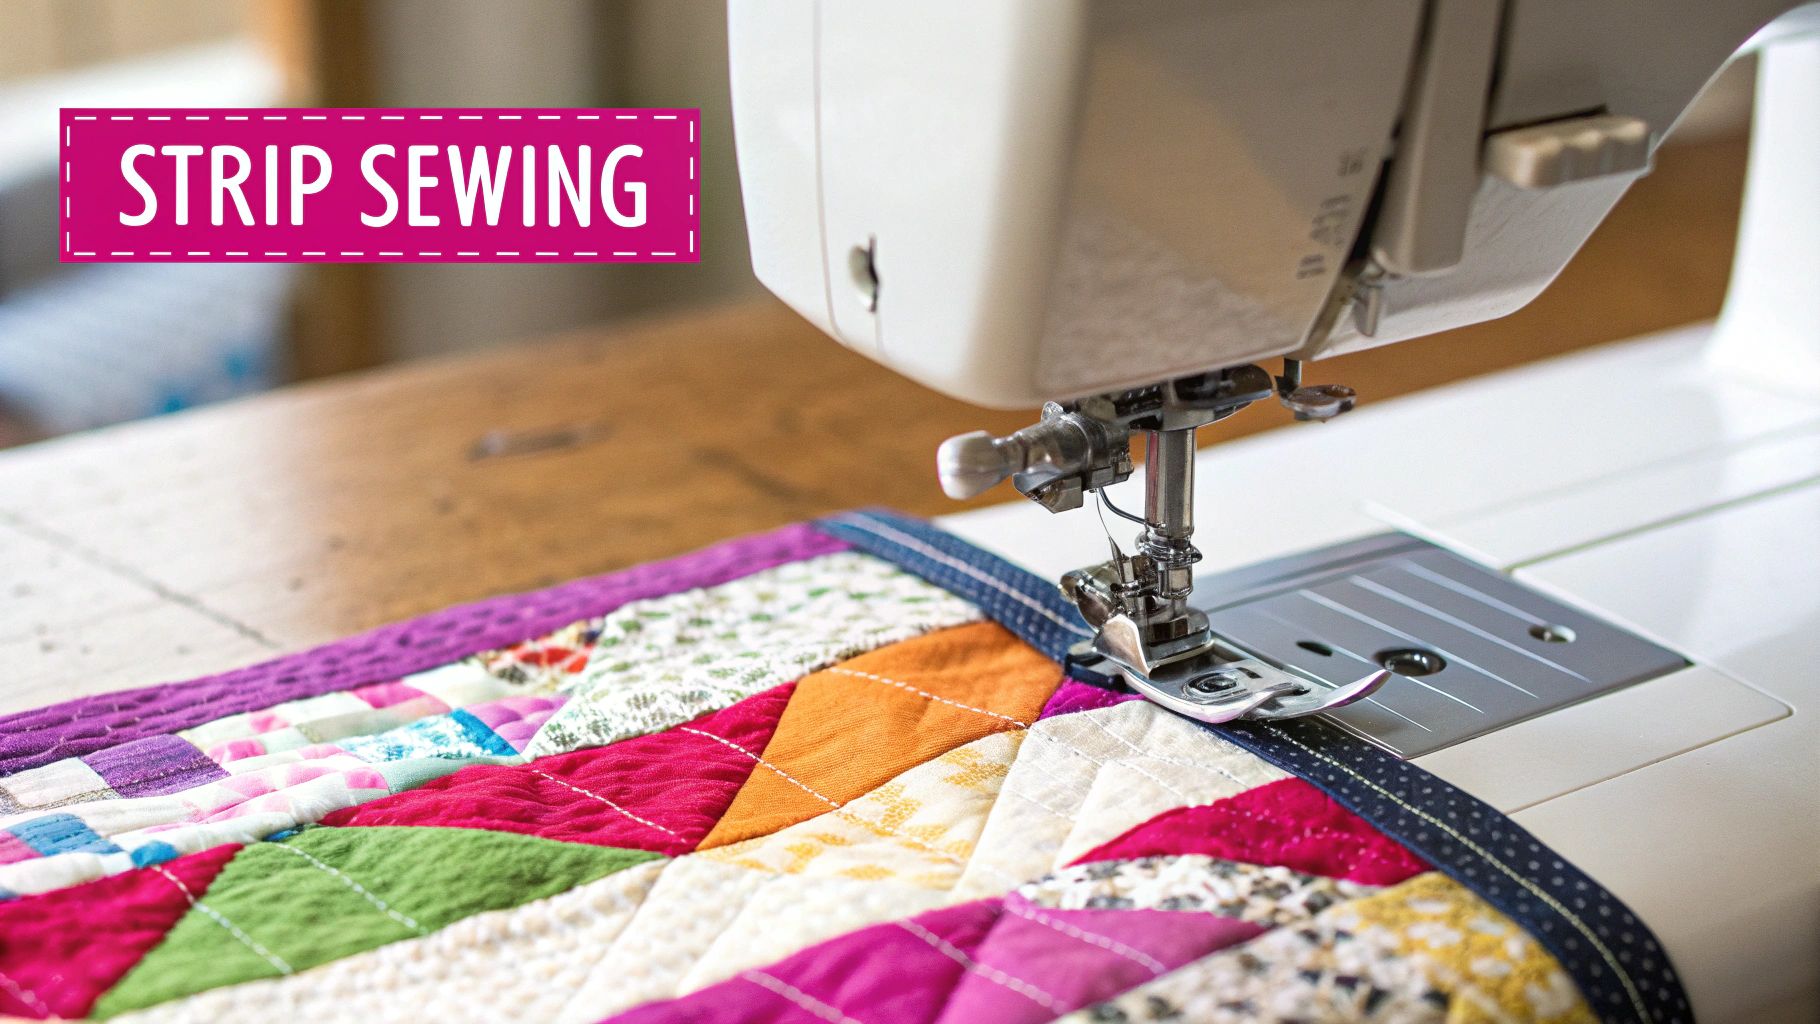
Getting Your Strips Ready to Sew
Now that you've picked out the perfect jelly roll and gathered your tools, we get to the fun part—watching your quilt top come to life. How you handle these 2.5-inch strips is what separates a quilt that looks homemade from one that looks professionally finished.
Before you even think about sewing, give those strips a quick press. They’ve been rolled up tightly, and ironing out the folds and wrinkles is a non-negotiable first step for accurate seams.
One of the biggest frustrations for quilters is dealing with stretched or warped fabric. Jelly roll strips are cut along the grain, which helps, but they can still get pulled out of shape. A gentle touch as you guide them through your machine will keep everything straight and prevent a wavy quilt top later.
Building Your First Strip Set
Most jelly roll quilts are built from a simple concept: the "strip set." This is just a fancy name for sewing two or more strips together along their long edges. For a basic strip quilt, you'll lay out your strips, sew them into pairs, and then join those pairs until you have one big, stripy piece of fabric.
This is where your inner artist gets to play. Lay your strips out on a design wall or even a clean spot on the floor. See how the colors and prints talk to each other before you make your first stitch. Taking a few minutes to audition your layout can save you the heartache of realizing a color combination just isn't working when it's too late.
Here's something to keep in mind: the order of your strips sets the whole mood of your quilt. High-contrast fabrics will give you bold, energetic lines. A softer, low-contrast mix creates a blended, almost watercolor effect. There’s no right or wrong way—it’s all about the look you’re going for!
Your New Best Friend: Chain Piecing
Want to sew faster and more accurately? You need to learn how to chain piece. Instead of sewing two strips, cutting the thread, and starting over with the next pair, you just feed them through your machine one after the other, creating a long chain of pairs connected by a few stitches.
I can't overstate how much of a game-changer this is.
- It's fast. You'll be amazed at how quickly you can piece dozens of strips without all the starting and stopping.
- It saves thread. You'll use way less thread over the course of a big project.
- Your seams will be better. The continuous flow helps you keep a consistent speed and a much more accurate seam allowance.
Once you’ve chained all your pairs together, all you have to do is snip the threads connecting them. It’s an incredibly simple technique that makes you feel like a quilting superhero.
Pressing: Open or To the Side?
The final, crucial step is pressing your seams. This little detail has a huge impact on how flat your quilt top lays.
Many quilters press their seams to one side, usually toward the darker fabric so it doesn't show through the lighter one. This creates a really strong, durable seam. The other option is to press your seams open, which helps reduce bulk where multiple seams meet, making for a flatter block.
For most beginner jelly roll quilts, pressing to one side is perfectly fine and often easier. The most important thing is to be consistent. If you press all your seams in the same direction, you'll find they "nest" together beautifully when you join your strip sets, helping you get those perfect points and a clean, polished finish.
To make this whole process even smoother, make sure you're working with quality tools. Good thread and a handful of sharp pins from a trusted source like Linda's Electric Quilters will keep your strips perfectly aligned before they even get to the needle.
Cutting and Assembling Your Quilt Blocks
Once your strip sets are pressed and looking sharp, it's time for the magic to really happen. We're about to slice them up into versatile quilt blocks. This is where a little bit of precision goes a long, long way in making sure your final jelly roll quilt fits together like a dream.
Before you even think about cutting into that beautiful strip set, you have to "square up" the edge. Seriously, don't skip this. This step creates a perfect 90-degree starting line, which guarantees every block you cut from here on out will be uniform and straight. A wonky first cut will haunt you, throwing off every single block that follows.
This is a great moment to appreciate how the curated colors in a jelly roll do all the hard work for you. You get a cohesive look right from the start, without any of the guesswork.
From Strip Sets to Sub-Units
Grab your sharp rotary cutter and a clear acrylic ruler—we’re ready to slice these strip sets into smaller segments, or what quilters call "sub-units." Your pattern will tell you exactly how wide to make these cuts. For a classic rail fence block made from three strips, you might slice 6.5-inch wide segments to create perfect little squares.
A quick pro tip: make sure your rotary blade is fresh. A dull blade is your enemy here; it can drag and distort the fabric, undoing all the careful work you've put in so far. You can find fresh, reliable blades in the notions aisle over at Linda's Electric Quilters.
Unlocking Secondary Patterns
Okay, this is where the real fun begins. Once you have a neat stack of identical blocks, the layout possibilities are practically endless. Please don't just sew them all together in the same direction!
Lay your blocks out on a design wall or even just a clean patch of floor and start playing.
- Alternating Directions: Try rotating every other block by 90 degrees. You'll be amazed at the beautiful woven or basketweave effect that appears.
- Creating Chevrons: Arrange the blocks so the strips form V-shapes. This creates stunning zig-zag lines that give the whole quilt a sense of movement.
- Diamond Formations: If you carefully arrange four blocks together, you can create striking diamond or pinwheel shapes in the negative space where their corners meet.
Here's a trick I swear by: take a photo of each layout you like with your phone. It's a simple way to compare different design options side-by-side before you commit to sewing. It really helps you visualize the final quilt.
It’s truly amazing how one simple block can create so many different looks. This planning phase is your chance to turn a simple recipe into your own unique piece of art.
If you're wondering about project size, one jelly roll pack is designed for efficiency. It typically contains enough fabric to make a quilt top around 45 by 60 inches, which is perfect for a cozy lap quilt or a generous baby blanket. If you want to dive deeper into planning, Coriander Quilts has a great roundup of project sizes.
Jelly Roll Project Sizing Guide
To help you plan, here's a quick guide to estimate how many jelly rolls you might need for different quilt sizes. Keep in mind that patterns with sashing or borders will require less, while more complex block designs might need more.
| Quilt Size | Approximate Dimensions | Estimated Jelly Rolls Needed |
|---|---|---|
| Baby Quilt | 36" x 52" | 1 |
| Lap/Throw | 50" x 65" | 1-2 |
| Twin | 70" x 90" | 2-3 |
| Queen | 90" x 108" | 3-4 |
| King | 110" x 108" | 4-5 |
This table is just a starting point, of course. Always check your specific pattern's requirements, but it's a handy reference when you're dreaming up your next project at the fabric store.
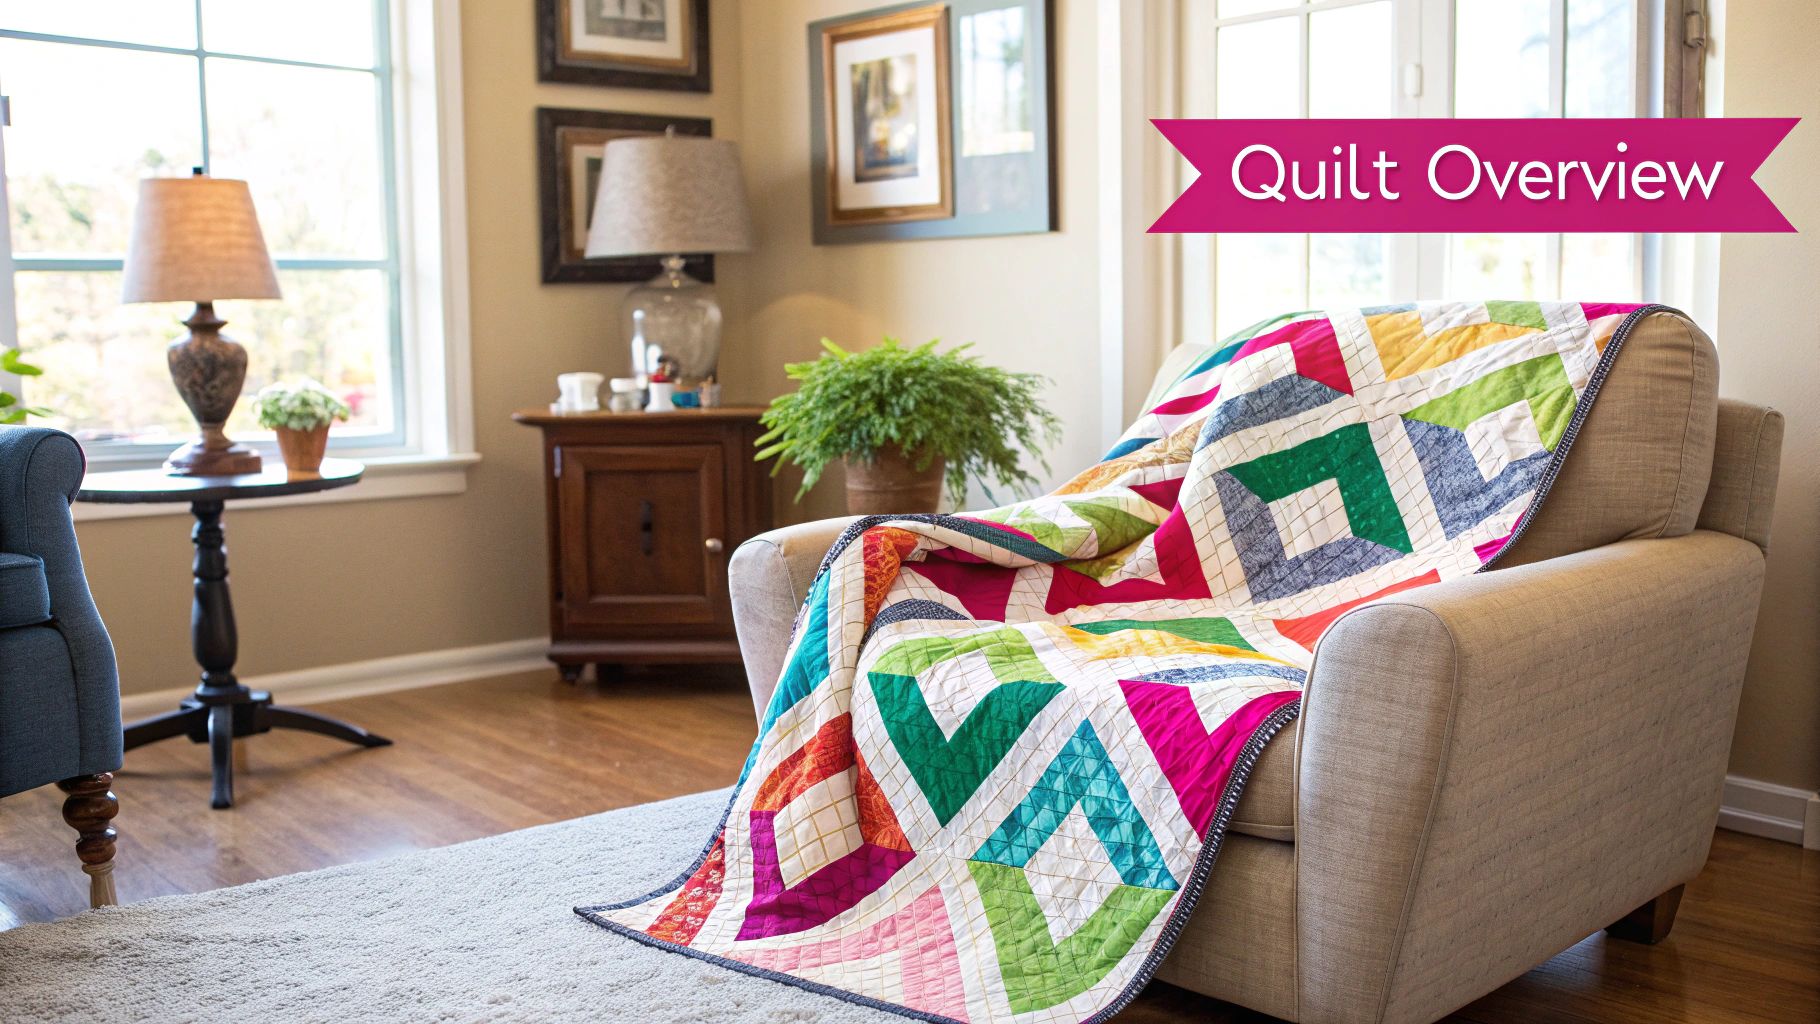
Assembling Your Finished Quilt Top
Okay, this is where the magic really starts to happen. You've got this beautiful, neat stack of quilt blocks, and it's finally time to see them all come together into a real quilt top. The process is pretty straightforward: we're going to sew the blocks into rows, and then sew those rows together.
The key to keeping this organized is to work systematically. Sew your blocks for the first row together, then take it to the ironing board and press all the seams in one direction. When you assemble your second row, press those seams in the opposite direction. This little trick is the secret sauce for getting your points to match up beautifully.
The Magic of Nesting Seams
When you go to sew two rows together, those seams you pressed in opposite directions will lock into place against each other. Quilters call this "nesting," and it's a total game-changer. You can literally feel the seams snuggle together with your fingers, creating a tiny little bump that tells you everything is perfectly aligned.
This technique is fantastic because it helps your block corners line up almost effortlessly, often without needing a ton of pins. It also prevents those bulky intersections that can make quilting a challenge later on. The goal is to get a top that lays incredibly flat, which is crucial when you create a quilt sandwich with the right batting and get ready for the final quilting.
To Frame or Not To Frame Your Quilt
Once all your blocks are joined, you have a big design decision to make: should you add sashing or borders? Think of these as the frame on a picture. They can add breathing room, define the design, and give your quilt a polished, professional look.
- Sashing: These are the fabric strips you sew between your blocks. They're great for separating busy prints, creating a clean grid effect, or even showcasing some fancy quilting.
- Borders: These are the fabric strips that go around the entire outer edge of the quilt top. Borders frame your work, add stability, and are an easy way to make your quilt bigger without piecing more blocks.
A common mistake new quilters make is measuring the outside edge of the quilt top and cutting their border strips to that length. This almost always results in wavy, distorted borders because quilt tops can stretch a bit during piecing.
To get perfectly flat borders, measure your quilt top through the center—both vertically and horizontally. Average those measurements and cut your borders to that length. This method helps pull everything square and keeps your edges from looking like a potato chip.
Choosing the right fabric for these final touches is what takes a quilt from good to great. A complementary solid or a subtle print can frame your hard work beautifully. Linda's offers a wide selection of stunning fabrics perfect for sashing, borders, and backing to help you finish your jelly roll quilt with style.
Exploring Advanced Jelly Roll Patterns
If you think jelly rolls are just for basic strip quilts, you’re in for a treat. Those neatly rolled bundles of 2.5-inch strips are the secret ingredient for some truly stunning and intricate designs. Once you're ready to move beyond the simple race quilt, an entire world of creative possibilities opens up.
One of the most jaw-dropping techniques is the Bargello quilt. This method uses jelly roll strips to create breathtaking, wave-like gradients that seem to flow right across the quilt top. It looks incredibly complicated, but it all starts with the same strip-piecing skills you already have. You simply sew the strips into wide tubes, slice them into rings of different widths, and then piece them back together to create that fluid, painterly motion.
Experimental styles like the jelly roll Bargello are a perfect example of how versatile these pre-cuts can be. The uniform width is ideal for the narrow strips required, and you can get even more variation by cutting them down further. While keeping all those seams and the fabric's bias in check can be a fun challenge, these standardized strips are an amazing launchpad for complex designs. You can get a feel for the process and see some gorgeous examples when you explore the jelly roll Bargello technique.
Adapting Strips for Complex Blocks
It's not just about Bargello, either. Jelly roll strips are surprisingly handy for classic, complex quilt blocks that you might think require yardage. With a little clever cutting, you can use your favorite jelly roll for patterns like:
- Log Cabins: Those 2.5-inch strips are the perfect width for the "logs" that build around a central square.
- Pineapple Quilts: Much like a log cabin, these strips are fantastic for creating the intricate, radiating layers of a pineapple block.
- French Braid: This technique creates a beautiful woven effect by sewing strips at an angle, and using a jelly roll makes arranging the colors a total breeze.
As you dive into these more detailed designs, precision is everything. With so many seams coming together, even a tiny inaccuracy in your quarter-inch seam can throw off an entire block. My advice? Slow down, press your seams carefully, and don't be shy with your pins.
These projects prove that a simple roll of fabric can be the foundation for a true work of art. To keep building your skills, you might be interested in our guide to elevate your quilting craft with advanced techniques. For your next ambitious quilt, find a jelly roll at Linda’s that inspires you to push your creativity.
Quilting and Finishing Your Project Like a Pro
This is it. The final steps are where your beautiful, pieced quilt top finally becomes an actual quilt. All that careful work is about to pay off as you turn a flat design into a cozy, three-dimensional treasure that someone can wrap up in.
It all starts with making the "quilt sandwich." This is the crucial stage where you layer your three main components: your quilt top, the fluffy batting, and the backing fabric.
Start by laying your backing fabric flat (wrong side up), then smooth the batting over it. Finally, place your quilt top on the very top (right side up). Take your time here—smooth out every single wrinkle and make sure each layer is perfectly flat and centered.
Securing Your Quilt Sandwich
To keep things from shifting or bunching up while you're quilting, you have to baste the layers together. This is a temporary hold, but it's non-negotiable for a professional-looking finish. Quilters tend to have strong opinions on the best way to do this, but here are the most popular methods:
- Pin Basting: Using special curved safety pins is the classic, reliable way to go. You just secure the layers every few inches. It's affordable, effective, and you don't have to worry about sprays or adhesives.
- Spray Basting: A temporary spray adhesive can give you a quick, even hold across the entire quilt. It’s a fantastic way to avoid pins altogether, but you'll definitely want to do this in a well-ventilated space.
- Thread Basting: For the ultimate in control, some quilters prefer to hand-baste with long, loose stitches. It’s incredibly secure and ensures absolutely nothing moves, but it does take a bit more time.
No matter which route you choose, the goal is the same: create a stable, secure foundation for your quilting stitches so you get a smooth, pucker-free finish.
Adding Texture with Quilting
Now for the fun part—adding the stitches that hold it all together permanently and add that gorgeous texture. For a classic jelly roll quilt, simple and elegant is often the best approach. You don't need to get overly complex here.
Your walking foot will be your absolute best friend for any kind of straight-line quilting. You can stitch "in the ditch" (right along the seam lines of your blocks) or create a simple grid pattern that echoes the block shapes. This adds wonderful texture and durability without taking away from your fabric choices. Once you feel comfortable, you could even try some gentle, wavy lines for a softer, more organic feel.
Remember, the goal of quilting isn't just to hold the layers together. It’s to add texture and dimension. Even simple straight lines, when done thoughtfully, can completely elevate the look of your quilt.
The Perfect Professional Finish
The final, crowning step is the binding. This is the fabric frame that neatly encloses all the raw edges of your quilt sandwich. You can easily make your own continuous binding from 2.5-inch strips, the exact same width as the strips in your jelly roll!
Attaching the binding evenly and getting those crisp, mitered corners is the hallmark of a beautifully finished quilt. You’ll sew the binding to the front of the quilt, fold it over the raw edge to the back, and then either hand-stitch or machine-sew it down. This creates a clean, durable edge that will stand up to years of love and use.
Bringing your jelly roll quilt to life requires the best materials from start to finish. At Linda's Electric Quilters, we have everything you need, from premium batting and beautiful backing fabrics to high-quality thread and notions. Finish your project with the quality it deserves by shopping at lindas.com.


