
Ever wished you could turn a favorite photo, drawing, or design into fabric you can sew?
You actually can. And once you try it, it tends to change how you think about fabric altogether.
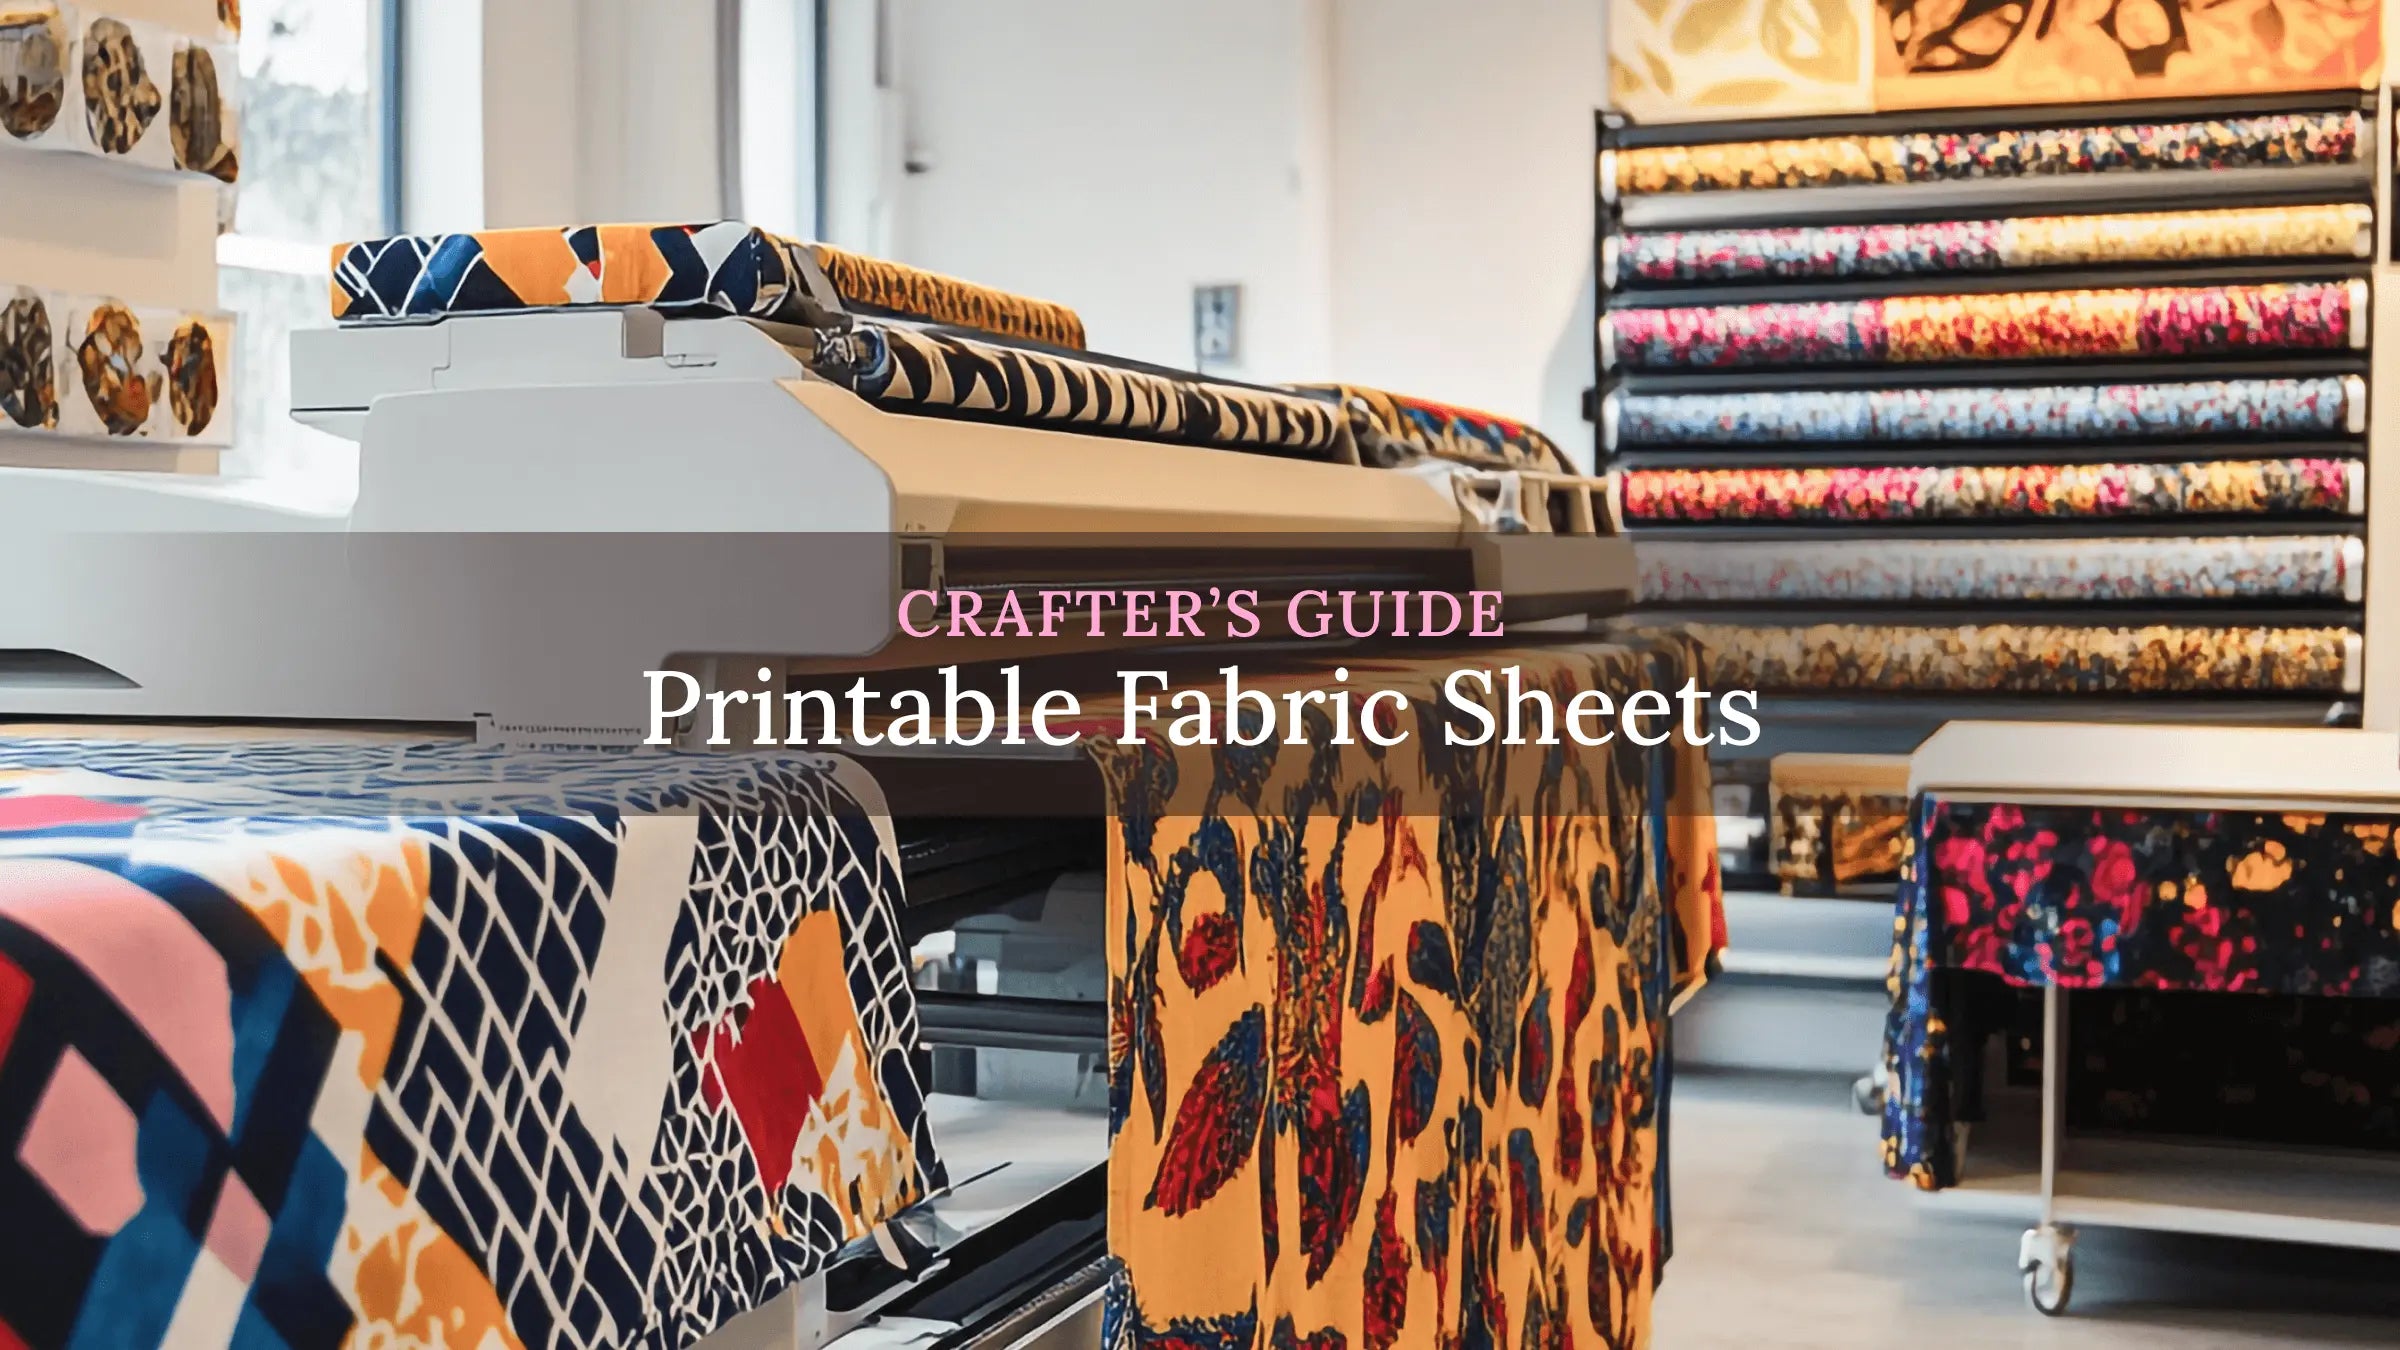
Printable fabric sheets are essentially cotton or cotton-based fabric bonded to a paper backing, designed to run through a standard inkjet printer. After printing, you peel off the backing and you’re left with soft, workable fabric. The difference is that now, it’s completely your own.
No special machines. No complicated setup. Just your home printer and a bit of intention.
It’s one of those tools that quietly opens doors. Suddenly, you’re not limited to what the fabric store carries. If you can design or scan it, you can create exactly what you need.
Why Quilters and Sewists Love Printable Fabric
Printable fabric opens numerous possibilities. It fills a very real gap between digital creativity and hands-on sewing. More importantly, it adds meaning to your projects.
Here’s where it really shines:
-
Personalized quilt labels
Add names, dates, locations, or messages that turn a finished quilt into something documented and lasting. -
Memory quilt blocks
Use old photos, handwritten notes, or scanned fabric scraps into a cohesive design. -
Custom appliqués
Create shapes, illustrations, or typography that you simply won’t find in stores. -
Story-driven sewing projects
Build pieces around a theme, a person, or a moment.
There’s also a larger shift behind this. The demand for personalized textiles has been growing steadily for years. Meanwhile, the appetite for custom, small-batch design also continues to rise. People want things that feel uniquely theirs.
Choosing the Right Printable Fabric Sheet
This is where a little experience goes a long way. Besides, not all printable fabric sheets behave the same way. What you pick influences how your design looks to how it holds up over the years.
So, approach this as you would choose quilt fabric. You definitely wouldn’t use the same material for every job.
Fabric Type Matters
Most printable fabric sheets are made from cotton or cotton-based fabrics. The big reason why? Well, it’s because cotton absorbs ink well. It also remains soft and workable after printing.
Within that category, the weave makes a notable difference.
Here are some options to consider:
Cotton Poplin
-
Tight, smooth weave
-
Crisp surface
-
Excellent ink control
-
Ideal for photos, text, illustrations
When printing something where clarity matters (faces, handwriting, fine lines) this is usually the safest choice.
Cotton Sateen
-
Softer hand feel
-
Slight sheen
-
More fluid drape
-
Ideal for decorative blocks, appliqués, pieces that need visual softness
While sateen won’t give you the same razor-sharp detail as poplin, it still adds a richness that works beautifully in certain projects.
Fusible vs. Non-Fusible Backing
This decision is less about preference. It’s more about how you plan to use the fabric.
Fusible (iron-on)
-
Backed with heat-activated adhesive
-
Press it onto fabric, no sewing required
-
Ideal for appliqués, patches, and quick embellishments
If you want speed and simplicity, fusible is incredibly convenient.
Non-Fusible
-
No adhesive backing
-
Designed for sewing
-
Best for quilt blocks, labels, pieced projects, or anything layered
Pro Tip: If you’re quilting or sewing through multiple layers, non-fusible is the better choice. Adhesive-backed fabric will leave residue on your needle over time. It can affect stitch quality and machine performance.
Thread Count, Weave, and Print Quality
You’ll often hear people mention thread count. While it does matter, it’s not the whole story.
A tighter weave (often associated with higher thread count) helps:
-
prevent ink from spreading
-
improve edge definition
-
produce cleaner, sharper images
That said, the fabric’s surface coating is also important.
Printable fabric sheets are treated with a specialized coating that:
-
absorbs ink quickly
-
prevents bleeding
-
keeps colors in place
So while a finer weave helps, it’s really the combination of weave + coating that determines print quality.
If you’re printing photos or anything detailed, aim for:
-
smooth surface
-
tightly woven fabric
-
high-quality coating
It’s the difference between “homemade” and “that looks professionally done.”
Quick Reference Guide
|
Feature |
Quilting |
Appliqué |
Detailed Photos |
|
Backing |
Non-fusible |
Fusible |
Non-fusible |
|
Fabric |
Cotton poplin |
Cotton sateen |
Cotton poplin |
|
Thread Count |
Medium to High |
Medium |
High |
A few minutes spent choosing the right sheet can save you from hours of frustration later.
How to Print on Fabric (Without the Headaches)

Printing on fabric isn’t difficult. But it does reward a bit of care upfront. Once you’ve done it a couple of times, it just becomes second nature.
Start With a Strong Image
For clean results, your image needs to be high quality. Low-resolution images tend to lose detail and appear pixelated.
-
Use 300 DPI (dots per inch) whenever possible
-
Minimum acceptable resolution should be 150 DPI
-
Use common formats like JPEG, PNG, or TIFF
-
Resize to fit your sheet (usually 8.5" x 11")
Adjust Your Printer Settings
This is where most issues happen.
Do not use “plain paper.” Instead, go for:
-
Matte photo paper
-
Premium presentation paper
Next:
-
Set print quality to High or Best
This tells your printer to use more ink and print more slowly. As a result, you get to produce deeper, richer color for each print.
Load The Fabric and Print Properly
-
Handle sheets by the edges
-
Avoid touching the printable surface
-
Load one sheet at a time
And double-check:
-
which side your printer prints on
-
that the fabric side is facing the right direction
It’s a small detail but an easy mistake to make. After that, proceed to printing.
Let It Dry (Don’t Rush This)
After printing, let the sheet fully dry for 30 to 60 minutes. It may dry faster in drier environments. But give it more time in humid conditions.
Take note that ink will smudge if it hasn’t dried well. So, don’t rush this step.
Peel and Prepare
Once dry, carefully peel off the paper backing. You’ll be left with soft fabric. Now you’re ready for the final step.

Heat-Set the Ink
This is what makes your design permanent and washable.
Here’s how to do it properly:
-
Use a hot, dry iron (no steam)
-
Place fabric print-side up
-
Cover with a pressing cloth
-
Press for about 2 to 3 minutes, keep the iron moving
Some manufacturers may recommend slightly different times. So it’s always worth checking instructions. In most cases, this range works well.
Pro Tip: If your printer uses pigment-based ink, your prints will generally be more fade-resistant than dye-based ink.
Project Ideas to Get You Started

Once you’ve printed your first piece, ideas tend to come quickly.
Now here are a few that consistently turn out well:
For Quilters
-
Memory quilts
Scan family photos, handwritten letters, recipes, and children’s artwork. Print them into blocks for your quilt. -
Story quilts
Print text, illustrations, or symbols. Build a quilt around a narrative or theme. -
Custom labels
A printed label adds authorship, context, and meaning. It’s a small addition, but it changes how a quilt is remembered.
For Everyday Sewing
-
Custom panels for bags
Design a front panel for tote bags, zipper pouches, and organizers. -
Appliqués for clothing
Print names, characters, and shapes. Then apply to jackets, kids’ clothing, and accessories. -
Soft fabric books for kids
Create washable, durable storybooks using your own text and illustrations.
Caring for Your Printed Fabric
Once your fabric is printed and sewn, proper care keeps it looking good over time.
First Rule: Always Heat-Set
Skipping heat-setting is the fastest way to lose your design. Without it, the ink may bleed or colors may fade quickly.
With it, the ink bonds to the fibers. The fabric becomes washable.
Washing Tips
Wash in cold or cool water. Select a gentle cycle. Also, make sure to use mild detergent. Avoid harsh chemicals or optical brighteners.
Drying
Air drying is best. If you’re using a dryer, stick to low heat.
With proper care, your printed fabric will age similarly to other quality cotton fabrics. It will gradually soften while holding its character.
What Makes Printable Fabric Work?
Printable fabric sheets aren’t just ordinary cotton.
Each sheet is treated with a specialized coating that captures ink instantly and prevents bleeding.
Without this coating, ink would behave unpredictably. They’ll likely spread through fibers and blur your design.
Frequently Asked Questions
Can I use a laser printer?
No. Laser printers are not suitable for printable fabric sheets. They use high heat to fuse toner onto the surface. It can damage the fabric coating and the paper backing. The heat can also cause the sheet to warp or even melt inside your machine, leading to costly repairs.
Printable fabric sheets are specifically designed for inkjet printers. They use liquid ink that the fabric coating can properly absorb.
Will the print fade?
When done right, your printed designs should hold up well over time. The most important step is heat-setting the fabric after printing. Doing this bonds the ink to the fibers and makes it washable. Gentle washing methods also help preserve color vibrancy.
Over time, you may notice slight softening or fading. But this is similar to what happens with any quality cotton fabric. With proper care, your prints can remain clear and meaningful for years.
What resolution should I use?
For best results, aim for an image resolution of 300 DPI (dots per inch). It produces sharp, detailed prints with clean edges and vibrant color. While 150 DPI can work, it often results in softer images with less clarity, especially for photos or intricate designs.
Higher resolution ensures that your printer has enough detail to translate your digital image accurately onto fabric. This becomes especially important when printing faces, text, or fine line work.
Final Thoughts
Printable fabric sheets aren’t just a novelty. They’re a practical tool that changes how you approach sewing projects.
Instead of adapting your ideas to fit available materials, you can build your projects around your original concepts. That shift opens the door to more intentional work, whether you’re preserving memories in a quilt or adding subtle, personal details to everyday pieces.
What makes this method especially valuable is its accessibility. You don’t need industrial equipment or advanced training to produce something well-made. With a bit of care in preparation and finishing, the results can look polished. They’ll hold up over time and integrate seamlessly with traditional sewing techniques.
In the end, it’s less about the technology and more about what it allows you to do. It gives you control (over design, storytelling, and detail) in a way that standard fabric simply can’t.
And once you’ve experienced that, it’s hard to go back to creating without it.


