
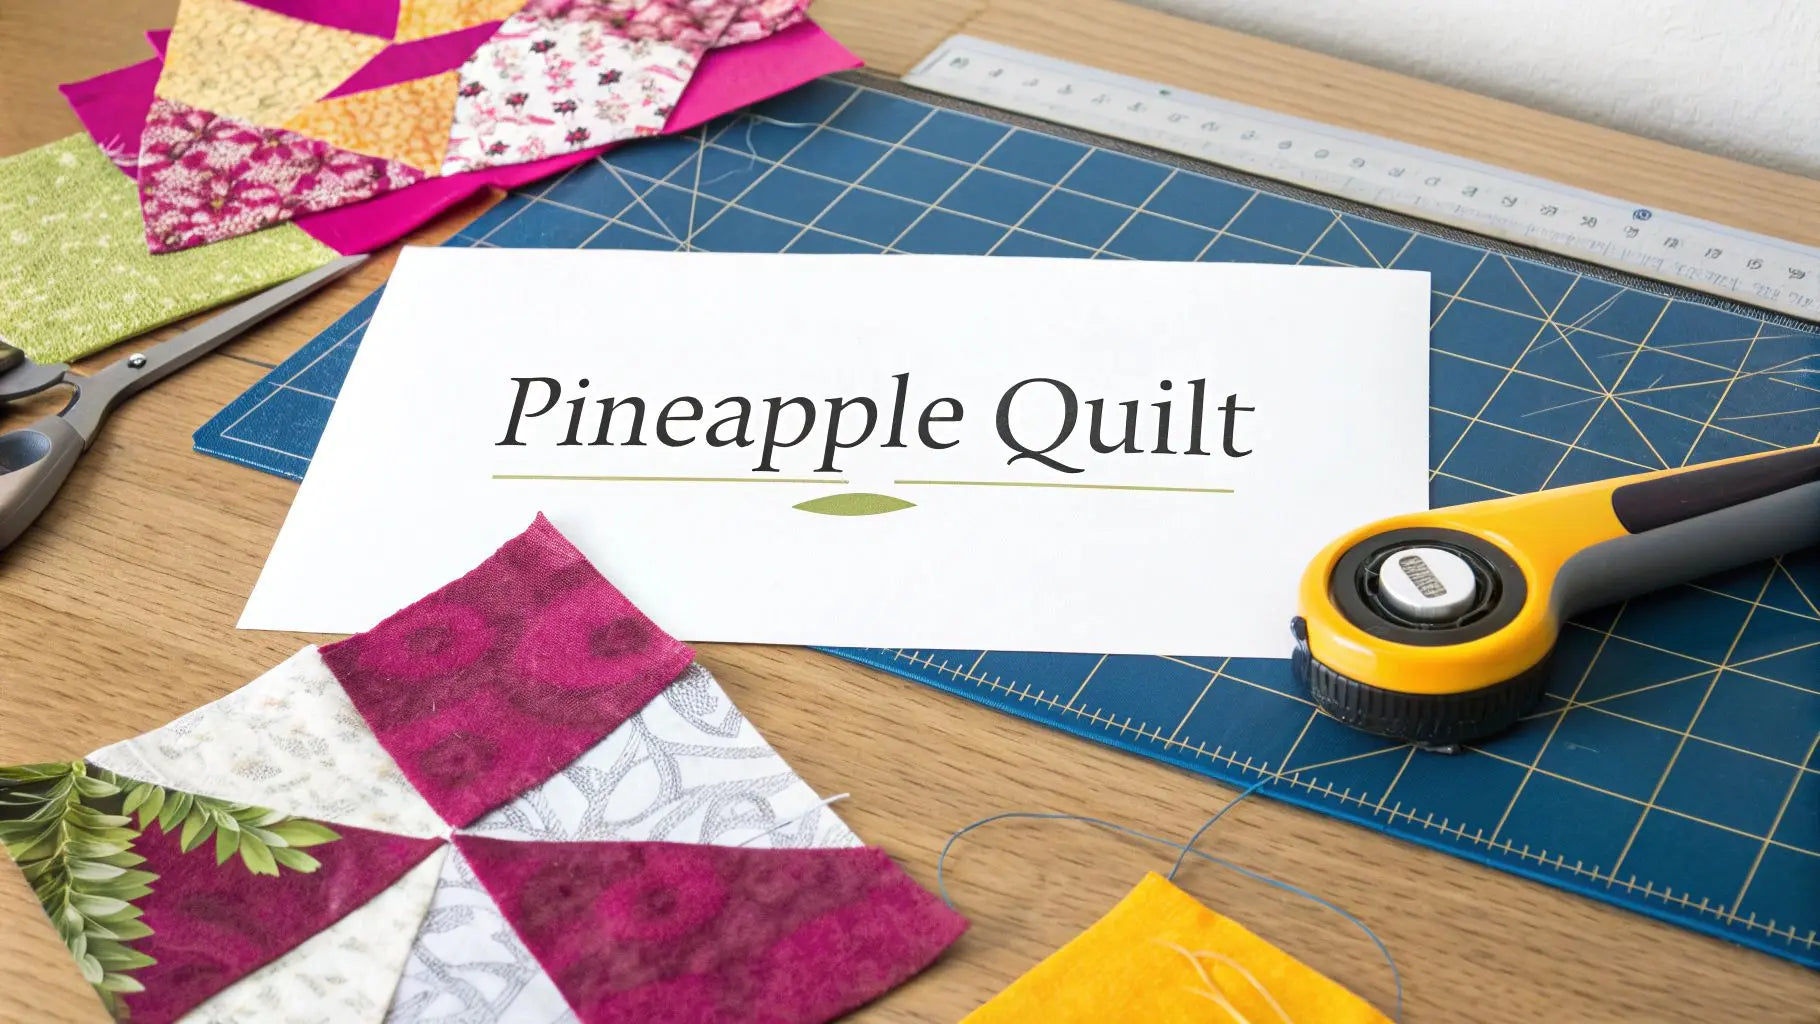
Pineapple quilt blocks are an absolute showstopper. They’re a gorgeous spin on the classic log cabin block, with radiating strips that create this incredible texture and visual punch. Because of their intricate design and the precision needed to get it just right, they are a rewarding and beautiful project for any quilter looking to stretch their skills. This guide will walk you through everything you need to know to create your own stunning pineapple quilt.
What Makes the Pineapple Quilt So Iconic
There's just something about a pineapple quilt that draws you in. It has a captivating visual energy you don't see in simpler block designs. The entire structure builds outward from a single center square, with layers of fabric creating amazing depth and movement. It's one of those projects where you truly get to watch a complex design come to life right under your hands.
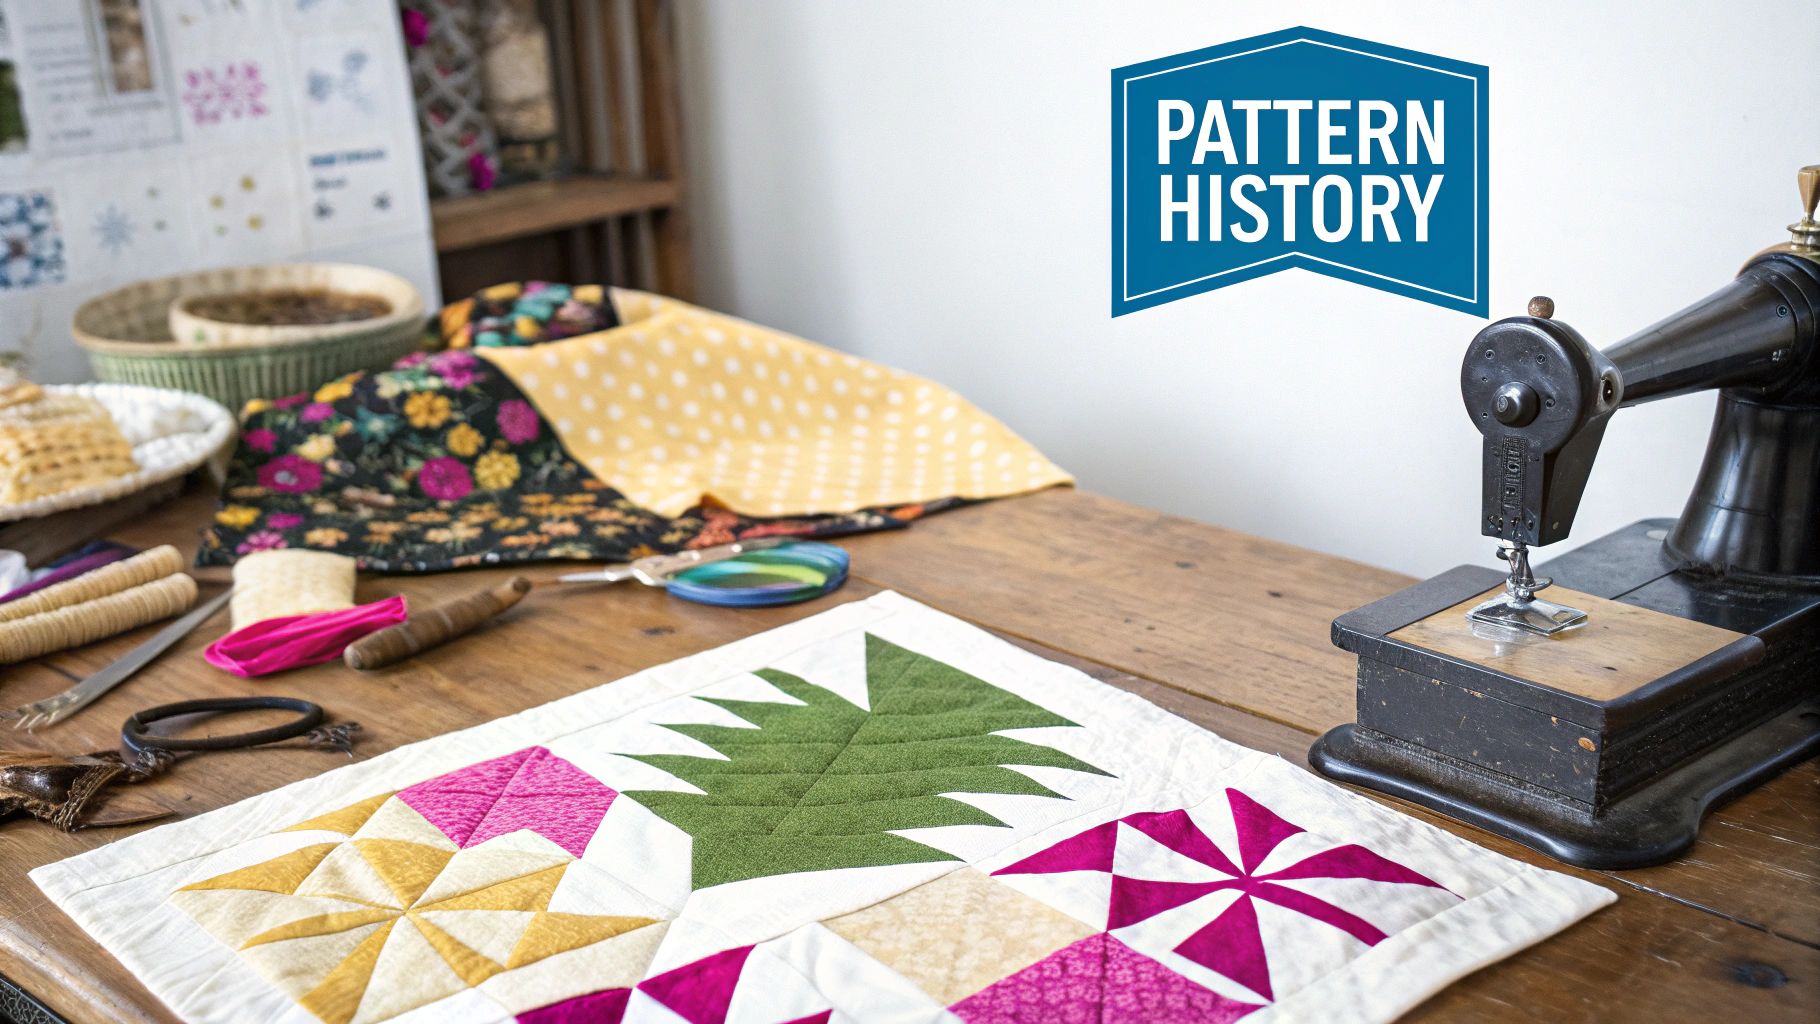
Historically, the Pineapple block popped up as a more complex take on the log cabin design, really gaining steam after the 1870s. The whole idea is to sew lots of narrow fabric strips onto that central square, radiating outward to mimic the look and feel of a real pineapple. If you're a history buff, you can dive deeper into the pineapple quilt's origins on Barbara Brackman's quilting blog—it’s a fascinating read.
Choosing Your Construction Method
When it comes to actually making a pineapple block today, you’ve got two main roads you can take.
The first is traditional piecing. This is the old-school way, where you sew strips onto the center and then trim them down after each addition. It’s a very hands-on, classic quilting experience, but it definitely demands a high level of accuracy to keep your block perfectly square.
Your other option—and my personal favorite for this block—is foundation paper piecing (FPP). With FPP, you're sewing your fabric directly onto a printed paper pattern. This paper acts as your guide, locking in every seam and ensuring every single point is perfectly sharp. No guesswork.
To help you decide which path is right for you, here’s a quick breakdown of the two methods.
Choosing Your Pineapple Block Construction Method
| Method | Best For | Key Advantage | Potential Challenge |
|---|---|---|---|
| Traditional Piecing | Confident quilters who enjoy precision trimming and have a good feel for maintaining a ¼" seam. | More freedom and a classic, hands-on feel. No paper to remove afterward. | Can be difficult to keep the block square and accurate without a guide. Fabric waste can be higher. |
| Foundation Paper Piecing | Beginners to the pineapple block or anyone who wants guaranteed perfect points and accuracy. | Flawless precision every time. It makes a complex block feel manageable and less intimidating. | Requires printing patterns and removing the paper at the end, which can be time-consuming. |
Ultimately, both methods get you to a beautiful finished block, but foundation paper piecing really lowers the barrier to entry for such an intricate design.
For quilters new to the pineapple block, foundation paper piecing is a game-changer. It removes the guesswork and guarantees precise, consistent results, making a complex pattern feel much more approachable.
Essential Tools for Success
No matter which method you land on, having the right tools will make the whole process a lot smoother.
- A sharp rotary cutter
- A good quality self-healing mat
- A clear acrylic ruler
These are absolutely non-negotiable for getting the clean, accurate cuts this pattern demands. And of course, if you go the FPP route, you'll also need your printed paper foundations.
Tackling a project like this is a fantastic way to sharpen your skills. If you're looking for more patterns that help you grow, check out our guide on progressing from beginner to expert quilter. To get your pineapple quilt started on the right foot, visit Linda's Electric Quilters for a complete collection of high-quality quilting supplies, from specialty rulers to the perfect premium cottons for your masterpiece.
Choosing Fabrics That Make Your Pattern Pop
The real secret to a stunning pineapple quilt isn't just the sewing—it's the story you tell with your fabric choices. This is where the magic happens, turning a standard block into something truly special. The colors, contrast, and even the type of material you pick will give your final quilt its unique personality.
This is your chance to get creative and play around with color. Are you aiming for a quilt that just pops with energy? Try using high-contrast combinations. Think deep navy blues against a sunny yellow, or a rich purple paired with a bright, grassy green. This kind of pairing makes the radiating lines of the pineapple pattern really sing and creates a dynamic quilt that pulls you in.
On the other hand, you could go for a more subtle, sophisticated look with a monochromatic or low-volume palette. Imagine piecing with different shades of cream, soft beige, and maybe a hint of gray. When you do this, the intricate piecing of the quilt patterns pineapple design becomes the star of the show. It's a quieter approach, but it creates a beautifully textured, modern heirloom.
Why Premium Quilting Cotton Matters
With a pattern like this—one that's packed with seams and sharp points—the quality of your fabric is absolutely non-negotiable. I always recommend using 100% premium quilting cotton. This stuff is designed specifically for what we do; it has a higher thread count and a much more stable weave. That means it holds a crisp press beautifully, frays way less, and won't stretch or warp on you while you're sewing.
Trust me, trying to save a few bucks on cheaper material will only lead to headaches. Lower-quality fabric tends to shift and distort, making it almost impossible to get those sharp, perfect points that define a great pineapple block. Investing in good fabric from the get-go ensures all your hard work pays off with a flat, professional-looking quilt top.
A great quilt starts with great fabric. Think of it as the foundation of your project—a sturdy, reliable base ensures everything you build on top of it will be strong and beautiful.
Gathering Your Essential Tools
Before you even think about making that first cut, let’s get your tools in order. Having everything you need right at your fingertips makes the whole process so much smoother and more enjoyable. You can just get into your creative groove without stopping to hunt for something.
Here's a quick checklist of what I consider the must-haves:
- Rotary Cutter & Self-Healing Mat: A sharp 45mm or 60mm blade is your best friend for getting clean, accurate cuts, especially when you're cutting through multiple layers.
- Clear Acrylic Rulers: You’ll definitely want a long one, like a 6" x 24", for cutting your initial strips, plus a smaller square ruler for trimming up your blocks.
- Specialty Pineapple Trim Ruler: Okay, this one isn't strictly necessary, but it's a total game-changer. These rulers are designed to simplify the trimming process after each round of logs, guaranteeing perfect blocks every single time. It saves a ton of time and frustration.
- High-Quality Cotton Thread: Go for a 50-weight cotton thread. It's strong enough to create durable seams but fine enough that it won't add any unnecessary bulk, which is key in a pattern with so many seam allowances coming together.
At Linda's Electric Quilters, we have a fantastic selection of premium quilting cottons and all the notions you'll need to bring your project to life. And once you've finished that gorgeous top, don't forget about the inside! You can learn more by checking out our guide on quilting and batting choices for the passionate quilter to make sure your finished quilt has the perfect drape and feel.
How to Prepare and Cut Your Fabric with Precision
When you're tackling any of the quilt patterns pineapple designs, your success starts and ends with how well you cut your fabric. This isn't the kind of pattern where you can fudge your seams a little. Every single strip and square needs to be dead-on accurate.
Think of it like building with LEGOs—if one brick is off, the whole structure will be wobbly. Even tiny cutting mistakes can make your points disappear and your seams bulge, which is the last thing you want.
So, before that rotary cutter even gets close to your fabric, grab your iron. Give your cotton a really good press with plenty of steam to get rid of every wrinkle and fold from the bolt. Working with a perfectly flat surface is the only way to guarantee a truly accurate cut.
Measurements for a Standard 12-Inch Block
For a classic 12-inch finished pineapple block, let’s get our cutting list in order. We'll work from the center of the block outwards, which keeps everything logical and easy to follow.
Here are the measurements you’ll need for one block:
- Center Square: Kick things off with one 2.5" x 2.5" square. This is the heart of your pineapple.
- First Round Strips (Light Fabric): You'll need four 1.5" x 3.5" rectangles.
- Second Round Strips (Dark Fabric): Cut eight 1.5" wide strips. I like to cut these around 5-6 inches long to give myself plenty of wiggle room for trimming.
- Third Round Strips (Light Fabric): Another eight 1.5" wide strips are needed. Aim for about 7-8 inches in length.
- Fourth Round Strips (Dark Fabric): Time for eight more 1.5" wide strips. Let's make these 9-10 inches long.
- Corner Triangles: To square it all up, you need four 3.5" x 3.5" squares. Cut these in half once on the diagonal to get eight perfect triangles.
You might notice these strip lengths are on the generous side. That’s intentional! When you’re foundation paper piecing, you sew oversized strips and then trim them down. It’s a foolproof way to get perfect results every time.
Pro Tips for Rotary Cutting
Having the right numbers is only half the battle; your technique makes all the difference. Always, always start with a sharp blade in your rotary cutter. If you feel it dragging or see skipped threads, swap it out. A dull blade stretches fabric and throws your cuts off balance.
When you lay down your ruler, make sure the measurement line is sitting directly on top of the fabric's edge, not just next to it. Use your non-cutting hand to apply firm, even pressure so that ruler doesn’t budge an inch. A single, confident cut is always cleaner than a hesitant, shaky one.
The real secret to a flat, square pineapple block is in the cut. Taking your time here will save you a world of frustration when you start piecing. Accuracy now means your points will meet perfectly later.
An Easy System for Organization
Once everything is cut, staying organized will make the sewing process so much smoother. I personally love using little trays or even just labeled scraps of paper to keep my pieces sorted by round and color.
It helps to have separate little piles for your:
- Center square
- First-round light strips
- Second-round dark strips
- Third-round light strips
- Fourth-round dark strips
- Final corner triangles
With this setup, sewing becomes a quick, assembly-line workflow. You just grab what you need for the next step without having to stop and figure out which piece is which. It's a game-changer, especially if you're chain-piecing several blocks at once.
And remember, a perfectly cut block is your best bet for a perfectly square quilt top. If you do find yourself struggling with getting things square at the end, we have some great tips in our guide on what to do if your customer's quilt top is not square.
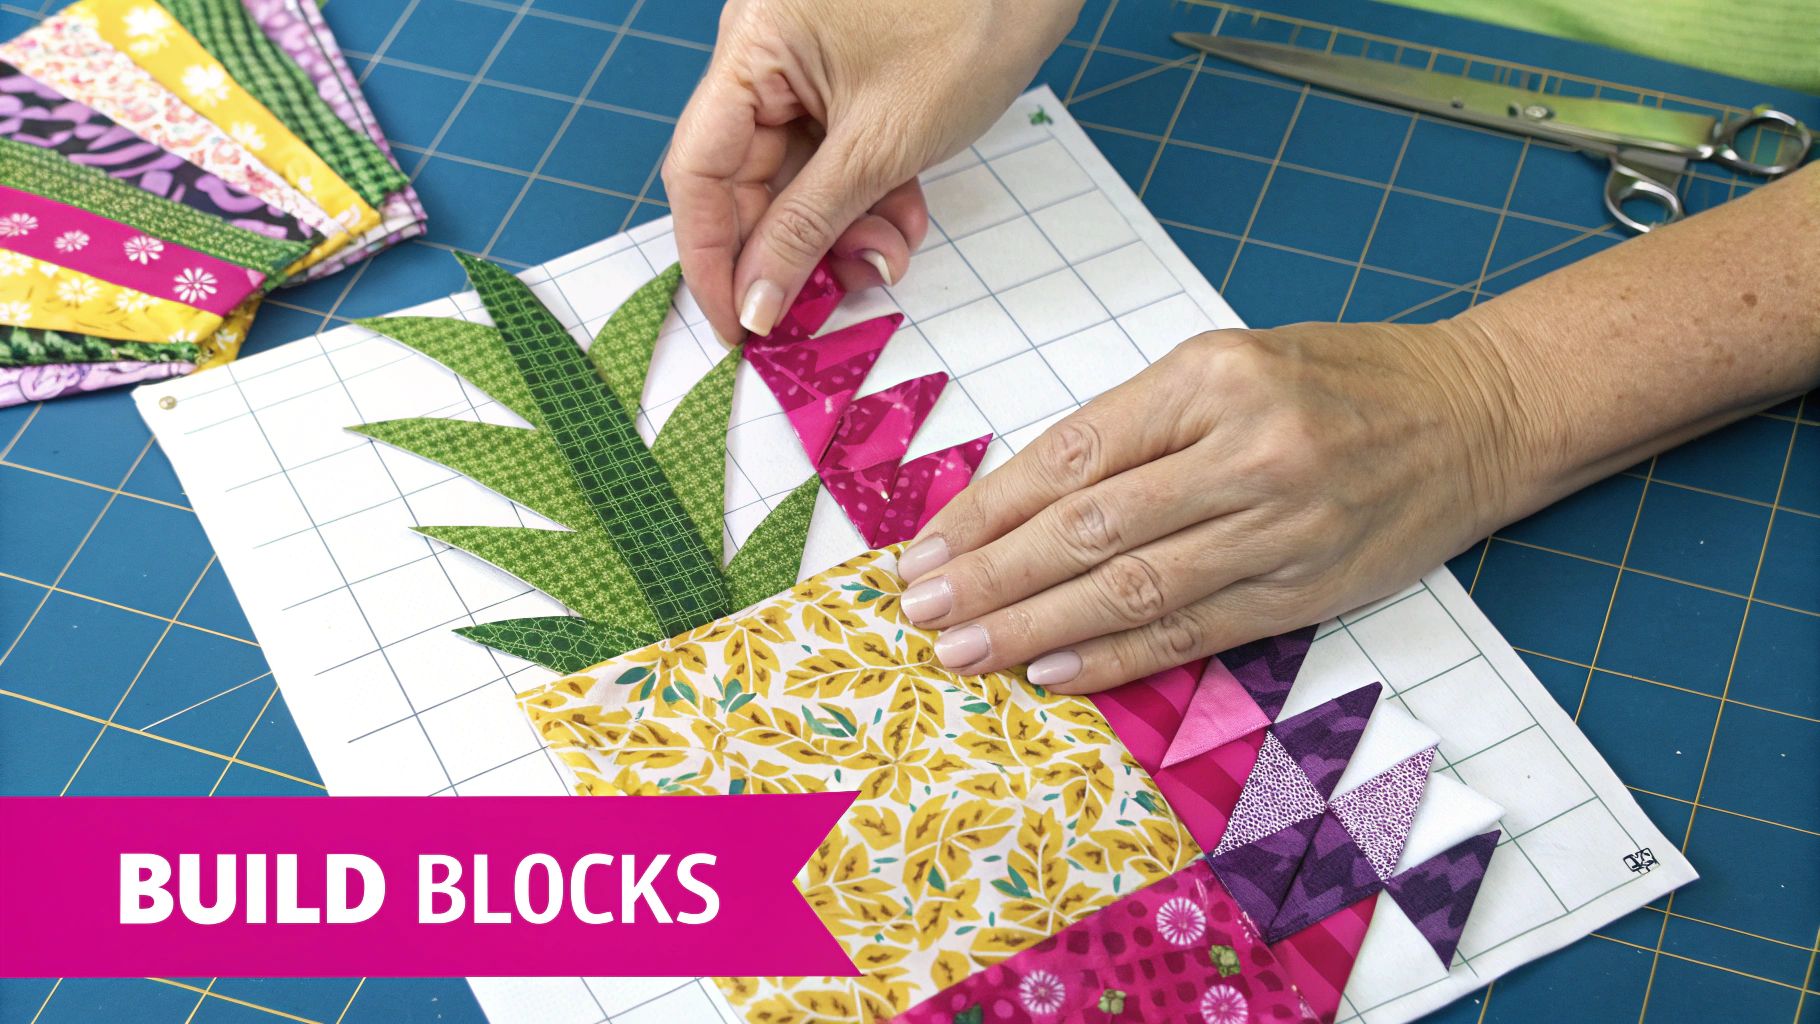
A Practical Walkthrough of Your First Block
Alright, this is where the magic really happens—turning that neat stack of fabric into a classic pineapple block. We're going to tackle this with the foundation paper piecing (FPP) method. Honestly, it's my go-to for pineapple blocks because it takes all the guesswork out of achieving those razor-sharp points. No stress, just precision.
The whole process is incredibly satisfying. You build the block from the center out, adding layers one by one. It's a simple rhythm: sew a strip, press it, trim it, and grab the next one. You'll get into a groove in no time.
Setting Up for Success
First things first, let's tweak your sewing machine settings. For paper piecing, you'll want to shorten your stitch length down to about 1.5mm to 1.8mm. This little adjustment does two big things. It gives you a sturdier seam, but more importantly, it perforates the paper foundation. This makes tearing it away at the end a clean, easy job.
Also, make sure your iron is hot and within arm's reach. Pressing is just as important as sewing here. A good, crisp press after every single seam is the secret to a flat block and perfect points.
Building Round by Round
Let's start with your center square and the first set of strips. You'll place your center square on the back of the paper foundation, making sure it's lined up with the marked center. From there, you'll add the first strips, sewing directly through both the fabric and the paper.
- Attach: Place your first fabric strip right-sides-together with the center square, then sew right on the printed line.
- Press: Flip the strip open and press it nice and flat. A little travel iron or a seam roller is a lifesaver for this.
- Trim: Grab your acrylic ruler and rotary cutter. Use the paper pattern as your guide to trim away the excess fabric.
You'll just keep repeating this sew-press-trim dance for every strip, working your way around the block. With each round, you'll see that gorgeous pineapple pattern start to bloom. It’s a design with a deep history, becoming a recognizable favorite in American quilting between 1840 and 1880. Quilts from that era often pop with red, green, and white fabrics. You can dive deeper into this pattern's place in quilting history to really connect with its roots.
Here's a pro-tip for keeping your pineapple block from getting lumpy: press your seams open. As you add more and more layers, the seams all converge in the middle, creating a lot of bulk. Pressing them open distributes that fabric evenly and is the single best thing you can do for a flat, professional-looking block.
The way you choose your colors creates a visual path for the eye, as you can see in this breakdown.

This guide helps you visualize how a main fabric, contrasting borders, and accent strips work together to build a dynamic design before you even make the first cut.
Squaring Up for a Perfect Finish
Once all the rounds are stitched on, your block will look more like an octagon. The final step is adding the corner triangles. These are what magically turn it into a perfect square, ready to play nicely with other blocks in your quilt.
You’ll attach these just like all the other pieces—sew, press, and trim. Take your time aligning the triangles perfectly with the corners on your paper foundation. Getting this right is what guarantees your block will be the correct size, like 12.5" x 12.5" for a finished 12-inch block.
With the corners on and the final trim done, it’s time for the big reveal. Gently tear away the paper foundation. Because you used that short stitch length, it should come off without a fight, showing off your beautiful, precise work. Great results start with great tools, so be sure to check out the Linda's Electric Quilters online store for sharp rotary blades, high-quality thread, and specialty rulers to make your project shine.
Creative Layouts for a Stunning Final Quilt

Once you've got a beautiful stack of perfectly pieced pineapple blocks, the real fun begins. This is where you shift from block-maker to quilt designer, and it's so exciting to see your individual creations start to form a cohesive, breathtaking whole. How you arrange them can completely change the personality of your finished quilt.
The most straightforward layout is a straight set, where you simply arrange your blocks in a grid. This approach really lets the intricate design of each block shine, creating a powerful, repeating pattern that feels both classic and clean.
If you're after a more dynamic look, try an on-point setting. By turning each block 45 degrees, you create a diagonal grid that adds a wonderful sense of movement across the quilt top. This layout does require you to make some setting triangles to fill in the edges, but the stunning result is well worth the little bit of extra math.
Unlocking Secondary Patterns
This is where the magic really happens. When you start playing with the placement of your pineapple blocks, you'll discover amazing secondary patterns that emerge from the design. By carefully placing your light and dark fabrics, you can create new shapes that flow across the entire quilt.
For example, arranging your blocks so that the dark corners meet can create spinning stars or pinwheels where the corners touch. On the flip side, aligning the light corners can create radiating diamonds that draw the eye right in. It’s a fantastic way to add a whole other layer of visual interest to your quilt.
This depth is part of what makes these pieces so special. Vintage pineapple quilts from the 19th century are highly sought-after for this very reason, with their incredible workmanship often fetching $5,000 to $25,000 at auction. You can get a sense of this timeless artistry by taking a look at this beautifully preserved 19th-century pineapple quilt from the Smithsonian.
The Finishing Touches Checklist
Before you can call your quilt complete, you need to pull together the final three components. Choosing the right materials here is every bit as important as picking the fabrics for your top.
- Backing Fabric: This is your chance to add a final pop of personality. Will you go with a coordinating print from your quilt top, or maybe a bold, contrasting solid? Just make sure you have enough fabric for at least a 4-inch overhang on all sides to make the quilting process easier.
- Batting: The batting is the heart of your quilt; it determines the warmth and drape. A low-loft cotton batting is perfect for a classic, flat look, while a wool or polyester blend will give you more puffiness and warmth.
- Binding: Think of this as the frame for your artwork. A well-made binding doesn't just protect the edges—it provides that clean, professional finish that really makes a quilt look complete.
The layout is where individual blocks become a unified design. Don't be afraid to lay your blocks on the floor and play with different arrangements until you find the one that makes your heart sing.
Choosing these final elements is a creative process in itself. If you're ready to dive deeper into fabric manipulation and other design ideas, you might enjoy our guide to elevate your quilting craft with advanced techniques. For a great selection of premium backing fabrics, soft battings, and durable binding materials to get your project across the finish line, be sure to visit us at Linda's Electric Quilters.
Common Questions About Pineapple Quilts
Even with the best instructions, you’re bound to hit a few head-scratchers when you try a new pattern. That’s especially true for these gorgeous quilt patterns pineapple designs, which have a few unique quirks. Let's tackle some of the most common questions to get you quilting with confidence.
First up: do you really need a special ruler? While you can technically make one without it, a pineapple trim tool makes things so much faster and more accurate. I'm talking night-and-day difference.
These rulers are designed with specific markings that let you trim all four sides perfectly after you add each round of strips. No more tedious measuring and hoping for the best. If you plan on making more than just one or two blocks, I’d say it’s an essential tool. You can find the best selection of specialty rulers for your projects at Linda's Electric Quilters.
Managing Bulky Seams
Another thing that trips people up is the bulk. With so many seams coming together in the middle, the center of a pineapple block can get thick in a hurry.
The absolute best way to handle this is to press your seams open. It’s a simple trick, but it's the number one secret to getting the block to lie beautifully flat by distributing the fabric evenly. Using a quality, fine 50-weight cotton thread also helps create strong seams without adding unnecessary bulk.
My biggest piece of advice for your first pineapple quilt is to try foundation paper piecing. The printed guide ensures every piece lands exactly where it should, guaranteeing a perfect block with way less stress.
Creating Pineapple Blocks Without Paper
So, can you make a pineapple block the old-fashioned way, without foundation paper? You sure can. Traditional piecing just involves sewing your strips and then trimming them down with a standard ruler. But be warned: this method requires a very precise hand to keep the block from getting wonky.
This approach is best for quilters who are super confident in their quarter-inch seam allowance. It's a fantastic skill to build, but for your very first pineapple quilt—or for one you're making as a special gift—paper piecing gives you that extra layer of security.
Ready to dive into your own pineapple quilt project? Linda's Electric Quilters has everything you need to get started, from specialty rulers and beautiful cotton fabrics to the perfect thread. Find all the high-quality supplies to complete your project at https://lindas.com.


