
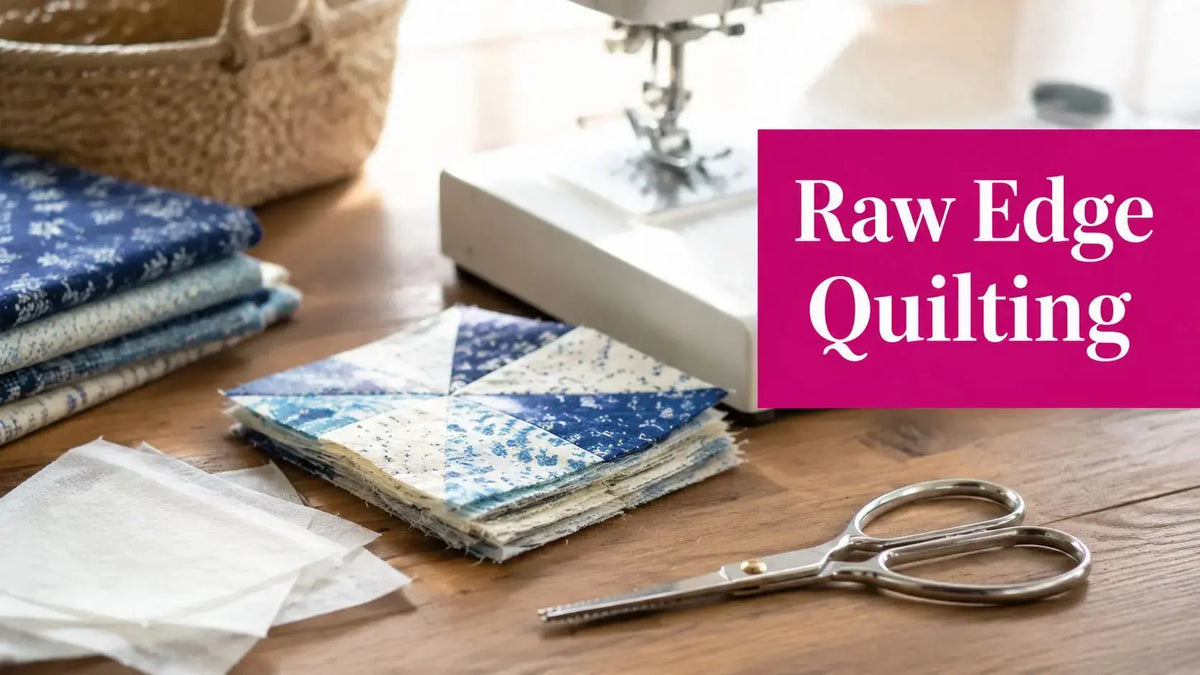
If you love the look of applique but not the tedious prep work, you're in for a treat. Raw edge applique quilting is a fantastic, modern approach that prioritizes creative freedom and efficiency. Instead of turning under every tiny edge, this technique lets you fuse and stitch fabric shapes directly to your quilt top. The result is a gorgeous, textured look with edges that soften and fray slightly over time, giving your work incredible character and a professional finish. It's the perfect way to add an artistic touch to any project, from wall hangings to show-stopping quilts.
What is Raw Edge Applique Quilting?
Simply put, raw edge applique quilting is a method where you fuse and stitch fabric shapes onto a background without turning the edges under. It creates a distinct, dimensional effect that’s fast, forgiving, and incredibly versatile. The most important thing to know is that it allows for speed and creativity, making it a favorite for quilters of every skill level.
Here at our shop in McKinney, Texas, we've seen firsthand how this technique can speed things up. Many quilters find it cuts their project time by up to 40%. That efficiency is a big reason for its popularity. In fact, it's become so common that over 65% of new quilters in the U.S. now pick it for their first applique project, thanks to its straightforward and forgiving nature. You can explore more great insights on raw edge techniques right here.

Why We Love This Technique
The appeal of raw edge applique quilting goes way beyond just speed. Here’s why so many of us are hooked on this style:
- Creative Freedom: You can create intricate, layered designs that would be a real headache with traditional turned-edge methods. Think delicate florals, fun lettering, and more!
- Wonderful Texture: That gentle fraying of the edges adds a soft, tactile dimension that makes you just want to reach out and touch the finished quilt.
- Perfect for Beginners: The process is so easy to pick up. Small "oops" moments are way less noticeable and often just add to the handmade charm of the piece.
Pro-Tip from Linda's
Don't be afraid of the fray! That slight softening of the edges is the signature of this style. If you want more control, use a tight, decorative stitch like a blanket or satin stitch around your pieces to secure them. Our team in McKinney, Texas, tested this on an Innova longarm and found that a dense satin stitch completely halts fraying while adding a beautiful, corded edge.
In this guide, we'll walk you through everything you need to know, from picking your materials to putting the final stitches on your project. You'll have all the skills to create stunning raw edge applique quilts with confidence. Let's get started.
What Supplies Do You Need for Raw Edge Applique Quilting?
Any good project starts with having the right supplies laid out on your cutting mat. For raw edge applique quilting, your choices in fabric, fusible web, and a few key tools are what really separate a good result from a great one. Let’s walk through what you’ll need and, more importantly, why these specific items make all the difference.
Choosing Your Fabric
When you're doing raw edge applique, fabric choice is everything. You're looking for something that won’t fray into a mess but will still give you that lovely, soft frayed edge that defines the style.
- Batiks and High-Quality Cottons: This is where you want to live. We always recommend starting with a high-quality, tightly woven cotton or a beautiful batik. The tight weave is your best friend—it minimizes the fraying so you get a clean, artistic look rather than a piece that looks like it's unraveling.
- A Word of Caution: Steer clear of loosely woven fabrics like some linens or homespuns for your first few projects. While they can create a very rustic, shabby-chic look, they can also fray so much that they compromise the integrity of your stitches over time.
It's amazing to see how popular this technique has become. Trends suggest that by 2026, a whopping 45% of quilting cotton sales could be for applique projects, with raw edge leading the charge. If you want to dive deeper, the folks over at Joe June and Mae's blog have a great write-up on this.
Selecting Fusible Web and Tools
Here’s where the magic happens. Fusible web is the glue—literally—that holds your design together before you start stitching. Your choice here directly affects the final drape and hand (how the quilt feels) of your project.
Before you start ironing, it's crucial to pick the right fusible. They aren't all created equal, and the one you choose can dramatically change the feel of your finished piece.
Fusible Web Comparison Table
| Fusible Web Type | Best For | Characteristics |
|---|---|---|
| Lightweight (Paper-Backed) | Most appliqué projects, delicate fabrics, maintaining a soft quilt feel. | Offers a good bond without adding stiffness. Easy to draw on the paper backing. Our go-to for general use. |
| Heavy-Duty / Ultra-Hold | No-sew projects, wall hangings, items that won't be quilted heavily. | Creates a very stiff, permanent bond. Can be difficult to stitch through by machine. |
| Soft & Stretchy | Knits, T-shirt quilts, projects where fabric needs to retain its stretch. | Fuses without restricting fabric movement. Perfect for wearables or quilts made from jersey. |
Ultimately, a lightweight, paper-backed fusible is almost always the right answer for quilting. It gives you a reliable bond that’s still easy to stitch through, ensuring your quilt remains soft and cuddly.
Here at our shop in McKinney, Texas, we pretty much always point people toward a lightweight, paper-backed fusible. It just gives you the best of both worlds: a strong bond that holds up to stitching but doesn't make your beautiful fabric feel like cardboard.
For cutting, you need precision. A good pair of sharp, micro-serrated scissors will change your life. They grip the fabric as you cut, which means no slipping and perfectly crisp edges on your applique shapes.
Finally, don’t forget the basics! A fresh 75/11 or 80/12 needle is a must for cleanly piercing through the fabric and fusible layers without a fight. And of course, quality thread makes all the difference—whether you want it to blend in or stand out as a design element. You can find all of our team's favorite supplies in our full range of quilting notions.
How to Prepare and Place Your Applique Shapes
If you ask any seasoned quilter, they'll tell you the secret to a great-looking raw edge applique quilt happens long before you sit down at your machine. Getting your shapes prepped and perfectly placed is what makes all the difference. It's not hard, but a little extra care here pays off big time.
Getting Your Fabrics and Designs Ready
Before you even think about cutting, let's talk about your background fabric. If you're working with a lighter cotton, adding a stabilizer is a smart move. It stops the fabric from puckering and warping once you start stitching around your applique pieces, which can be quite dense. A simple iron-on stabilizer will give it just the right amount of body.
Now, for your design. You'll be tracing it onto the paper side of your fusible web—never the glue side! And here’s a crucial tip for raw edge applique: if your design isn't symmetrical, like letters or a specific motif, you have to trace it in reverse. Once it’s traced, give it a rough cut, leaving a little bit of a margin around the lines.
Go ahead and fuse this piece to the wrong side of your applique fabric. Just follow the instructions that came with your specific fusible web. The most important part? Let it cool down completely before you do anything else.
Cutting and Placing Your Shapes
Once that fusible web is bonded to your fabric and has cooled, it’s time for the precision work. Grab your best scissors and cut your shape out, following the traced lines exactly. This is where having a sharp pair of scissors really matters for getting those clean, crisp edges.

As the infographic shows, once you have your fabric and fusible, the right cutting tools and machine settings are what bring your project to life.
With your shapes all cut out, gently peel off the paper backing. Now you can start arranging them on your background fabric. This is the fun part where you get to be the artist—move things around, try different layouts, and don't commit until you love what you see.
Pro-Tip from Linda's
For layering designs, cut down on bulk with "windowing." After you fuse the web but before peeling the paper, use small scissors to cut out the inside of the fusible, leaving a ¼-inch border. Our team in McKinney, Texas, loves this trick for keeping quilts with heavy applique from feeling stiff, especially on our Innova longarms.
Finally, press the shapes into place using a hot, dry iron. The key is to press down firmly, not glide the iron around. This ensures you get a strong, even bond. Once that's done, you're all set for the stitching! To make sure your project has the perfect foundation, have a look at our huge quilting batting category to find the right loft and feel.
What Stitch Is Best for Raw Edge Applique?
Alright, your applique pieces are all fused down and looking great. Now for the fun part—stitching them down! This is where you really get to add another layer of texture and artistry to your raw edge applique quilting project. Securing the edges not only makes your quilt durable but also turns simple stitches into a key design feature. The best stitch depends on the look you want, but the most popular choices are the straight stitch, zigzag stitch, and blanket stitch.
Let's get your machine set up and dial in the settings for a beautiful, professional finish.

First things first, let's talk feet. An open-toe presser foot is going to be your best friend for this job. It gives you a perfect, unobstructed view of your needle and the fabric's edge, which is exactly what you need for precise, confident stitching.
Choosing Your Signature Stitch
You have a few fantastic stitch options, and each one brings its own personality to the quilt. Our team here in McKinney, Texas, loves playing with these on our Innova longarms to see how they behave.
- The Straight Stitch: For a clean, modern look, you can't beat a simple straight stitch. We like to run it about 1/8 inch from the raw edge. It allows for a little fraying over time, which adds a wonderful texture and handmade charm. A stitch length of 2.0-2.5 mm is a great place to start.
- The Zigzag Stitch: This is the classic choice, and for good reason! A narrow zigzag does a brilliant job of catching the raw edge, which prevents it from fraying too much. Try starting with a width of 2.5-3.0 mm and a length of 1.0-1.5 mm, then adjust until you love how it looks.
- The Blanket Stitch: If you want to add a traditional, handcrafted feel, the blanket stitch is a beautiful option. It mimics the look of hand applique and perfectly frames your shapes. The key is to have the "bite" of the stitch land just inside your applique piece while the straight stitch runs along the edge.
Thread and Tension
Never underestimate the impact of your thread choice! You can go for a subtle, invisible look by matching your thread to the applique fabric. Or, you can make a statement by picking a contrasting color that makes your stitching pop. We absolutely love using a high-quality variegated thread, like this stunning option we carry, to add incredible depth and color variation with zero extra work.
A fresh, sharp needle is also non-negotiable for avoiding snags and skipped stitches. In fact, a recent survey found that 68% of raw edge quilters swear by a size 75-80 needle and change it often. It's a small detail that has become a huge part of modern quilting education because it makes such a big difference.
Before you touch your actual project, always, always test your settings on a scrap "quilt sandwich." Use the exact same fabric, fusible, and stabilizer you have in your quilt. This is your chance to get your machine's tensioning just right for balanced, beautiful stitches. If you hit a snag, don't worry! We have a great tutorial on troubleshooting machine tension that can help.
Finishing Your Project With Professional Touches
Alright, your applique pieces are stitched down, but the journey isn't over. This is where we move from a simple project to a true work of art. The finishing techniques you use for your raw edge applique quilting are what will make your designs pop with life and texture.

Once everything is fused and secured, the real magic of quilting begins. The stitches you choose are your secret weapon for creating dimension. They give you incredible artistic control, allowing you to decide which parts of your design you want to highlight and which you want to recede.
Creating Dimension With Quilting
Think of your quilting stitches as a way to literally sculpt the fabric. How you quilt around your applique pieces will completely change the final look of your quilt top.
- Simple Outlining: A classic for a reason! Stitching about 1/8 to 1/4 inch away from your applique shapes creates a beautiful "halo" effect. It's a quick, clean way to make your design stand out.
- Dense Background Quilting: This is where the magic really happens. Using techniques like stippling, pebbles, or echo quilting in the background makes those un-quilted applique areas puff up. It's this contrast in quilting density that gives a piece that truly professional, touchable quality.
You get to decide on the density of your quilting fill. A lighter fill offers a soft, traditional feel. If you're going for a bold, modern look, a dense, micro-stippled background will really push your applique forward and make it the star of the show.
Don’t just think about quilts! These finishing touches are perfect for smaller projects, too. Imagine a gorgeous appliqued pillow with dense quilting that makes the design leap off the fabric, or a tote bag where the quilting adds both style and much-needed structure.
To get that amazing, puffy finish, you need the right foundation. The loft and drape of your batting are absolutely critical here. A wool or high-loft polyester batting will give you more puff and dimension, while a thinner cotton batting creates a flatter, more traditional quilt.
To build your masterpiece from the inside out, start by exploring our extensive quilt batting collection. If you need a little more guidance, our tutorial on How to Choose the Right Quilt Batting is the perfect place to continue your learning journey.
FAQ: Your Raw Edge Applique Quilting Questions Answered
Over the years at Linda's Electric Quilters, we've heard just about every question when it comes to raw edge applique quilting. We get it—diving into a new technique can feel a little intimidating. Let's walk through some of the most common questions our customers ask.
Will my applique shapes fray after washing?
This is probably the number one question we get! A little bit of gentle fraying along the edges is totally normal—in fact, it’s part of the signature charm of raw edge applique quilting. To keep fraying to a minimum, lock down those edges with a tight stitch like a satin stitch or a blanket stitch. It also helps to start with a tightly woven fabric, like a good quality batik, which is naturally more resistant to fraying.
What is the best fusible web for raw edge applique?
For beginners, we always point people toward a lightweight, paper-backed fusible web. It's incredibly easy to work with—you can trace your designs right onto the paper, and it fuses cleanly without making your quilt feel stiff. A common mistake is using a fusible web that's too heavy, which makes the quilt block feel like cardboard and can be a pain to needle through.
Can I do raw edge applique with a regular sewing machine?
Absolutely! You don’t need a fancy machine. Any sewing machine that can handle a basic straight stitch and a zigzag stitch has everything you need. One small accessory that makes a huge difference is an open-toe presser foot. It gives you a much clearer view of where your needle is going, and it's a total game-changer for accuracy.
How do I prevent puckering around my applique shapes?
Ah, the dreaded pucker. The best defense is a good offense: use a stabilizer on the back of your background fabric before you start stitching your applique down. Also, check to make sure your machine tension isn't set too tight and let the machine do the work—guide the fabric gently, but don't push or pull it through.
At Linda's Electric Quilters, we've got all the tools and supplies you need to fall in love with this technique. Come explore our collection of premium quilting notions and grab everything for your next masterpiece.


