
Hey everyone. Today you will learn why I never trust a quilt top is square without measuring it first, and the three measurements that save your borders every time.
I wouldn't trust a quilt top is square without measuring. Not because it looks flat on the table. Not because every block measured right when you made it.
Why it tempts people
I get the temptation, folks. You lay that top out and it looks good. The corners look like corners. The edges look straight.
So you think, why pull out the tape? Why not just sew the borders on, trim the extra, and keep moving?
Here is why. Quilt tops drift while you sew them. Every seam can add or eat a tiny bit. Bias edges stretch a little when you handle them.
One seam off by a hair is nothing. Forty seams off by a hair is a real number. I have seen one side of a top finish a full inch longer than the other side.
You will not see it by looking, either. Then the borders go on and wave like a flag.
Or it shows up later on the longarm frame. Slow down right here, before the borders, and let the tape tell you the truth.
The story from the shop floor
I have watched this lesson land right here in the shop. A quilter brought in a beautiful top for quilting. Lovely piecing. Pretty colors. Borders already on.
But those borders rippled along both sides. She could not figure out why. She had sewn them on and trimmed whatever hung past the end.
So we laid it flat and measured it together. One side measured 62 inches. The other side measured 61 inches. Right through the center, it measured 60 and a half inches.
There was the whole story. Her edges had stretched as she sewed, and the borders locked that stretch in place.
We took one border off, re-measured through the center, and cut the new border to that center number. Pinned at the center and the quarters. Eased the extra in gentle.
It laid down flat, y'all. Same quilt. Same fabric. Just measured first this time.
I have been that quilter, too, so no judgment here. The joke is on me just as often. I just measure now before I sew, not after I rip.
What I do instead
Here we go. This takes maybe five minutes, and it is the cheapest insurance in quilting.
1. Press the top and lay it truly flat. Give the whole top a good press first. Lay it on a big table or a clean floor, smooth it out flat, and do not pull or tug the edges into place.
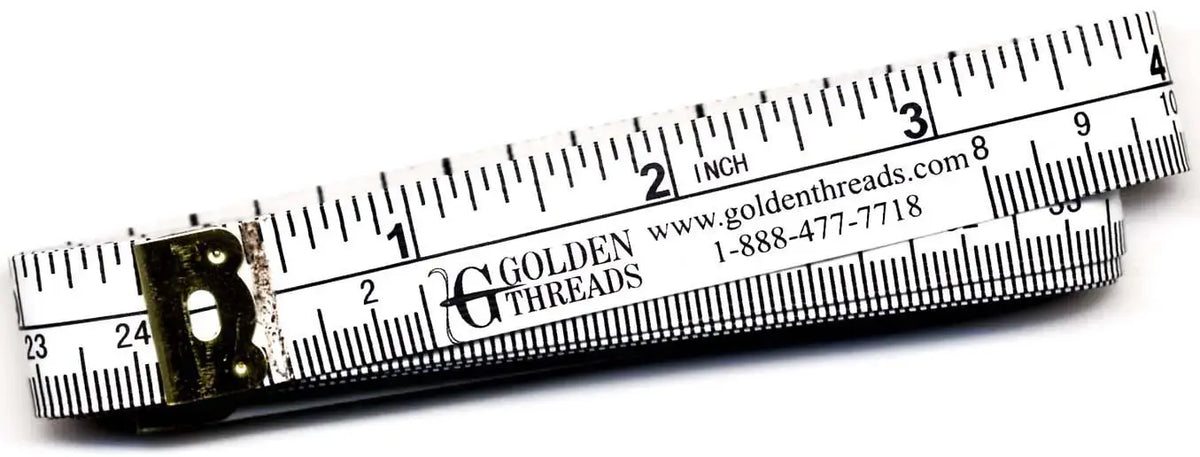
2. Measure the length in three places. Use a long tape measure, not the mat grid. Measure down the left side area, right through the center, and down the right side area. Write all three numbers down.
3. Measure the width in three places, too. Same idea, across the top area, through the center, and across the bottom area. Tops drift in both directions, so check both directions, every time.
4. Cut borders to the center measurement. Use that center number for your border length, not the edge number. Your edges are the most stretched, handled part of the whole top. The center tells the truth.
5. Pin at the center and the quarters, then ease. Mark the center of the border strip and the center of the quilt edge. Pin those together, then pin the ends, then the quarter points. Ease any little bit of fullness in between the pins as you sew. Never stretch the border to fit.
6. Measure again before quilting. Once the borders are on and pressed, measure both directions one more time. Check corner to corner on the diagonal, too. Both diagonals should match. If they do, that top is square and ready.
You have options here, and that is completely up to you. Some folks average their three measurements. Some use only the center number, like I do. All of those work. The one thing that does not work is skipping the tape.
And please hear this part. If your numbers are off a little, your quilt is not ruined and you are not a bad quilter. You are your own worst critic, and we all know it. A quarter inch here or there is just information. Take your time. It is not a race.
If I can do this, y'all can do it. We're not reinventing the wheel here. We are just measuring before we sew.
Don't take my word for it — read this:
Amy Smart at Diary of a Quilter walks through her quick method for adding quilt borders, measuring across the quilt and pinning from the center out so borders lie flat and ripple-free.
You can find more posts like this one in our What I Wouldn't Do as a Quilter series.
Shop the Handy Helpers Double-Sided Centering-Measuring Tape at Linda's Electric Quilters.
Thank you so much for spending a little time with me today. Press it flat, measure through the center in three places, and keep on quilting.
We'll see you next time. Bye.
— Corey, Chief Quilter, Linda's Electric Quilters


