
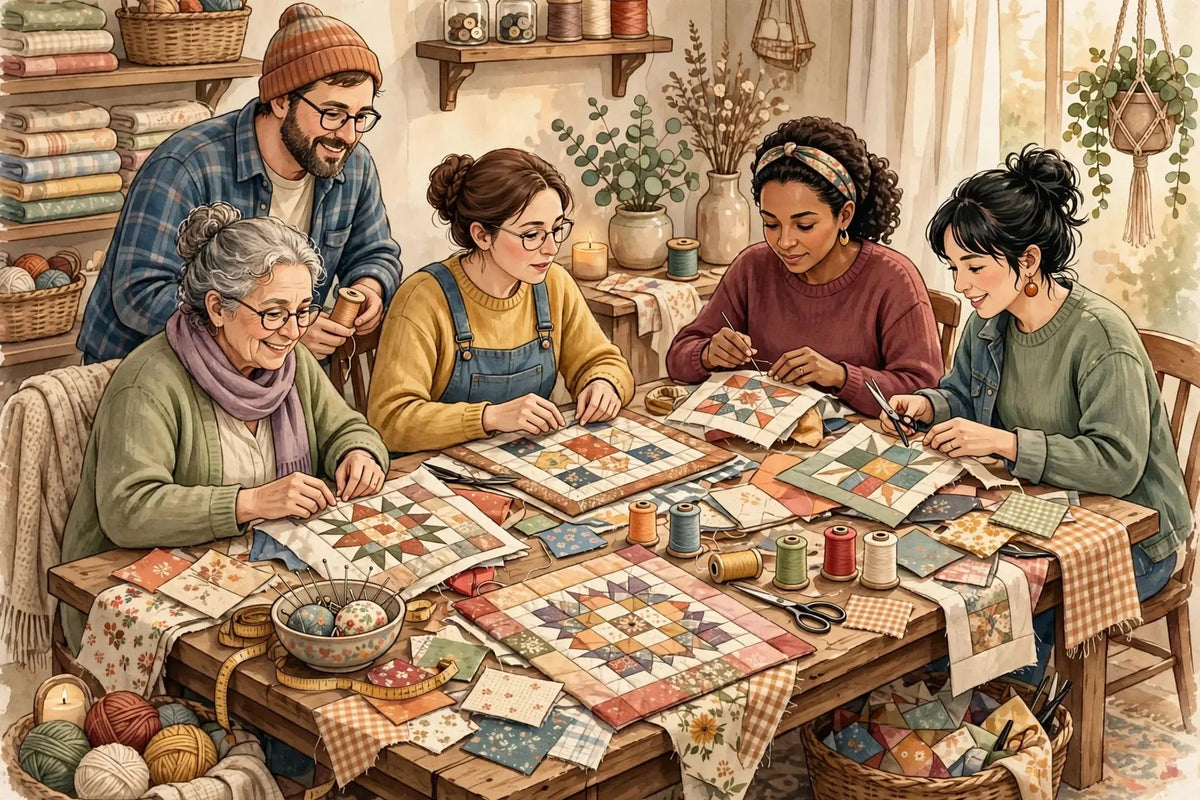
Every day, thousands of quilters, sewists, and embroiderers gather on Reddit to ask the questions they would ask a trusted friend at the cutting table. We read through the day's conversations in r/quilting, r/sewing, r/sewhelp, r/MachineEmbroidery, and r/Machine_Embroidery, picked the ten questions everyone is asking right now, and brought them to Corey, our Chief Quilter, for straight answers. Here is today's chat.
1. "Where can I find fun novelty flannel prints now that the big fabric chain near me has closed?"
Corey answers: This was the most-talked-about question of the day, and I feel it — novelty flannel was that chain's secret weapon. Start local: independent quilt shops carry flannel year-round, not just in fall, and most of us will happily order a bolt if you ask for a full cut. Online, search by the print theme plus "flannel" plus the width — most novelty flannel is 42 to 44 inches, while the good brushed-back winter prints run 44 to 45. Buy an extra half yard when you find a print you love, because novelty runs are short and rarely reprinted. Look for 100 percent cotton flannel, prewash it separately the first time (flannel shrinks 3 to 5 percent and sheds lint for two washes), and press with steam before cutting. Thin flannel pills in a season.
2. "I want to sell the quilts I make. How do I price them so my time actually counts?"
Corey answers: Run the honest math once and the pricing fear mostly disappears. Add materials at retail — fabric, batting, thread, binding — then add your hours at a real rate. A throw at 50 by 60 inches might hold $90 of materials and 12 to 15 hours of work; at even $15 an hour that is a $270 to $315 quilt before a market fee. Sell smaller, faster pieces at markets (baby quilts, table runners, placemat sets) and reserve large quilts for custom orders with a 50 percent deposit. Track one quilt start to finish with a phone timer so your hours are real, not guessed. Photograph every finish, state the fiber content and care on a card, and never apologize for the price: explain the hours instead.
3. "I resized a dress and added a lace-up back, and now the back fabric bunches up. What is causing it?"
Corey answers: Bunching at a lace-up back is almost always a length problem, not a width problem. When you take a dress in, the back often ends up slightly too long between shoulder and waist, and that extra half inch has nowhere to go, so it pools in soft horizontal folds — then the lacing pulls the sides in and makes the pooling worse. Pin the dress on the wearer, laced to a comfortable tension, and pinch out a horizontal tuck at the waistline: if the folds vanish, shorten the back bodice there, usually by 3/8 to 5/8 of an inch. Check that loops or eyelets are spaced evenly, about 1 to 1.5 inches apart, on both sides; uneven lacing torques the fabric diagonally. Add a strip of fusible interfacing behind the placket so it does not collapse, and fit it laced, on a body, standing.
4. "Can I turn a stained-glass design I love into a quilt pattern? Where do I even start?"
Corey answers: Yes — stained glass is one of the oldest quilt styles for a reason, and the black leading in glass becomes black bias strips in cloth. Start by enlarging your design to the finished size and tracing only the main shapes; fine glass detail smaller than about an inch will fight you in fabric. Two construction routes work. The traditional route: cut each color shape with a 1/4-inch seam allowance, baste or fuse the shapes to a background, then cover every raw edge with 1/4-inch black bias tape, stitched down both sides — the tape is your leading. The fusible route: use fusible web on each shape, butt the edges together on a background, and lay the bias over the joins. Keep curves gentle, choose solid or tone-on-tone fabrics so the shapes read like glass, and test one block first. If the design belongs to someone else, sell the quilt, not copies of their pattern.
5. "A finished dress is too tight across the bust. Can I add room with a gusset or panel?"
Corey answers: You can, and done symmetrically it looks like a design choice. First measure how much you actually need: wear the dress, sit down, breathe deeply, and pinch the ease you wish you had at the fullest point — most rescues need 1 to 2 inches total. The cleanest fix is a panel under each arm, running from the armhole down the side seam to the waist or hip: open the side seam, insert a diamond or long triangular gusset of matching or deliberately contrasting fabric, widest at bust level, tapering to nothing at both ends. If the dress has a side zipper, work on the non-zipper side first and mirror your measurements, or move the whole addition to lace-up or shirred back panels. Match grain, press every seam toward the panel, and try it on after basting, before a single permanent stitch.
6. "My basting spray left stains on a polyester shirt that only showed up after a hot wash. Can I save it?"
Corey answers: This one hurts because the embroidery itself is usually fine — it is the overspray ring around it that ghosts after heat sets it. Do not put it back in the dryer and do not iron it; heat is what locked the residue in. Start gentle: soak the area in warm water with a drop of clear dish soap for 30 minutes, blot — never rub polyester, which just spreads the film — and rinse. If the shadow remains, dab a small hidden spot with rubbing alcohol on a white cloth, check that the shirt's color holds, then work the stain from the outside edge inward. Polyester is oil-loving, so a degreasing pre-wash spray left on for 10 minutes before a cool wash often lifts what soap cannot. Next time, spray the stabilizer, not the garment, mask with paper, and wash embroidered polyester cool the first wash.
7. "Is a special safety-pin tool for basting a quilt actually worth buying?"
Corey answers: If you pin-baste on a table, honestly? It is one of the few gadgets I will defend. The tool itself matters less than the pins: use size 2 or 3 curved safety pins, which sit flatter and go through a quilt sandwich without shifting it. A closing tool saves your fingertips and your nails across the 150 to 250 pins a queen quilt takes, spaced about a fist's width — roughly 4 inches — apart. Skip it if you spray-baste or send quilts out, because it will live in a drawer. Pin-baste on the largest flat surface you can clear, tape the backing taut but not stretched, smooth from the center out, and close each pin as you place it. Basting decides whether the quilting is fun or a fight — invest in whatever makes you do it thoroughly.
8. "My machine skips stitches only on the quilt itself, with a crunching noise, right after a service. What is wrong?"
Corey answers: "Only on the quilt, fine on scraps" is the clue — that points at thickness and deflection, not the motor. On a full sandwich the needle can flex as it punches through batting and seams, miss the hook, skip, and make that crunch when it grazes something. Work this order. One, fit a fresh, larger needle: a 90/14 quilting or topstitch needle for a quilt sandwich, pushed fully up into the clamp. Two, slow down, especially over seam intersections, and use a walking foot so the layers feed together instead of the top layer creeping. Three, test on a practice sandwich of the same batting and fabrics, not a single layer — if it skips there too, the timing may have come back from service slightly off, and that is a return visit, not a home fix: take the practice sandwich in and show the technician. Do not keep sewing through the crunching; a deflecting needle can chip the hook and turn a small adjustment into a real repair bill.
9. "How do I take the lining out of thrifted trousers without wrecking the waistband?"
Corey answers: Slowly, with a seam ripper and good light, because trouser linings are usually attached in fewer places than you fear. Turn the trousers inside out and find the attachments: typically the lining is caught into the waistband seam at the top, tacked at the fly, and hemmed or tacked at the leg bottoms. Free the bottom first — snip the tacks or open the lining's own hem — then work up each leg. At the waistband, do not rip the waistband's structural seam. Instead, cut the lining fabric a scant 1/8 inch below the waistband stitching line, leaving that narrow strip safely inside the seam; the lining is gone, the waistband was never opened, and nothing unravels because the strip is captured. Shake out every snippet and press the waistband. If the lining was hiding worn seat fabric — a common thrift surprise — you will be glad you looked.
10. "I cut a piece of a discontinued fabric too small. How can I find more of it?"
Corey answers: Act fast and search by numbers, not by description. The selvedge is gold: it carries the maker, the collection name, and often a style or color number — search that exact number first, then the collection plus color name. "Blue floral quilting fabric" finds nothing; a style number finds the one shop with two yards left on a back shelf. Call independent shops, including us — stores keep bolt ends and returns that never reach a website. Check resale and destash listings by collection name, and post your search with a clear photo of the print and the selvedge in the community; quilters answer those calls for help every day. Meanwhile, redesign defensively: can the too-small piece move to a smaller role — a border becomes sashing, sashing becomes binding — while a close coordinate covers the big cut? Going forward, cut irreplaceable fabric last, and cut it a half inch generous until the final trim.
That is today's chat — back tomorrow with a fresh sweep of the questions quilters and crafters are asking. Sewing along at home? Browse our fabric collection and Know Your Notions guides, and bring your own questions to the shop any time. Corey reads them all.
Today's questions were gathered from r/quilting, r/sewing, r/sewhelp, r/MachineEmbroidery, and r/Machine_Embroidery, and are paraphrased from the day's most active help threads.


