
Hey everyone. Today you're going to learn how to cut garment yardage on the grain, so your finished piece hangs straight and wears right.
Here's the problem, y'all. Fabric has a grain. The lengthwise threads run parallel to the selvage. If your pattern piece sits even half an inch off that grain, the garment knows it. A skirt twists. A pant leg spirals. And no amount of pressing fixes a cut that started off-grain.
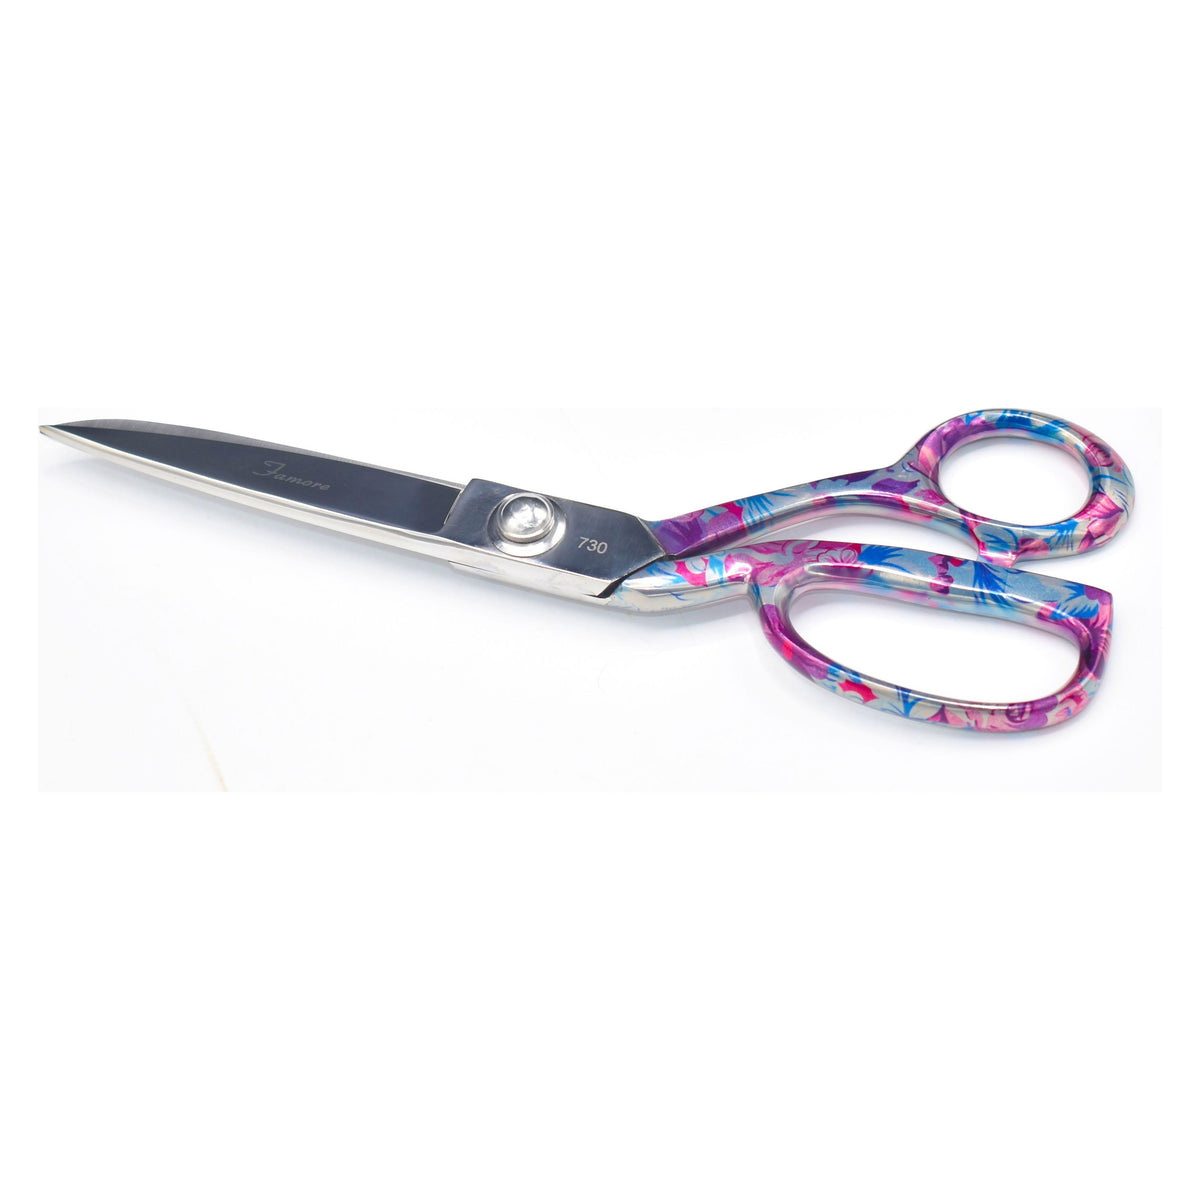
I've cut pieces off-grain myself. Oh my goodness, yes. You notice it at the first fitting, not at the cutting table. So here's what I use and why. These are the Famoré 730 tailor shears, 9 inches long. That's dressmaker length, folks. Long blades mean long, even strokes through garment yardage. I reach for this bad boy every time a pattern comes out, because a clean, on-grain cut is the foundation of fashion sewing.
What You Need
- 730 - Heavy Duty Razor Edge Tailor Shears (9in)
- Your garment yardage, pressed smooth
- Your pattern pieces, with grainline arrows marked
- Pins — plenty of them
- Pattern weights, if you like them
- A tape measure
- A big, flat cutting table
- Chalk or a fabric marker
The Steps
- Press the fabric first. Wrinkles lie to you about the grain. Press the yardage smooth. Fold it the way your layout shows — usually lengthwise, selvages together. Smooth it flat. Don't pull it. Just relax it.
- Find the grainline on every piece. Every pattern piece has a long arrow printed on it. That arrow must sit parallel to the selvage. Not close. Parallel.
- Measure the arrow at both ends. Pin one end of the arrow in place. Now measure from the arrow to the selvage — say it's 10 inches. Walk to the other end of the arrow. Measure again. It must also read 10 inches. If it reads 10 and a half, nudge the piece until both ends match. Then pin that end.
- Pin or weight the whole piece. Pins every 4 to 6 inches, angled slightly, inside the seam allowance. Or use pattern weights at the corners and centers. Pins, weights, or a bit of both — completely up to you. The piece just cannot creep while you cut.
- Check one more time before you cut. Measure that grainline arrow a third time, both ends. We're not reinventing the wheel here. We're just respecting the grain.
- Glide along the table. Here is the rule, folks. The lower blade rests on the table and glides along it. Never lift the fabric up into the shears. Lifting shifts the layers, and shifting moves the grain. Keep the bottom blade traveling flat, and cut.
- Cut in long, steady strokes. Open the 9-inch blades wide. Close in one smooth stroke. Stop just short of fully closed, advance, and go again. Short snips chew the edge and wander. Long strokes track straight. Just like that.
- Walk around the table, don't reach. Big pieces mean moving your feet. Keep the shears right in front of your body. Reaching across a table angles your stroke sideways, and a sideways stroke drifts off grain.
- Cut notches outward. Cut a notch as a little outward bump, not a slit into the piece. That keeps the full seam allowance intact. You'll thank yourself at the machine, matching seams at 5/8 inch.
- Leave the pieces pinned until you're ready to sew. If you are not sewing right away, keep the pattern pinned to each piece. The paper is your label and grain reminder.
Tips From My Cutting Table
- Cut a single layer when it matters. Plaids, stripes, and slippery fabrics behave better one layer at a time. It takes longer. It also matches. Take your time — it's not a race.
- Test the grain on a scrap. New to grainlines? Measure the arrow at both ends on a scrap and make one practice cut. If I can do this, y'all can do it.
- Keep your free hand flat and ahead. Rest it on the fabric in front of the blades, fingers well back from the line. Slow down near curves — that's where good fabric gets nicked.
And here's your permission beat. A tiny wobble in a cutting line is not a ruined garment. Seams forgive small things. You're your own worst critic here. Get the grain right, and the rest gets really really forgiving.
A Quick Care Note
Wipe the blades with a soft, dry cloth when you finish. Store the shears closed, in a case or tray, for fabric only. One cut through paper dulls a razor edge fast.
Alrighty. Measure both ends, pin it down, and glide. Thanks for spending time with me, folks. We'll see you next time. Bye.
Shop the 730 - Heavy Duty Razor Edge Tailor Shears (9in) at Linda's Electric Quilters.


