
Hey everyone. Today you'll learn how to make a bandana drool bib with a hidden batting core that actually catches the drool.
If you have a drooler at home, you know.
A cute bib soaks through in ten minutes.
Then the shirt underneath is wet too.
Here is the fix, y'all.
Hide a thin layer of cotton batting inside.
Batting is made to absorb.
It pulls moisture in and holds it.
Clothes underneath stay dry a whole lot longer.
And a tiny bit of interfacing helps too.
It keeps the snap area from stretching out.
It keeps that cute bandana point nice and crisp.
Batting for the soak. Interfacing for the shape.
We're not reinventing the wheel here.
What You'll Need
- Quilting cotton for the front — a fat quarter makes two bibs
- Soft flannel or cotton terry for the back
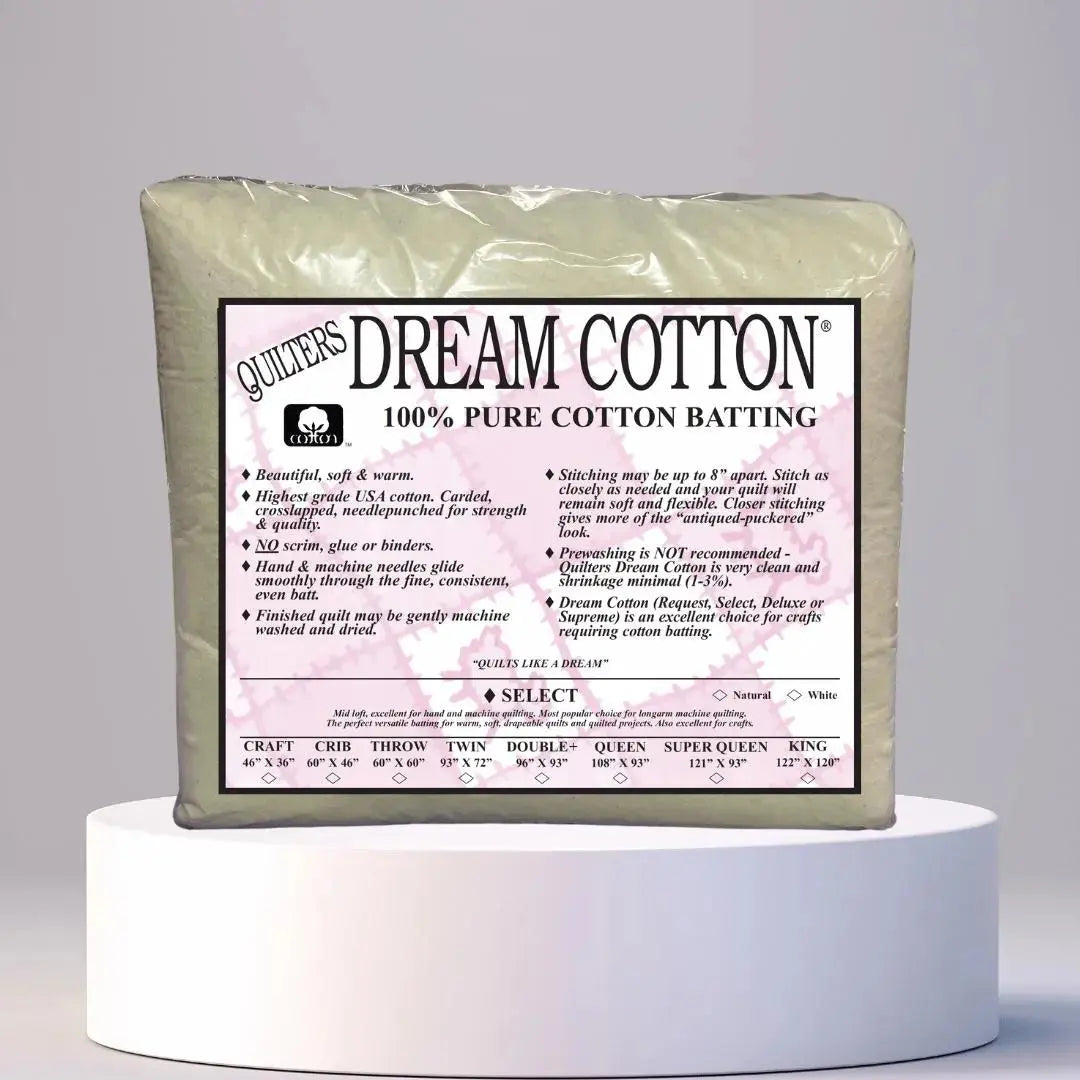
- Low-loft cotton batting, like a craft-size package you can cut up
- Lightweight fusible interfacing, a small scrap about 2 x 6 inches
- Plastic resin snaps and snap pliers, or a small piece of hook-and-loop tape
- 80/12 universal needle and all-purpose thread
- Scissors or rotary cutter, mat, and pins or clips
- Iron and pressing surface
- Bandana bib pattern or a bib you already like for tracing
How to Make It
- Cut your pieces. Cut one front and one back, about 16 inches wide and 12 inches long at the point. Cut the batting 1/4 inch smaller all around. Smaller batting means less bulk in your seam.
- Back the neck edge. Cut a strip of lightweight fusible interfacing to fit behind the neck curve and snap ends. Fuse it to the wrong side of the front fabric. Press about 10 seconds per spot. Let it cool before you move it.
- Layer it up. Lay the back piece right side up. Lay the front piece right side down on top of it. Lay the batting on top of that. Pin through all three layers. Smooth from the center out.
- Sew around the edge. Use a 3/8-inch seam allowance and a 2.5 mm stitch length. Start on one straight side. Leave a 3-inch opening for turning. Go slow around that neck curve. Slow down or the needle can push the batting and pucker it.
- Trim and turn. Trim the batting close to the stitch line. Clip the point carefully. Do not clip through your stitches. Turn the bib right side out through the opening. Poke that point out gently with a chopstick.
- Press it flat. Press from the front with a light hand. Cotton batting does not need heavy heat. Tuck the opening edges in and press them in line with the seam.
- Topstitch all around. Topstitch 1/8 inch from the edge. This closes the opening and helps the bib lie flat in the wash. Add one more line of stitching about 1 inch inside the edge if you like. That quilting keeps the batting from shifting.
- Add your snaps. Try two snap settings about 1 inch apart. That gives you room as baby grows. Test the snap on a scrap first. If I can do this, y'all can do it — the pliers just take one practice squeeze.
Tips and Variations
Pick the right batting weight. Low-loft cotton is the sweet spot here. High-loft looks puffy and can feel hot around the neck. I learned that on my first try. Cute, but way too thick.
Wash without the curl. That ring of topstitching is your friend. It stops the edges from curling after washing. Wash warm, tumble low, and press once while it is still a little damp.
Make a stack. Droolers need backups, folks. Cut four or five at once. Chain-piece them and you will have a gift-ready stack in an afternoon. Super duper cute tied with a ribbon.
Try the options. Flannel in front for winter. Smooth cotton in front for summer. A terry back for extra soak. Completely up to you.
And listen — your point may not be perfectly sharp.
Your snaps may be a tiny bit off-center.
You're your own worst critic here.
Baby will not notice. Baby will just be dry.
It doesn't have to be perfect.
Take your time. It's not a race.
Thanks so much for sewing along with me today.
We'll see you next time. Bye.
Shop Quilters Dream Select Natural Cotton Batting Package — Craft 46" × 36" at Linda's Electric Quilters.


