
Hey everyone. Today you will learn how to make a fabric growth chart banner that actually hangs flat and straight.
No curling edges. No wavy numbers. Just a clean banner you can mark year after year.
Here we go.
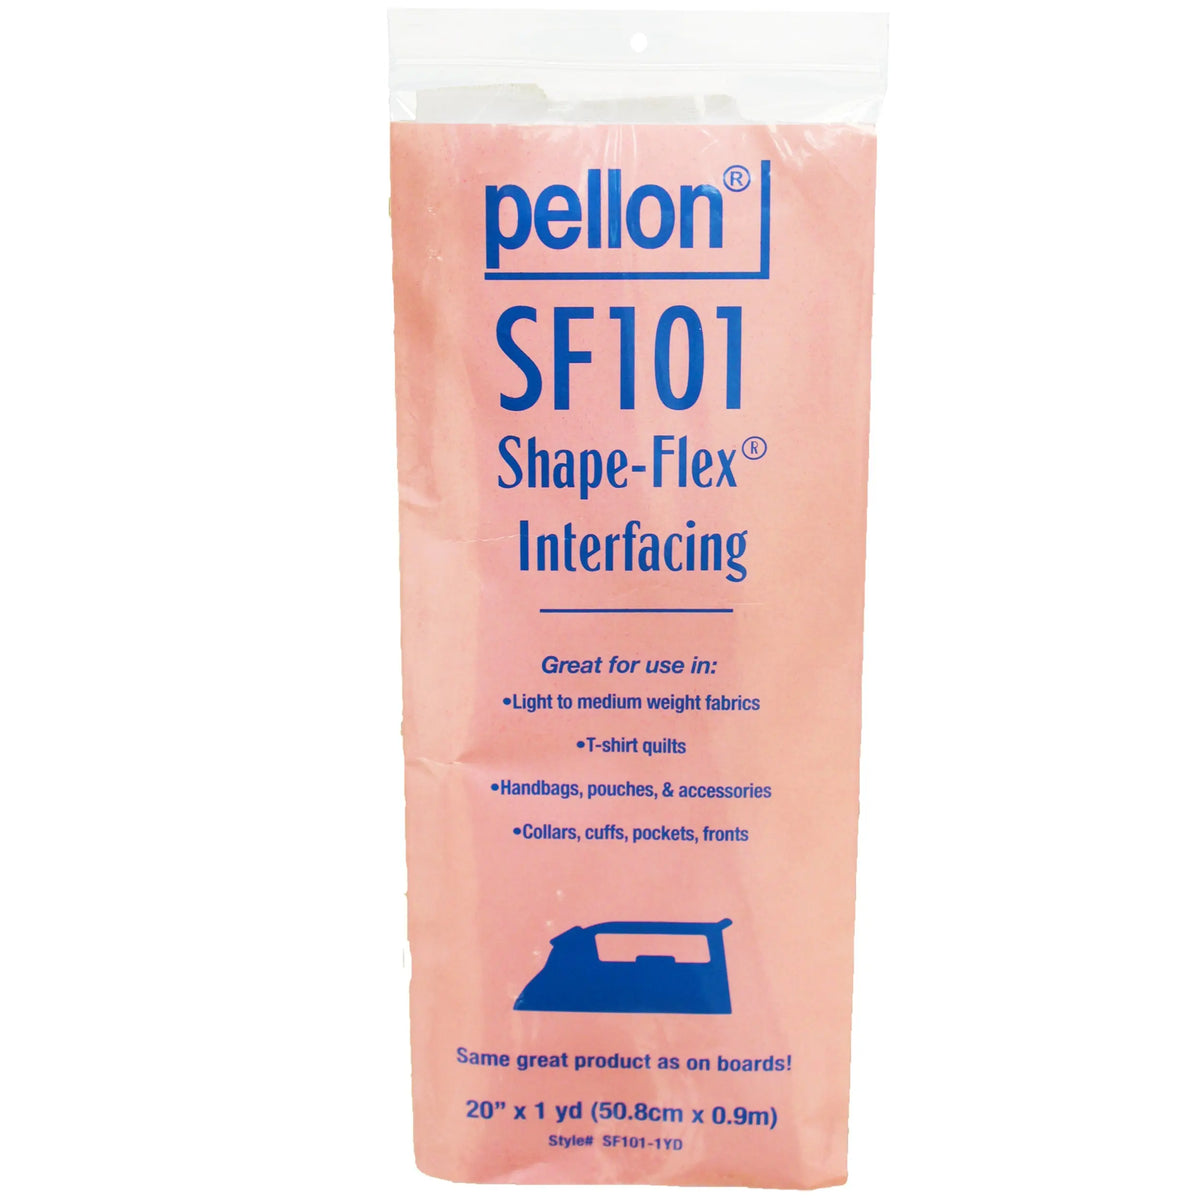
A fabric chart lasts, but only if it hangs right. That is where woven fusible interfacing earns its keep. It gives quilting cotton a little backbone. The fabric still feels like fabric. It just stops acting like a limp dish towel.
I like woven fusible here. Woven has a grain, just like your cotton. It moves with the fabric instead of fighting it.
Materials
- 1 piece quilting cotton, 8 inches by 52 inches, for the front
- 1 piece quilting cotton, 8 inches by 52 inches, for the backing
- Woven fusible interfacing, 8 inches by 52 inches — medium-light weight is plenty
- Two wooden dowels or flat sticks, about 10 inches long, for top and bottom
- Cotton twine or ribbon, about 24 inches, for hanging
- Fabric marker or fine permanent pen for the height lines
- Ruler, rotary cutter, and mat
- Matching thread, 50-weight cotton works great
- Iron and pressing cloth
Finished size is about 6 inches wide by 50 inches tall. That covers roughly 2 feet to 6 feet. Completely up to you if you go wider.
How to make it
- Cut true to grain. Cut your front, backing, and interfacing all 8 by 52 inches. Keep the long edge on the straight grain. If you cut off-grain, the banner will twist. Ask me how I know. Slow down here and you save yourself later.
- Fuse the interfacing. Lay the front fabric wrong side up. Place it glue side down. Press in sections, about 10 seconds each. Lift and move the iron. Do not slide it. Let it cool flat. Just like that, the front feels firmer.
- Mark your lines before you sew. This is the clever part. Mark while it is flat on the table. Decide where 2 feet will sit at the bottom. Draw a long line every 12 inches for feet. Draw a short line every inch in between. Use a ruler and go slow. It does not have to be perfect. Pencil marks and real handwriting are the charm here.
- Add numbers and names. Write or stitch the foot numbers beside the long lines. Keep letters at least 1/4 inch from the edge. That leaves room for your seam allowance. You can hand-write names later, right on the finished banner. Leave blank space beside each line for that.
- Sew front to backing. Place front and backing right sides together. Stitch around all four sides with a 1/4-inch seam. Leave a 4-inch opening at the bottom. Go about 8 to 10 stitches per inch. Pivot nice and square at the corners.
- Turn, press, and close. Clip the corners. Turn it right side out. Poke the corners gently with a chopstick. Press flat all over. Topstitch around the edge at 1/8 inch. That closes the opening and helps the banner hang straight. Really really flat is the goal here.
- Make the dowel pockets. Fold the top edge back 1 inch and stitch across. Do the same at the bottom. Slip a dowel through each pocket. The bottom dowel adds a little weight. That weight is what stops the curl. Tie twine to the top dowel ends for hanging.
- Hang it at the right height. Measure carefully from the floor. If your bottom mark is meant to be 2 feet, hang the banner so that line is exactly 24 inches up. Use a tape measure, not a guess. Mark the wall lightly. Then step back and check it hangs straight.
Tips and variations
Pick the right weight. Too heavy feels like cardboard. Too light still waves. Medium-light woven fusible is the sweet spot. Press a 6-inch test scrap first. If it drapes a little but holds a line, you are good.
Prewash your cotton. Wash and press before you fuse. Interfacing shrinks differently than cotton, so prewashing avoids puckers later.
Make it personal. Add a small applique star beside a big year. Use a different color pen for each child. Super duper cute, and you can tell the marks apart later.
Roll it for storage. When you move, roll it around the dowel. Do not fold it. Folds leave creases across your numbers.
Take your time on the marking. It is not a race. You are your own worst critic, and those little wobbles will look like love later. If I can do this, y'all can do it.
Thanks for sewing along with me, folks. We'll see you next time. Bye.
Shop Pellon® SF101 Shape-Flex® Cotton Woven Fusible Interfacing 20" x 1 yard Package. Color: White. at Linda's Electric Quilters.


