
Hey everyone. Today we're making flip-top texting mittens — warm quilted mittens with a top that folds back so your fingers stay free for your phone, your keys, or a cup of coffee.
Here's the trick, y'all. Fleece alone goes flat in the wind. A layer of insulated batting traps warmth, blocks cold air, and still stays soft enough to bend. You get oven-glove style warmth, in a mitten you can actually live in.
And do not worry about perfect. These are small and forgiving. If I can do this, y'all can do it. Here we go.
Materials
- Outer fabric: 1 fat quarter of quilting cotton, flannel, or a favorite scrap print, for one pair
- Lining fabric: 1 fat quarter of soft flannel or cotton for next-to-skin comfort
- Insulated batting, cut to match your outer pieces — one layer is plenty for most days
- Small piece of thin knit or fleece for the separate finger section underneath the flip top
- Two small buttons, snaps, or little squares of hook-and-loop tape to hold the top back
- Matching 50-weight thread, a size 80/12 universal or microtex needle, and clips or pins
- Paper, pencil, and a ruler to draw your hand pattern
- Optional: a short piece of 1/4-inch elastic for a snugger wrist
How to Make Them
- Draw your pattern. Lay your hand flat, fingers together, thumb out. Trace around it with about 1/2 inch of ease. Round the top. Draw a line across the knuckles — everything above it becomes your flip top. Add a 1/4-inch seam allowance everywhere.
- Cut your layers. For each hand, cut two outer pieces, two lining pieces, and two insulated batting pieces for the back and palm. Then cut the flip top as its own outer, lining, and batting set. Mirror everything for the other hand. Take your time here. A left mitten made twice is a lesson we have all learned.
- Build the sandwiches. Layer lining wrong side up, batting in the middle, and outer fabric right side up. Pin or clip. Do the same for the flip tops. Keep the batting consistent through the pair — completely up to you which way you like it, just match both mittens.
- Quilt lightly. Stitch simple lines about 1 inch apart, or stitch in the ditch around a favorite motif. Use a stitch length around 2.5 to 3.0. Go slow over thick spots — slow down or the needle snaps. This quilting keeps the batting from shifting in the wash.
- Make the finger section. Sew the thin knit or fleece into a short, open finger cover that sits under the flip top. It does not need batting. Its job is simple: when the top flips back, your fingers are covered but free to tap, type, and grip.
- Sew the main mittens. Place the quilted palm and back right sides together, with the finger section tucked in place at the knuckle line. Stitch around the edge, leaving the wrist open. Clip the curves, especially around the thumb. Turn right side out and give it a gentle poke into shape. Just like that.
- Attach the flip top. Sew the quilted flip top along the knuckle line on the back of the hand only. Press that seam flat. Now it hinges open and closed, right where you need it.
- Add the fastener and finish the wrist. Sew a button, snap, or hook-and-loop square on the back of the wrist, and its mate on the flip top, so the top stays back while you text. Fold the wrist edges in, add elastic if you like, and topstitch around the opening at about 8 to 10 stitches per inch.
Tips and Variations
Fit check first. Make one test mitten from scraps. Hands are all different, and a half inch here or there makes a real difference. It doesn't have to be perfect. You're your own worst critic on fit, I promise.
Warmer or lighter? For bitter cold, add insulated batting to the flip top and back, and keep the palm thinner so you can grip a steering wheel. For milder days, skip batting in the palm. Pick the way that fits your winter.
Make them gifts. A pair in a team print or a super duper cute novelty cotton makes a fast, personal gift. Trace a kid's hand smaller and you have a matching family set. Oh my goodness, those are fun at a ball game.
Care. Wash cool and tumble low. The quilting in step four keeps everything smooth after washing, so don't skip it.
Alrighty, folks. Warm hands, free fingers, and no more pulling a glove off to answer a text. Thanks for sewing along. We'll see you next time. Bye.
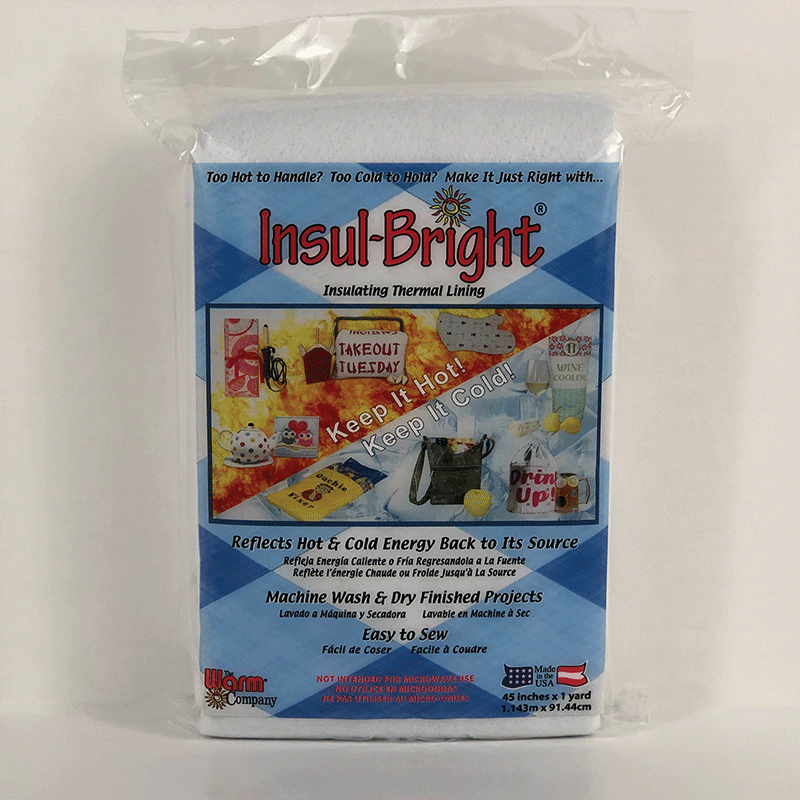
Shop Insul-Bright® Insulating Thermal Lining – 45" x 1 Yard at Linda's Electric Quilters.


