
Hey everyone. Today you'll learn how to turn batting offcuts into moving-day padding for a cross-town apartment move — no rented blankets required.
Here we go.
Cross-town moves are sneaky. The drive is short. So folks skip the padding. Then a chair leg chips. A frame corner dents. A lamp base scratches the dresser it rode on.
Batting fixes that. It's soft. It's thick enough to cushion. And if you're a quilter, you already own it.
For this job, I reach for 80/20 cotton-poly batting. Here's why. The cotton gives it body. The polyester gives it spring. It wraps, it folds, and it doesn't slide around like a slick blanket. Low to medium loft is your friend here. High loft is great in a quilt. On a lamp base, it's just bulky.
What You'll Need
- Batting offcuts and trimmings — long strips and odd shapes are perfect
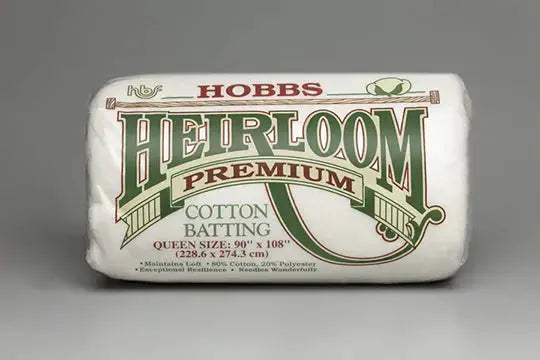
- One packaged 80/20 cotton-poly batting for the big pieces, if your scrap bin runs short
- Painter's tape or masking tape — never packing tape on batting or furniture
- Old pillowcases, tote bags, or large shopping bags
- Stretch wrap or large rubber bands, if you have them
- A permanent marker and sticky notes for labeling
- Scissors you don't mind using on batting
How To Wrap It All Up
- Sort your batting first. Make three piles. Long strips for chair legs. Medium pieces for frames. Small chunks for lamp bases and knobs. Sorting takes five minutes. It saves twenty later.
- Wrap chair and table legs. Take a long strip. Spiral it around the leg, like a candy cane. Overlap each pass by about half. Two layers is plenty. Tape the end to the batting itself, not the wood.
- Pad picture frames corner by corner. Fold a medium piece into a pad. Place it over each corner. Then wrap one full piece around the whole frame. Corners take the hits in a truck. Protect the corners and the frame usually survives.
- Cushion lamp bases. Set the base on a batting square. Pull the edges up around it. Stuff a small chunk into any hollow spot. Then slip the whole thing into a pillowcase and tie it shut. Just like that — a padded bag, done.
- Layer batting between stacked items. Plates, cutting boards, framed photos — anything flat that stacks gets a batting sheet between layers. Cut pieces roughly 1 inch bigger than the item on all sides.
- Fill the gaps in boxes. Roll leftover strips. Tuck them into empty corners so nothing shifts. Shifting is what breaks things. Still boxes are safe boxes.
- Label as you go. Sticky note on the outside: what it is, and which room it lands in. Future you says thanks.
Tips and Variations
Picking the right weight. Squeeze the batting between your fingers. For furniture wraps, you want it to compress but spring back. Paper-thin batting? Double it. Really really thick batting? Save it for the quilt it belongs in.
Don't tape the furniture. Tape goes on batting, or on stretch wrap. Never straight on wood finish or glass. I learned that one the hard way, y'all. A sticky rectangle on a tabletop is a sad surprise.
Keep one "first night" bag. Wrap the coffee maker parts and the lamp for the bedroom in batting, and mark that bag clearly. You'll want both before you want anything else.
After the move, save it. Shake the batting out. Fold it flat. It goes right back in the scrap bin for stuffing, pet mats, and test sandwiches. We're not reinventing the wheel here — we're just using the whole batting.
And listen. Your wraps will not look perfect. Some will be lumpy. That is completely fine. Padding has one job, and lumpy padding does it. You're your own worst critic, and the furniture does not care. Take your time, it's not a race.
If I can do this, y'all can do this. Thanks for spending a little time with me today. We'll see you next time. Bye.
Shop Hobbs Heirloom 80/20 Batting Package at Linda's Electric Quilters.


