
Hey everyone. Today you'll learn how to back photo-transfer blocks with interfacing, so your memory quilt blocks stay square, flat, and easy to piece.
Here we go. A memory quilt starts with faces you love. Family photos. A baby's first year. Grandma at the kitchen table. You print those photos on fabric, and suddenly sewing gets tricky.
Printed photo fabric is soft. It stretches a little. It can ripple under the presser foot. And if the print is light, darker seams can shadow through.
One layer of woven fusible interfacing fixes all three. It gives the block a cotton backbone. The print stays put. The edges stay honest. And the block pieces like regular quilting cotton. We're not reinventing the wheel here. We're just giving that photo a little support.
Materials You Will Need
- Photo-transfer fabric sheets, printed and set following the package directions
- Lightweight woven fusible interfacing, enough for one piece behind every photo block
- Quilting cotton for sashing, borders, and any plain blocks
- Rotary cutter, ruler, and mat — a sharp blade matters here
- Iron and a pressing cloth
- 50-weight cotton thread and a size 80/12 needle
- Pins or clips, and a seam guide if you like one
One note before we start. Print a test photo first. Always. Inks and printers vary, and one practice block saves a whole lot of heartache.
How to Back and Piece Your Photo Blocks
- Print, then let the ink rest. Follow your photo fabric's directions exactly. Let prints dry fully before you touch them. Rushing this step smears ink. Ask me how I know.
- Trim the photo, not the interfacing. Cut your printed block to size first, including your 1/4-inch seam allowance all around. An 8-inch finished block gets cut at 8 1/2 inches. Nice and simple.
- Cut interfacing the same size. Match it corner to corner with the photo block. Same width. Same length. If the interfacing hangs over, it will fuse to your ironing board. Slow down here, folks.
- Fuse with a pressing cloth. Lay the photo face down. Place the interfacing glue side against the back. Cover with a pressing cloth. Press, lift, and move — about 10 to 15 seconds per spot. Do not slide the iron. Sliding stretches things before the glue grabs.
- Let it cool flat. Give the block a full minute on the board. Warm fusible can shift. Cool fusible behaves. This is where your square block is born.
- Check for shadow-through. Hold the block up to a light or window. If a dark fabric will sit behind it, you will see it now, not later. A woven interfacing knocks most of that shadow right down.
- Piece like cotton. Sew with a 1/4-inch seam and a stitch length around 2.5 mm, roughly 10 stitches per inch. Press seams to one side, away from the photo when you can. The interfaced block will feed evenly. Just like that.
- Square up at the end. After the top is together, trim gently. Interfaced blocks hold their shape, so your points land where you planned them.
Tips and Variations
Pick the right weight. Lightweight woven fusible is my pick for photo blocks. It adds body without stiffness. Heavy stabilizer makes blocks boardy and seams bulky. Save the heavy stuff for tote bags, y'all.
Mix photos with plain blocks. Alternate a photo block with a nine-patch or a signature block. Family can sign the plain blocks with a fabric pen. Oh my goodness, those turn into the favorite blocks fast.
Mind the iron heat. Here is your warning at the moment of risk. Too much heat for too long can dull a printed photo. Keep the pressing cloth on, keep the iron moving spot to spot, and test on your practice block first.
Plan the washing story. Memory quilts get loved hard. Tell the family gentle cycle, cool water. Interfacing helps the blocks survive washing without waving and curling at the edges.
And hear me on this. If a photo prints a little soft, use it anyway. These quilts are about the people, not perfect points. You're your own worst critic. Nobody else is measuring your seams at a family reunion. Take your time. It's not a race. If I can do this, y'all can do it.
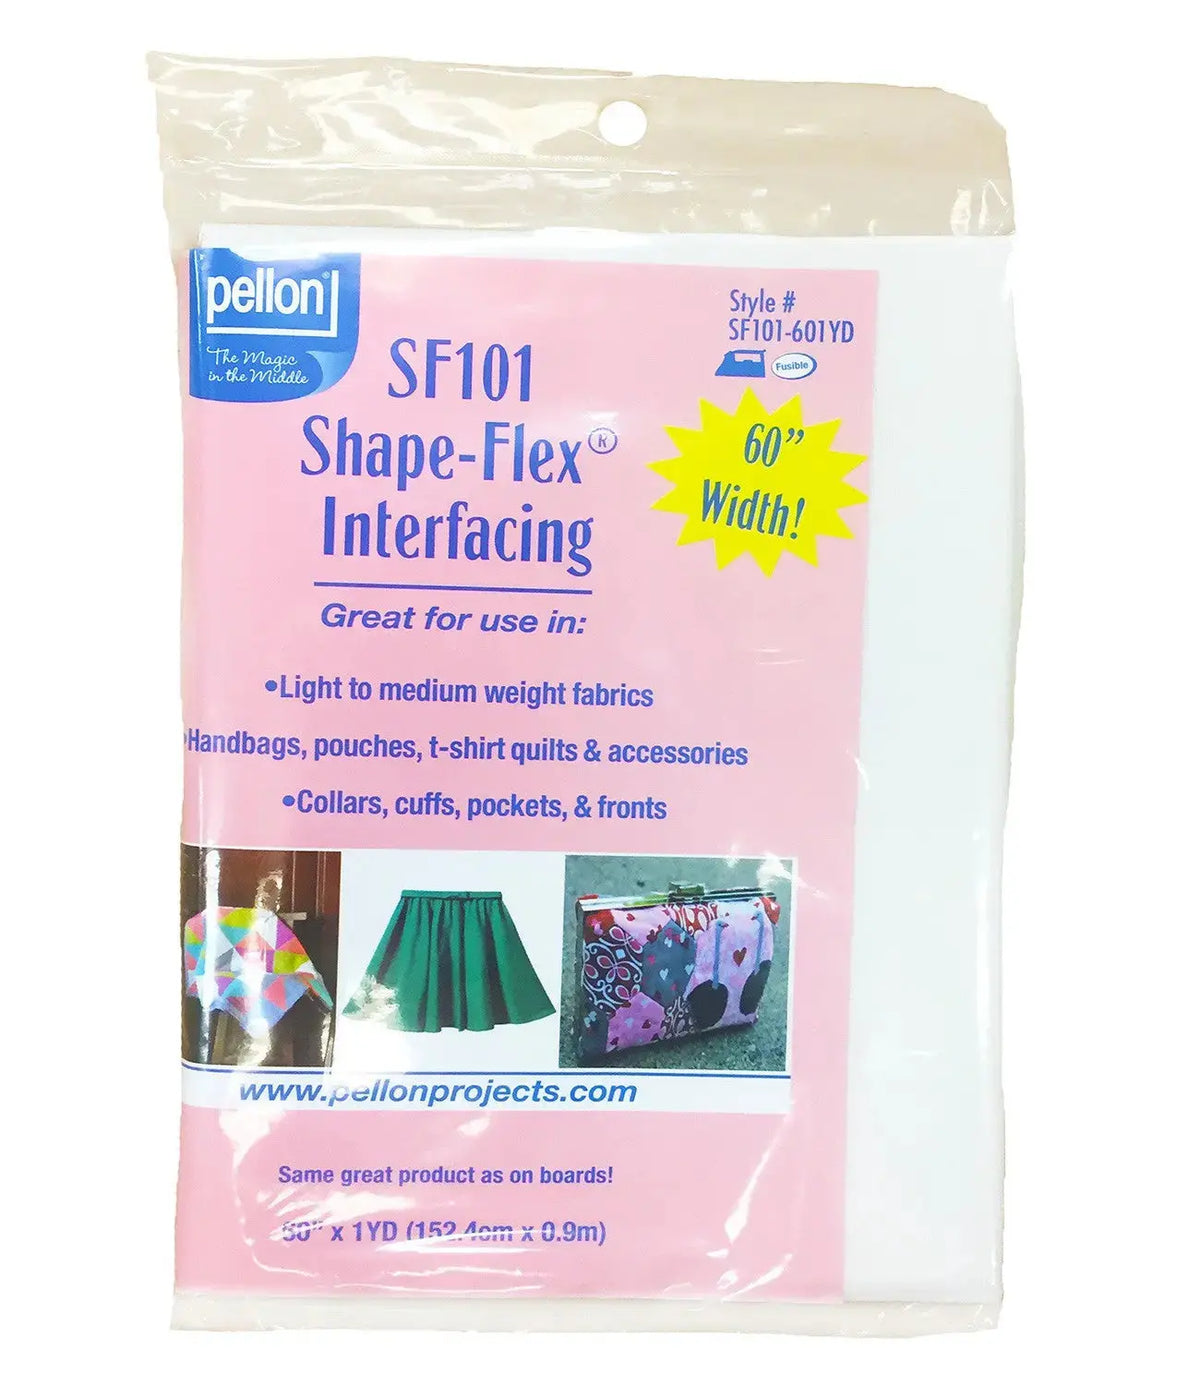
When I back photo blocks, here is what I use and why. A woven fusible like ShapeFlex is what lives by my pressing board. It fuses smooth, it feels like cotton, and my blocks piece and press like they should. One yard backs a whole stack of photos, available at lindas.com.
Thanks for sewing along with me, folks. Go gather those favorite faces and give them a quilt to live in. We'll see you next time. Bye.
Shop SF101 ShapeFlex Interfacing 60in x 1yd White at Linda's Electric Quilters.


