
Hey everyone. Today you will learn how to make a roll-up nap mat with a built-in pillow.
Preschool floors are cold. And they are hard. A thin blanket fixes neither one.
That is where insulated batting earns its keep. It adds a real barrier between your little one and that floor. Then a low-loft batting adds cushion on top.
Warmth underneath. Softness on top. Just like that.
And that pillow? It is built right in. Roll it up. Tie it shut. Done.
Why insulated batting works here
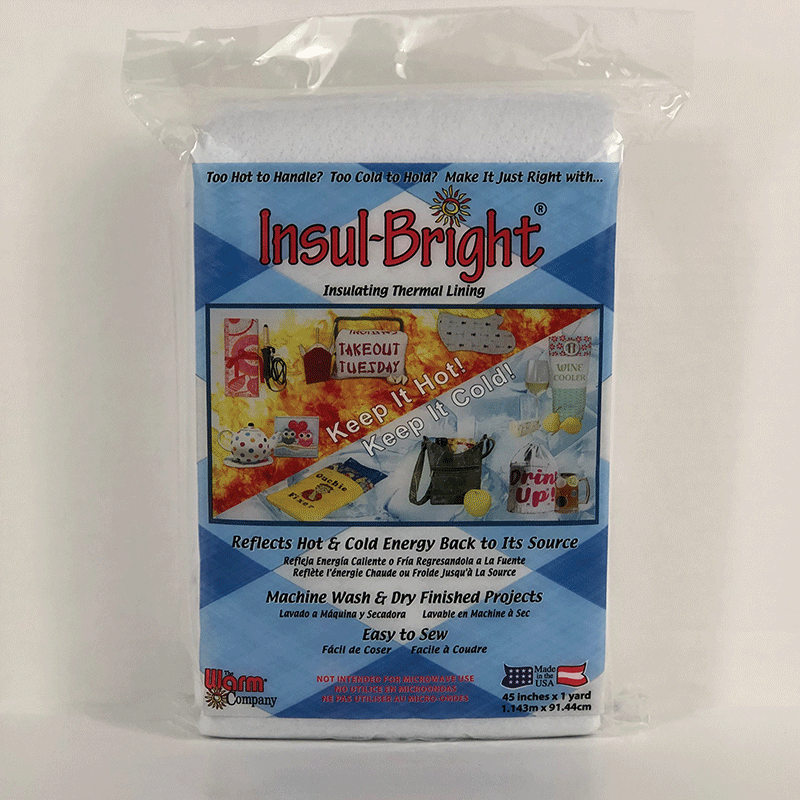
Insulated batting is needle-punched batting with a reflective layer inside. It helps bounce heat back instead of letting it sink into the floor.
Pick the right weight. For a nap mat, you want low and flat, not puffy. High loft makes the mat bulky to roll.
Here is my setup. Insulated batting on the bottom. Low-loft batting above it. Completely up to you, but it rolls tight, washes well, and stays comfortable.
Materials list
- Outer fabric: 1 1/4 yards cotton or flannel, 44 inches wide
- Lining fabric: 1 1/4 yards soft cotton or flannel
- Insulated batting: about 21 by 52 inches
- Low-loft batting: one piece 21 by 52 inches, plus scraps for the pillow
- Two fabric ties: cut 3 by 14 inches each, or use wide ribbon
- Matching 50-weight thread
- Size 80/12 or 90/14 needle, walking foot, pins or clips, fabric marker
- Optional: a name label for the outside
Finished size is about 20 by 50 inches. The pillow takes the top 10 inches of that length. That fits most preschool cots just fine.
How to make it
- Cut your pieces. Cut outer fabric, lining, insulated batting, and low-loft batting each to 21 by 52 inches. That includes a 1/2-inch seam allowance.
- Mark the pillow. On the lining, mark a line 10 inches down from the top edge. That line is the bottom of your pillow.
- Layer the mat. Lay the lining right side down. Add the low-loft batting. Add the insulated batting, reflective side facing down toward the floor side. Lay the outer fabric right side up on top. Smooth from the center out. Pin well.
- Quilt the body only. Quilt only below that 10-inch pillow line for now. Run straight lines every 4 to 6 inches down the length. Use your walking foot, about 8 to 10 stitches per inch. Take your time. It is not a race.
- Stuff the pillow section. Slip soft batting scraps into the top 10 inches between the layers. Add a little at a time. You want it plump, not packed hard. About 1 to 1 1/2 inches of loft is plenty. If I can do this, y'all can do it.
- Close the pillow. Stitch right on that marked line, straight across the width. Stitch it twice for strength. That seam keeps the stuffing in place and gives the pillow its shape.
- Make and place the ties. Fold each tie strip in half lengthwise. Press, fold the raw edges in, and topstitch closed. Pin each folded tie to the bottom edge of the mat, about 4 inches in from each side, loops pointing inward.
- Sew around and turn. Sew around all four sides with a 1/2-inch seam. Leave a 6-inch opening on one side for turning. Clip the corners, turn right side out, and push the corners out gently.
- Topstitch and close. Press the edges flat. Topstitch all the way around, about 1/4 inch from the edge. That closes your turning opening too. Add the name label now if you are using one.
- Test the roll. Lay it flat, pillow at the top. Fold the bottom up in thirds, roll it snug, and tie a bow. Super duper easy.
Tips and variations
Prewash your fabrics. Yes, do it. Kids' mats get washed a lot. Prewashing now keeps the mat from pulling up wavy later.
Do not pack the pillow too full. I learned that one the hard way. My first one would not roll at all. Oh my goodness. Pull a little stuffing back out. Problem solved.
It does not have to be perfect, folks. You're your own worst critic here. If a quilting line wanders a bit, that mat will still get loved every day.
Want a bigger version? Add 6 inches to the length for a kindergartner. Want it simpler? Skip the low-loft layer and use insulated batting alone. It will be thinner, but even easier to roll. Completely up to you.
We're not reinventing the wheel here. Barrier below. Cushion above. Pillow built in.
Thanks so much for sewing along with me, folks. We'll see you next time. Bye.
Shop Insul-Bright® Insulating Thermal Lining – 45" x 1 Yard at Linda's Electric Quilters.


