
Hey everyone. Today you'll learn the little formula behind a tote that stands up on its own — and why one layer alone almost never gets you there.
Here's the surprising part, y'all.
A structured tote is not one stiff bag.
It's two different jobs stacked together.
Soft structure up top. Hard architecture down low. Get the layers in the right order, and a simple tote suddenly acts like it was engineered. Because, well, it was.
I have made the other kind, too. One layer of something firm everywhere. The bag stood up, alright. It also fought me at every seam and folded like a cereal box. Then I made one with only soft fleece. Sweet drape. Zero spine. It puddled on the table.
The fix was splitting the job in two.
Why it happens
The body of a tote and the bottom of a tote live different lives.
The body needs to flex. It bends around books, groceries, and a water bottle. It gets folded into seams and turned right side out. If it's board-stiff, turning is a wrestling match.
The bottom has the opposite job. It should not flex much at all. It's the floor of the bag. Everything you carry rests on it. If the floor sags, the whole bag slumps, no matter how nice the sides are.
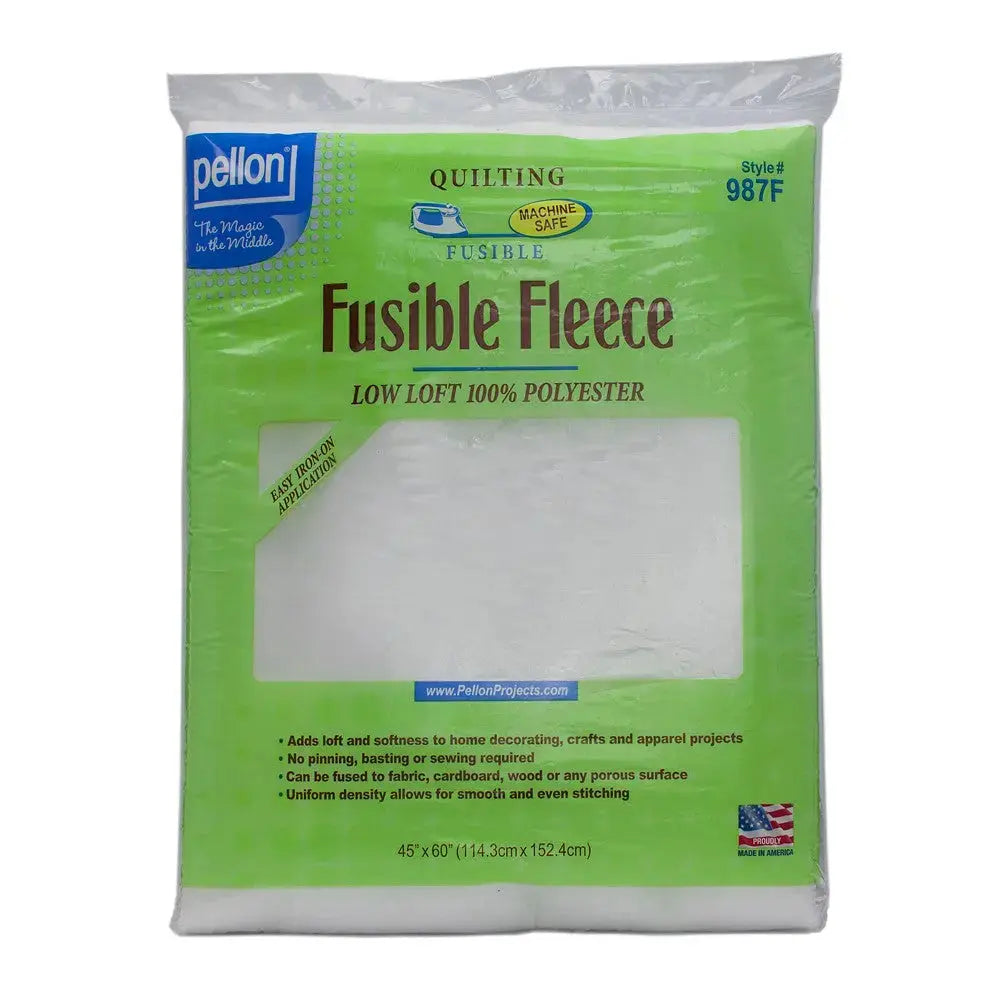
That's why one material struggles to do both. Fusible fleece gives the body gentle body — soft, padded, and still sewable. A firm interfacing in the bottom gives the floor its shape. Different jobs. Different tools.
Layer order is the whole engineering here.
What to do about it
Here we go, step by step.
One: fuse fleece to the body pieces. Fuse your fleece to the wrong side of the exterior front, back, and sides. Lift and press, about 10 seconds per spot. Don't slide the iron. Sliding shears the glue and leaves bubbles.
Two: keep the fleece out of the fight. Trim the fleece back about 1/2 inch from seam allowances where you can. Less bulk in the seams means flatter corners and a happier machine needle.
Three: build the bottom separately. Cut a piece of firm interfacing to fit the bottom panel, inside the seam lines. Fuse it to the bottom piece, or slip it between the exterior bottom and the lining bottom. Either way, it lives only in the floor. It does not climb the walls.
Four: plastic canvas is your removable option. Some folks cut plastic canvas to fit the base instead. It gives a real floor, and you can pull it out before washing. Completely up to you. Just round the corners a touch so nothing pokes through the fabric over time.
Five: quilt or stitch the body lightly. A few lines of straight stitching through the fleece keeps everything acting as one layer. Keep it simple — lines every 2 to 3 inches are plenty for most totes. We're not reinventing the wheel here.
Six: test the stand before you finish. Sew the body, set it on the table, and drop in something with weight. A couple of books works fine. If the base spreads, your bottom layer is too soft. If the sides crackle and resist, your body layer is too firm. Adjust one layer at a time, not both.
When it matters — and project notes
This formula shines on market totes, project bags, and library bags. Anything that sits on a table and gets loaded and unloaded all day.
For a soft beach bag or a fold-up shopper, skip the firm bottom. Those bags are supposed to puddle. The formula is for bags with a job to do.
One more note. Leave the lining mostly alone. A light lining with no heavy layers keeps the inside roomy and lets the exterior layers do the work. Too many stiff layers everywhere is how a tote turns into luggage.
And here's your permission beat.
Your first structured tote does not have to be perfect. Corners can be a little soft. Seams can be a little wiggly. You're your own worst critic, and the bag will still carry groceries just fine. Take your time. It's not a race. If I can do this, y'all can do it.
Thanks so much for learning along with me, folks. We'll see you next time. Bye.
Shop Fusible Fleece Pellon 45in x 60in at Linda's Electric Quilters.


