
Every stitcher needs a pin cushion by the machine, and a handmade one makes a thoughtful stocking stuffer. This version has a simple four-patch top in red and green, a plain back, and firm fiberfill inside. This small project uses straight machine seams, careful cutting, and a hand-sewn closure.
What You'll Make
One square pin cushion, about 4 inches across when finished and stuffed. The top is a four-patch pieced from four 2.5-inch squares; the back is a single 4.5-inch square. Make the first as your practice piece, then sew a batch for gifts.
Materials
Six of the seven supply entries (about 86%, by item count) link to Linda's products.
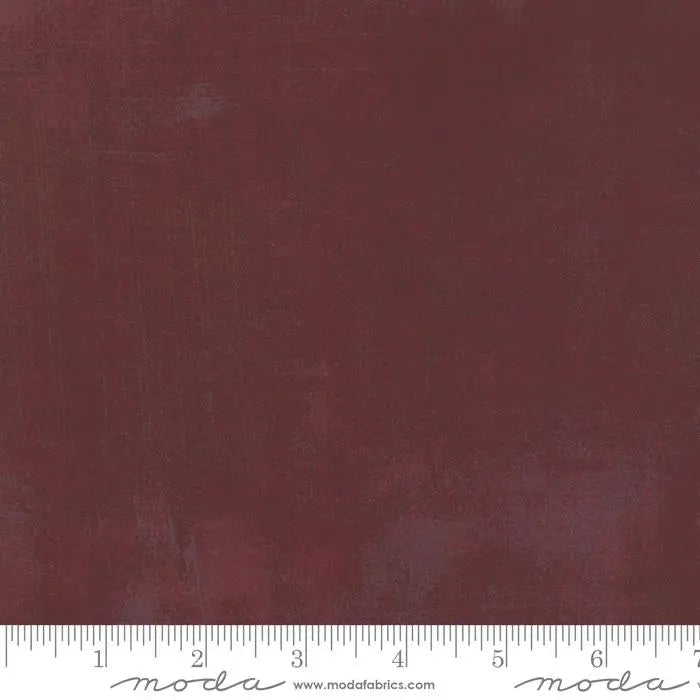
- Red Grunge Basics Burgundy 44"/45" Per Yard — two 2.5-inch squares for the top
- Green Grunge Basics Key Lime 44"/45" Per Yard — two 2.5-inch squares for the top, plus the back square below
- FiberLoft Fiberfill 16oz Bag — a few firm handfuls per cushion
- 1103 Burgundy Aurifil Cotton 50wt Large Spool — pick a color that blends with your fabrics
- Universal Needles Assorted - 10 count by Organ Needles
- Quilters Select 45mm Deluxe Rotary Cutter — for cutting the squares true
- A hand-sewing needle for closing the gap — check your supplies first, or ask a craft store or your local quilt shop whether it carries one.
Buying note: one cushion uses very little fabric: two 2.5-inch squares of red, two 2.5-inch squares of green, and one 4.5-inch square of green (or red) for the back. Scraps work well; if buying new, a quarter yard of each color covers several cushions.
Tools also needed: sewing machine, cutting mat and ruler, pins, an iron, scissors for trimming corners, a blunt point turner or chopstick, and a stitch-test scrap.
Steps
- Press and cut. Press your fabrics flat. Cut two 2.5-inch squares of red, two 2.5-inch squares of green, and one 4.5-inch square of green for the back, corners checked square against your ruler. Keep your free hand behind the ruler's edge, fingers clear of the blade, cut away from your body, and close the blade when set down.
- Pair the small squares. Place one red square on one green square, right sides together, and stitch a 1/4-inch seam along one edge. Repeat with the second pair. Test your stitch on the scrap first, and press each seam toward the darker fabric.
- Join the pairs. Place the two pairs right sides together so red meets green in a checkerboard and the center seams nest against each other. Pin at the center join, removing the pin before it reaches the needle — never sew over pins. Stitch a 1/4-inch seam, then press. Your four-patch top should measure 4.5 inches square.
- Join top to back. Place the top on the back square, right sides together, edges even, and pin. Mark a 2-inch gap along the middle of one side where you will not stitch. Stitch around all four sides with a 1/4-inch seam, pivoting at each corner with the needle down, backstitching at both ends of the gap, and removing each pin before it reaches the needle.
- Trim and turn. Trim each corner diagonally, close to but not through the stitching. Turn the cushion right side out through the gap, and push the corners out gently with the blunt turner. Press lightly, keeping the iron away from the opening.
- Stuff it firmly. Add fiberfill in small handfuls, pushing it into the corners first, then the center. Keep adding until the cushion feels firm and plump — a soft cushion lets pins sink and wobble.
- Close the gap. Fold the gap edges in by 1/4 inch so they match the seam line, and pin. With the hand-sewing needle and matching thread, slip-stitch the opening closed with small, even stitches, then knot and bury the thread end. Remove every pin.
- Check before use. Visually inspect every seam and account for all construction pins before handling or gently squeezing the cushion to check that the closing holds. It is ready for its first pins.
Tips
Firmness is the whole point: pack the fiberfill tighter than you would for a pillow, and add more after the first handfuls settle. If your four-patch measures a little under 4.5 inches, trim the back square to match before Step 4 rather than forcing uneven edges together. Keep the finished cushion on your sewing table, out of reach of small children and pets, with pin points embedded and heads visible, never left loose.
Where to Get Everything
Find the linked fabrics, fiberfill, thread, machine needles, and cutter on Linda's Electric Quilters website. For the hand-sewing needle, or a missing tool such as a point turner, check your own supplies first, or ask a craft store or your local quilt shop.


