
October is exactly the right time to make a Christmas tree skirt. You are not rushed, you can enjoy the piecing over a few evenings, and by December you will have a handmade heirloom under the tree instead of a last-minute store run. This simple strip-pieced version skips fussy wedges and templates — you make one big quilted square first, then cut the circle. If you can sew a straight seam, you can make this.
What You'll Make
One round quilted tree skirt, about 40 inches across, with a center opening and a slit so it slides easily around the tree trunk. Red, green, and cream strips give it a classic Christmas look that works with almost any ornaments, but the same method looks beautiful in winter blues, plaids, or scrappy prints from your stash. It lies flat, washes well, and folds away in January without taking up much storage space.
Materials
Seven of the nine items below (78%) come straight from Linda's — links included so you can grab exactly what we used.
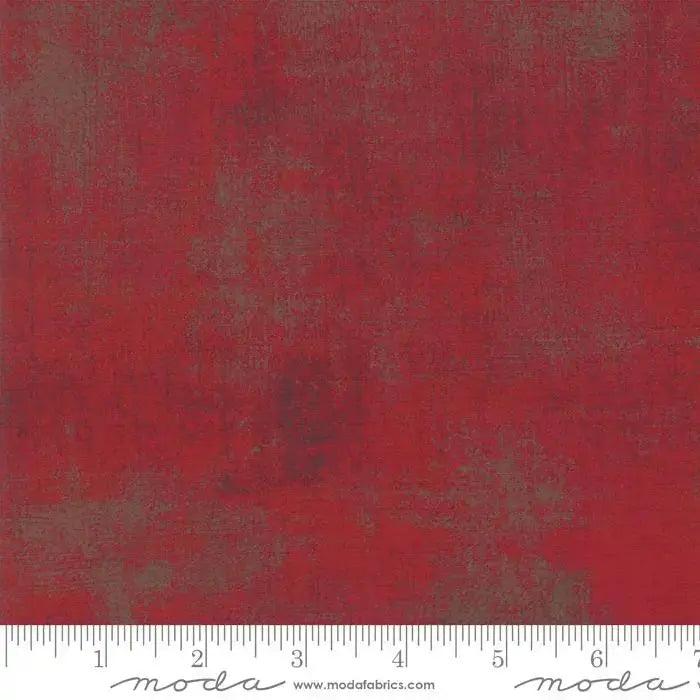
- 082 Maraschino Cherry Moda Grunge - Fat Quarter — order 4 for the red strips
- 232 Kelly Green Moda Grunge - Fat Quarter — order 4 for the green strips
- 058 White Moda Grunge - Fat Quarter — order 4 for the cream-white strips and contrast; save one extra piece for ties if you like
- Hobbs Heirloom Bleached 80/20 Batting Package — cut one 42-inch square; leftovers keep for smaller holiday projects
- 900 Sinai King Tut Cotton Thread — a warm neutral for piecing, quilting, and stitching the binding
- Olfa Deluxe 45mm Rotary Cutter — for accurate strips and for trimming the circle
- Quilting Corsage Pins — to baste the layers and hold the binding in place
- A self-healing cutting mat and a large acrylic ruler — available at most craft stores if you don't already own them
- Ribbon or twill tape for two ties at the slit, plus backing fabric from your stash (about 1¼ yards) — available at most craft stores or your local quilt shop
Steps
- Cut your strips. Press all 12 fat quarters. From each one, cut strips 3½ inches wide across the 18-inch width. You need enough strips to sew a panel about 42 inches wide when they are joined — roughly 14 to 16 strips in total.
- Piece the top. Sew strips together along their long edges with a ¼-inch seam, alternating red, white, and green. Press seams to one side as you go. Keep adding strips until your panel measures about 42 inches wide and at least 42 inches long. Trim it to a neat 42-inch square.
- Layer the sandwich. Lay your backing fabric right side down, smooth the 42-inch batting square on top, then center the pieced top right side up. Pin through all three layers every few inches, working from the center out.
- Quilt it simply. Stitch in the ditch along the strip seams, or sew straight lines following the strips. Work from the center outward and take your time — a walking foot helps if you have one. Trim the square so all three layers are even.
- Mark and cut the circle. Fold the square in quarters and press lightly. Tie one end of a string to a pencil and pin the other end at the center fold point so the pencil reaches 20 inches out. Swing the pencil to mark a 40-inch circle, then cut carefully along the line through all layers.
- Cut the opening and slit. Using the same string method, mark and cut a 6-inch circle at the center. Then cut one straight slit from the center circle to the outer edge along a strip seam — this is how the skirt goes around the trunk.
- Bind every edge. Cut 2½-inch binding strips from your leftover fabric, join them into one long strip, and bind the outer circle, the center circle, and both sides of the slit. Curved edges are easiest with bias binding, so cut those strips on the bias if you have enough fabric.
- Add the ties. Sew a 10-inch piece of ribbon or twill tape to each side of the slit, about 2 inches below the center circle. Tie in a bow once the skirt is in place.
Tips
Pre-wash red fabrics separately the first time if you are worried about color running, and always test with a scrap. If cutting a circle feels daunting, practice the string-and-pencil trick on paper first — it really does work. Don't worry if your circle isn't mathematically perfect; once it's under a tree with presents on top, gentle wobbles disappear. Making a smaller version? Cut a 30-inch circle for a tabletop tree using the exact same steps.
Where to Get Everything
Start at Linda's for the fabrics and notions: the Maraschino Cherry fat quarter, Kelly Green fat quarter, and White Moda Grunge fat quarter for your strips, the Hobbs Heirloom batting package, King Tut cotton thread, the Olfa rotary cutter, and corsage pins. That's 78% of the list from Linda's. For the rest, a cutting mat and ruler, backing fabric, and ribbon or twill tape for ties are easy finds at most craft stores or your local quilt shop — and backing is a perfect use for a large piece already in your stash. Start this week, and December-you will be so glad you did.


