
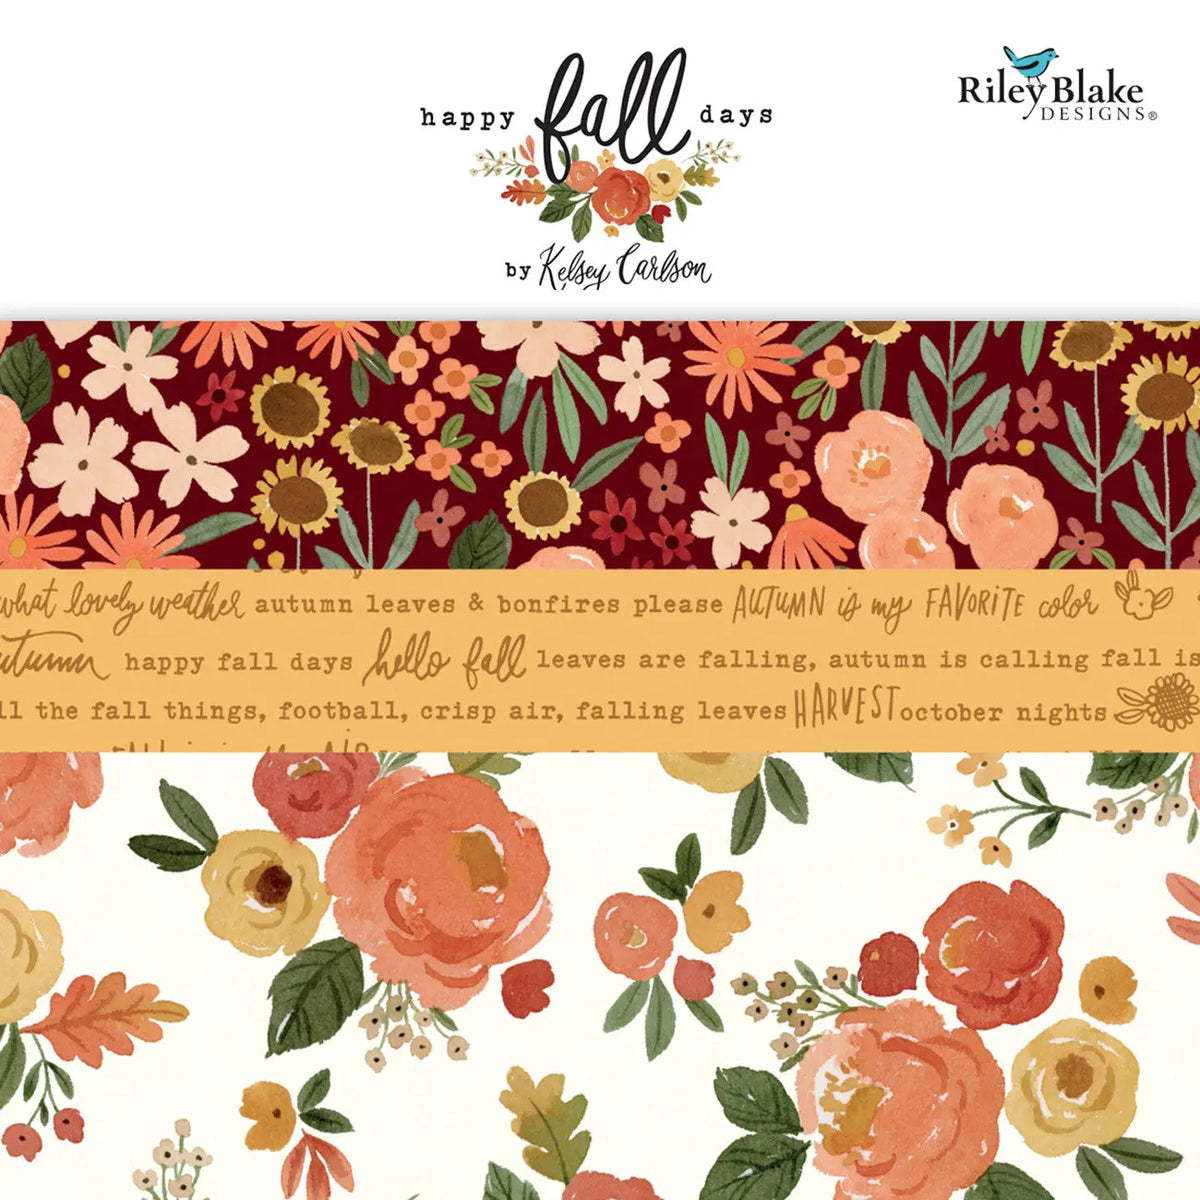
Every reader knows the dog-eared page, the grocery receipt pressed into service, the book left open face-down. A quilted fabric bookmark solves all of that in about twenty minutes — and it uses up the small scraps quilters can never quite throw away. Make one to match a book you are gifting this holiday season, or batch a handful in fall prints for teachers, book-club friends, and stocking stuffers. It is flat, light to mail, and endlessly personal.
What You'll Make
One quilted fabric bookmark, about 2 inches wide by 7½ inches long finished, with a stiffened body that slides easily between pages without adding bulk, simple quilting lines to hold the layers together, and an optional ribbon loop at the top. The construction is beginner-friendly: straight cuts, straight seams, and one small opening to turn through. Once you have made one, a set of four takes less than an hour.
Materials
Seven of the nine items below (78%) come straight from Linda's — links included so you can grab exactly what we used. The ribbon and the optional tassel come from the craft-store side, explained below.
- Happy Fall Days Fat Quarter Bundle, 21pcs — scraps or two small pieces per bookmark, one for the front and one for the back; a bundle gives you lots of mix-and-match options
- SF101 ShapeFlex Interfacing 60in x 1yd White — a small piece to give the bookmark body and keep it flat in the book
- 10000 White Glide Polyester Thread - 5,500 yards King Spool — for piecing, quilting, and topstitching; choose a color that blends or contrasts, as you like
- Olfa Deluxe 45mm Rotary Cutter — for cutting clean, straight strips on a cutting mat
- 4" x 8" Ruler Template — just the right size for measuring and trimming bookmarks
- Quilting Corsage Pins — for holding the layers together while you sew
- Quilters Perfect Klip It Quilt Binding Clips — to hold the folded opening closed before the final topstitching
- Narrow ribbon, about 6 inches per bookmark, for the optional top loop — from most craft stores or your local quilt shop
- An optional tassel or small charm to thread on the ribbon — from most craft stores, or skip it entirely for a flat, mail-friendly finish
Steps
- Cut your pieces. For each bookmark, cut a front and a back piece 2½ by 8 inches, and one piece of SF101 interfacing the same size. If you are using scraps, piece small bits together first to make a patchwork front at least that big, press the seams, then trim to size. Close the rotary cutter blade whenever you set it down.
- Fuse the interfacing. Following the package directions, fuse the interfacing to the wrong side of the front piece with a hot, dry iron. Let it cool flat — this layer is what keeps the bookmark crisp instead of floppy.
- Add the ribbon loop, if using. Fold the ribbon in half to form a loop. Place it on the right side of the front piece, centered at the top short edge, with the loop pointing down into the bookmark and the raw ends even with the top edge. Pin or clip the ends in place and baste across the top edge to hold them.
- Assemble. Place the front and back pieces right sides together, matching all the edges, and pin. The ribbon loop, if you added one, is tucked inside the sandwich.
- Sew around, leaving a gap. Sew around all four sides with a ¼-inch seam, pivoting at the corners. Leave a 2-inch gap in the middle of one long side for turning, and backstitch at the start and finish.
- Trim and turn. Clip each corner diagonally, close to — but not through — the stitching, to reduce bulk. Turn the bookmark right side out through the gap and gently push the corners out with a blunt tool, such as a chopstick. The ribbon loop will pop out at the top.
- Press and close. Fold the raw edges at the gap in to match the seam line, hold them with clips, and press the whole bookmark flat, taking care around any synthetic ribbon.
- Quilt and topstitch. Topstitch close to the edge all the way around — this closes the gap as you go. Then add one or two straight quilting lines down the length of the bookmark to hold the layers together and give it that quilted look. Press once more, thread a tassel on the loop if you like, and slip it into a book.
Tips
Keep it flat: skip thick batting in this project — the interfacing gives all the body a bookmark needs, and a bulky marker can strain a book's spine. For patchwork fronts, press seams to one side and keep the quilting simple so the small scale stays tidy. Fall and holiday prints make these feel seasonal without any extra work, and pairing a bookmark with a book in the same color family makes a thoughtful, inexpensive gift set. To batch them, cut and fuse all your pieces first, chain-piece the seams, then turn and topstitch the whole stack in one sitting. Hand-wash and lay flat to dry if a bookmark gets grubby, and press with a warm iron to refresh it.
Where to Get Everything
Start at Linda's: the Happy Fall Days fat quarter bundle for the fabric, SF101 ShapeFlex interfacing for the body, White Glide thread, the Olfa rotary cutter, the 4" x 8" ruler template, corsage pins, and the Klip It clips — 78% of the list. For the rest, pick up narrow ribbon and an optional tassel or charm at most craft stores or your local quilt shop — or raid the gift-wrap drawer, because a bookmark needs only a few inches.


