
A quilted tote in red and green, about 17 inches wide and 16 inches tall, carries groceries, books, or a holiday gift, then folds down for storage. Its outer panels are quilted to fusible fleece; its handles are cut from the lining fabric.
What You'll Make
One lined tote with two handles, sewn from 18 by 17-inch panels with 1/2-inch seams.
Materials
Eight of nine entries below link to Linda's — about 89% by entry count, excluding tools listed separately.
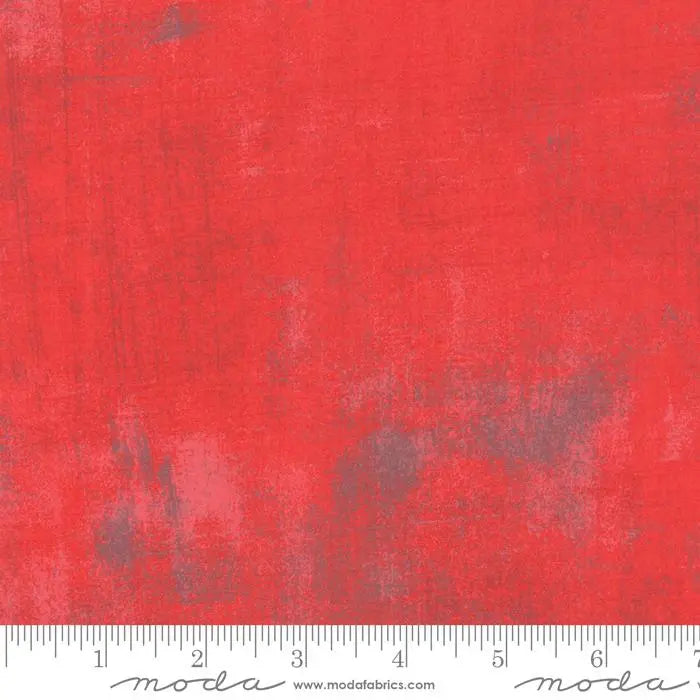
- Red Grunge Basics Geranium 44"/45" Per Yard — outer panels
- Green Grunge Basics Key Lime 44"/45" Per Yard — lining and handles
- Floriani Heat N Sta Fleece (Fusible) 45" x 1yd — behind the outer panels
- 1100 Red Plum Aurifil Cotton 50wt Large Spool — quilting and seams
- Universal Needles Assorted - 10 count by Organ Needles
- Quilters Select 45mm Deluxe Rotary Cutter
- Quilters Select Non-Slip Ruler 6"x 24"
- Linda's - 9 Inch Stainless Steel Fabric Scissors
- A hand-sewing needle for the lining gap — check your supplies, or ask a craft store or your local quilt shop.
Buying note: allow 1/2 yard of red and 3/4 yard of green as minimums, subject to washing and squaring losses. After preparation, the red must still measure at least 36 by 17 inches usable, the green at least 36 inches wide by 25 inches long. From the remaining green, cut two 4 by 24-inch strips, the 24-inch dimension running across the usable width; they use 8 inches of the remaining length. To wash the tote, prewash and dry the cottons first.
Tools also needed: sewing machine, cutting mat, pins, removable marker, iron, and layered stitch-test scraps.
Steps
- Press, test, and cut. Press both cottons flat. Fit a needle compatible with your machine, fabric, and thread, and test the stitch on the layered scrap. Cut two red and two green panels, each 18 by 17 inches, plus two green strips, 4 by 24 inches. Cut two fleece pieces at least 1 inch larger than a panel. Hold the ruler securely with your non-cutting hand, keeping all fingers well inside its edge and away from the blade path. Close the blade immediately after every cut.
- Fuse and quilt. Prepare the fleece as its directions state: gently steam its non-fusible side to pre-shrink it, then fuse one oversized piece to each red panel's wrong side, iron on the fabric side, fingers clear of the soleplate and steam. Trim the fleece even with each panel. Mark lines 2 inches apart and stitch along them.
- Make the handles. Fold each strip in half lengthwise, wrong sides together, and press. Open it, fold both long edges to the center fold, then fold in half again, enclosing the raw edges. Press and topstitch both long edges. Each handle finishes about 1 by 24 inches.
- Sew the outer bag. Pin the quilted panels right sides together at the sides and bottom. Stitch those sides with a 1/2-inch seam, pivoting at the corners with the needle down, backstitching at both ends. Remove each pin before it reaches the needle — never sew over pins. Trim the bottom corners close to, not through, the stitching.
- Sew the lining. Stitch the green panels the same way, leaving a 5-inch gap in the middle of the bottom seam, backstitching at both gap ends. Do not trim its corners.
- Set the handles. Pin one handle to an outer panel's top edge: ends even with the top, 4 inches in from each side seam, loop hanging down. Baste inside the seam allowance. Repeat on the other panel, checking neither handle is twisted.
- Join bag and lining. Slip the outer bag, right side out, inside the lining (wrong side out), right sides together. Pin and stitch around the top with a 1/2-inch seam, removing each pin first.
- Turn and close. Turn the tote right side out through the lining gap, ease the lining in, and press the top edge lightly. Fold the gap edges in 1/2 inch and slip-stitch it closed. Account for the needle and every pin.
- Topstitch and check. Topstitch around the top edge 1/4 inch from the edge, stitching across each handle end again inside that line. Inspect the seams, trim loose threads, and test both handles gently.
Tips
Test the tote with a few books first; do not overload it beyond what its seams and handles hold. If quilting shrinks a panel, trim both outer panels and both lining panels to one shared size before assembly; below 18 by 17 inches, the finished tote will be smaller than stated.
Where to Get Everything
Find the linked fabrics, fleece, thread, needles, cutter, ruler, and scissors on Linda's Electric Quilters website. For the hand needle or a missing tool, check your supplies, or ask a craft store or your local quilt shop.


