
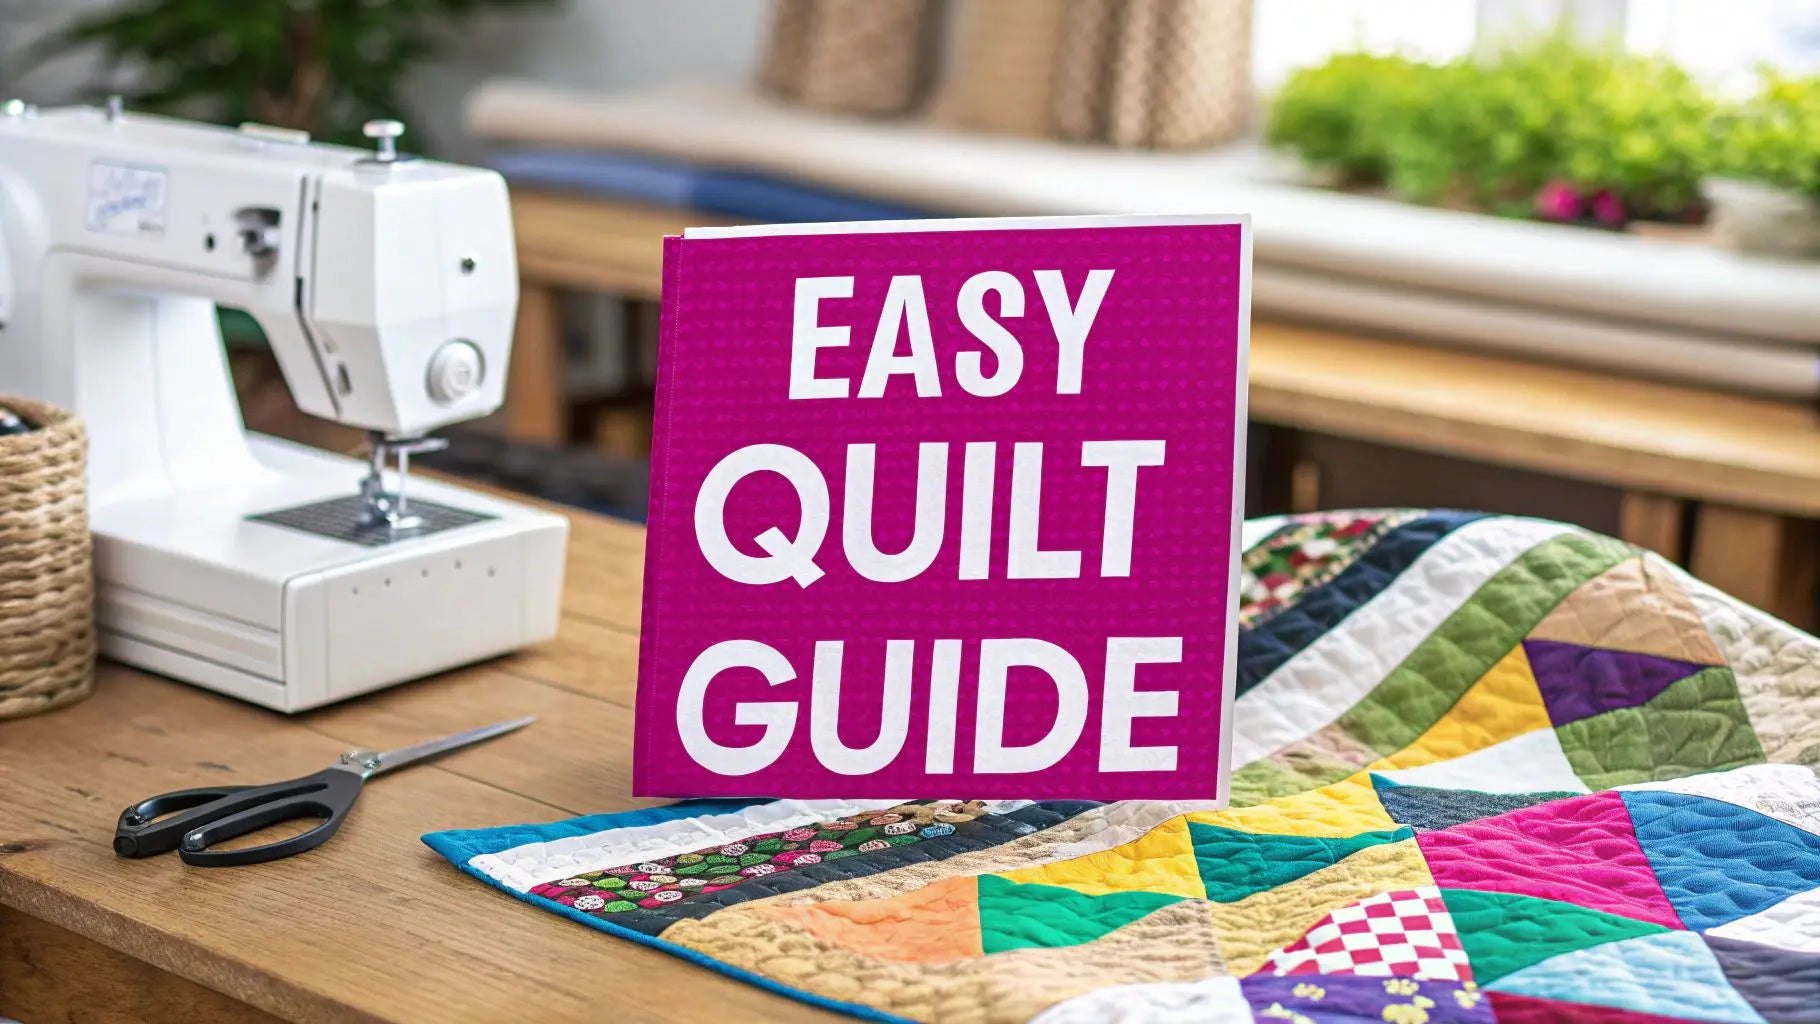
Jumping into a new craft is always a thrill, but it can also feel a bit overwhelming. That's why picking a free quilt pattern for beginners is one of the best moves you can make. It takes the pressure of a big financial commitment right off the table, so you can really sink into the fun of learning the skills. This guide is your chance to see what it's like to create something cozy and beautiful with your very own hands, and we'll show you how to get the best results for your project.
Why Your First Quilt Should Be a Free Pattern
Getting into quilting is an amazing journey, but that first learning curve can be a little steep. Think of a free pattern as your friendly quilting buddy, designed to build your confidence without you having to spend a dime on complicated instructions you might not be ready for. This way, you can put your budget where it really counts for a first project: gorgeous fabrics and the essential tools to make your project a success.
The whole point of a beginner pattern is to teach you. It walks you through the foundational techniques every single quilter relies on. You'll get the hang of:
- Reading a pattern and figuring out all that quilting lingo.
- Cutting your fabric pieces accurately (this is the real secret to sharp, perfect points!).
- Sewing a consistent quarter-inch seam. It sounds small, but it's everything.
- Pressing your seams the right way to get a beautifully flat, professional-looking quilt top.
Building a Strong Foundation
Most of these free patterns stick to simple shapes like squares and rectangles. You'll see a lot of classic patchwork or rail fence designs, and that’s on purpose. By working with straight lines and basic shapes, you can focus on nailing the fundamentals instead of getting tangled up in tricky curves or fiddly little pieces.
There's a reason these patterns are structured this way. They're designed to help new quilters succeed. In fact, there's a reported 80% success rate for beginners who start with these kinds of simple, guided patterns. It helps you build momentum and, most importantly, keeps you excited about the craft. You can see more on these beginner-friendly pattern statistics on sarahmaker.com.
Choosing a free pattern isn't about cutting corners; it's about setting yourself up for a win. Your first quilt should be a fun, rewarding experience that leaves you excited to start the next one, not a frustrating project that gets tucked away unfinished.
Once you’ve got the basics down with a free pattern, you’ll feel so much more prepared to try out more complex designs. And when you're ready, we have all the beautiful fabrics, threads, and batting you’ll need right here at Linda's to bring that first quilt to life.
How to Select the Right Beginner Pattern

You’re excited to dive into your first quilt, and that’s fantastic! But before you start cutting, it’s worth remembering that not all "easy" patterns are truly beginner-friendly. Choosing the right free quilt pattern for beginners is probably the single most important decision you'll make to ensure you have a blast and love your finished project.
My best advice? Stick to simple shapes. Look for patterns built around squares and rectangles. Think classic patchwork, simple block designs, or the ever-popular rail fence. These patterns are perfect because they let you master the absolute fundamentals: accurate cutting and straight seams. Save the triangles, curves, and tiny, fussy pieces for your second or third quilt.
First, Read the Instructions Like a Hawk
Before you fall in love with a design, give the instructions a thorough once-over. Are they actually clear? Do they make sense to you right now? The best patterns for new quilters include detailed diagrams for every single step, precise measurements, and plain, simple language.
Confusing instructions are a surefire way to get frustrated and walk away. Finding a well-written guide is non-negotiable for a first-timer.
A great beginner pattern feels like a friendly teacher guiding you through each step. It anticipates your questions and provides clear visual cues, making the process intuitive rather than intimidating.
Consider the Size of Your First Masterpiece
The size of your first project really, really matters. I know that king-sized beauty is calling your name, but starting small is a much smarter move.
A baby quilt (usually around 36" x 52") or a lap throw is totally manageable on a standard home sewing machine. Trying to wrangle a massive, heavy quilt top can be physically exhausting and take all the fun out of the process. A smaller project lets you focus on your technique without wrestling with mountains of fabric.
To help you get a better feel for what's out there, I've put together a little cheat sheet. This table breaks down some of the most common free quilt pattern styles to help you find the perfect fit for your first quilting adventure.
Comparing Popular Free Quilt Patterns for Beginners
| Pattern Style | Core Skill Developed | Why It's a Great Start | Typical Fabric Required |
|---|---|---|---|
| Patchwork Squares | Accurate cutting & consistent ¼” seam allowance. | The most basic and forgiving starting point. It's all straight lines! | Pre-cut charm packs or fat quarters are perfect. |
| Rail Fence | Strip piecing & nesting seams. | Incredibly fast to piece together, giving you a quick win and building confidence. | Jelly rolls (2.5" strips) or yardage cut into strips. |
| Simple Plus Quilt | Basic block construction & color placement. | Teaches you how to build a repeating block while still being very straightforward. | A mix of background fabric and accent colors. |
| Log Cabin | Building blocks from the center out & pressing seams. | Introduces a slightly more complex block, but the repetitive nature makes it easy to master. | Strips of varying colors, often from a jelly roll. |
No matter which pattern you choose, the goal is to build your skills step-by-step and, most importantly, have a good time doing it.
Once you find that perfect pattern, you’ll need some beautiful fabric to bring it to life. Here at Linda's Electric Quilters, we have an incredible selection of beginner-friendly fabric bundles and precuts that are perfect for these simple projects. Our team would love to help you find the perfect colors to finish your quilt with style.
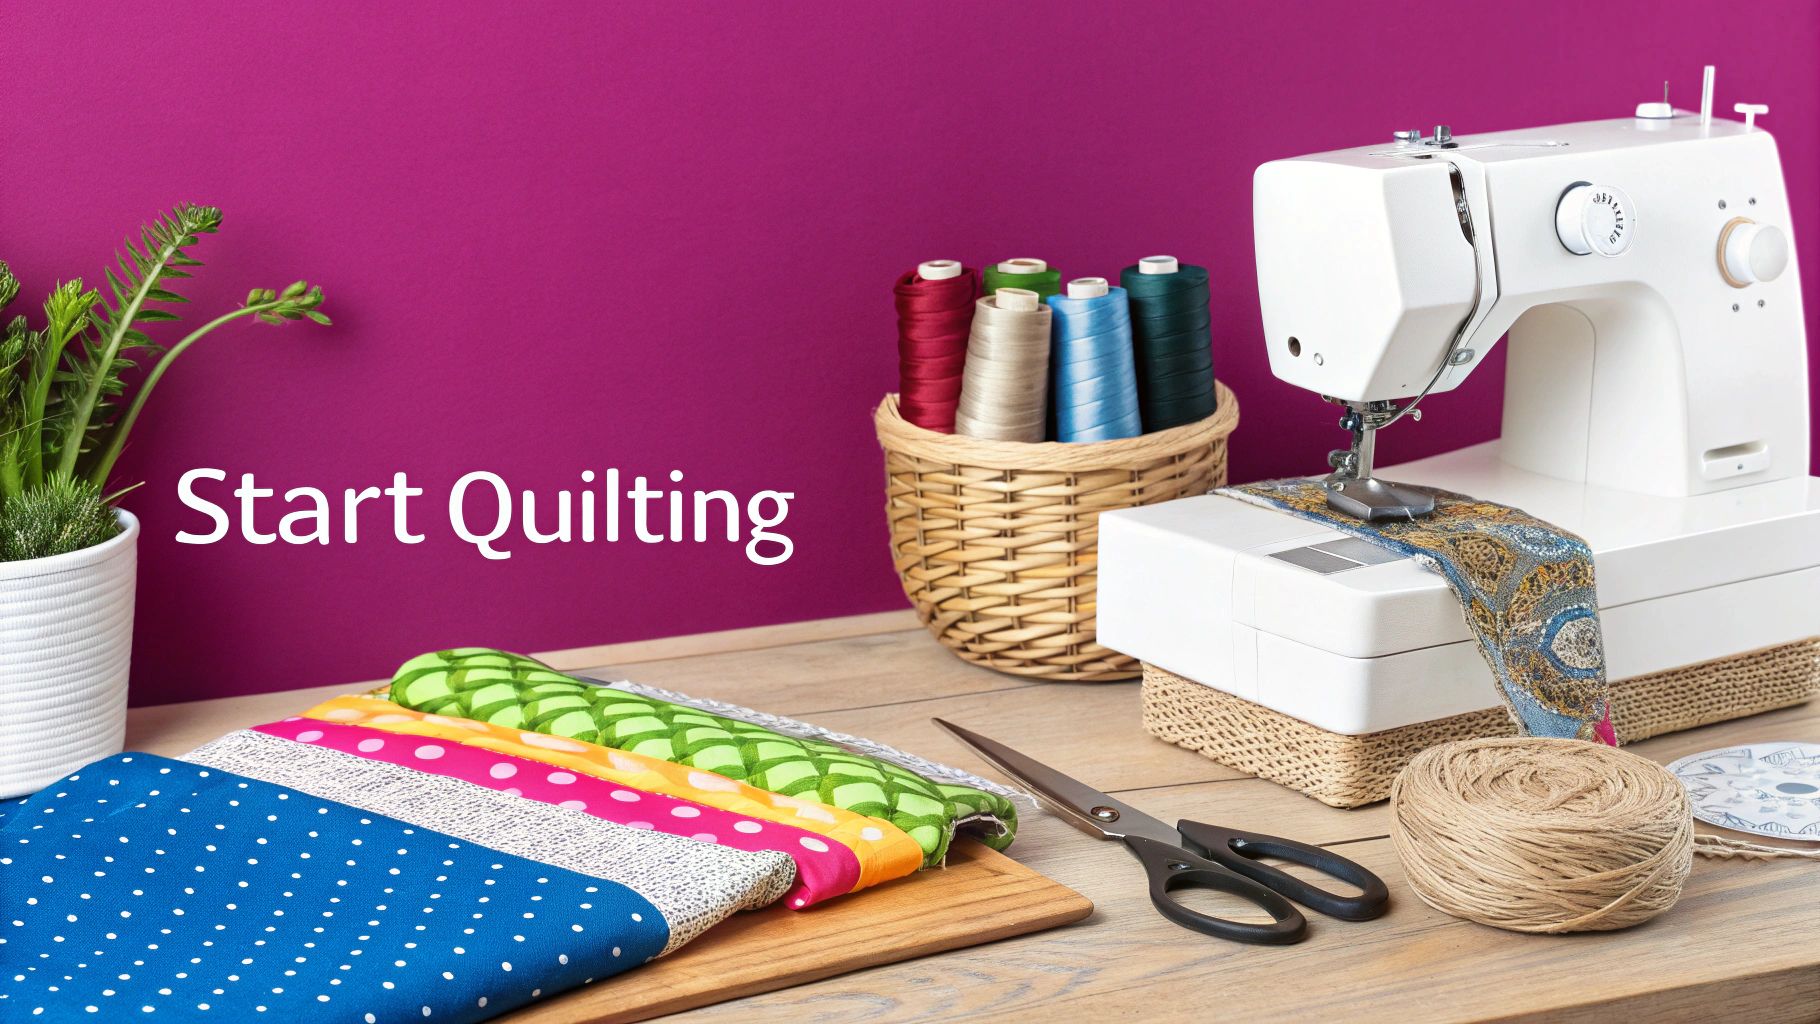
Gathering Your Essential Quilting Toolkit
Let’s be honest: having the right tools can make or break your first quilting project. It's the difference between a frustrating mess of wonky seams and a joyful, creative flow. You really don't need to buy every shiny gadget in the craft store, but a few key essentials will pay you back over and over again. This is my go-to list for anyone starting out.
The absolute must-haves for accurate cutting are your rotary cutter, a self-healing mat, and a clear acrylic ruler. I call this the "holy trinity" of quilting prep. This setup gives you the kind of clean, precise cuts that are just about impossible to get with regular scissors. When your fabric pieces are cut perfectly from the get-go, everything else—from lining up seams to getting those sharp, professional-looking points—falls into place so much more easily.
The Tools That Make a Real Difference
Once you have your cutting system down, a few other items will make your life a whole lot simpler. For example, a quarter-inch sewing machine foot is a total game-changer, especially when you're new to this. It has a little guide on the side that practically forces you to sew a perfect ¼” seam every single time, which is the standard for almost every quilt pattern out there.
Here’s what I’d put in any beginner’s starter kit:
- Rotary Cutter: A 45mm rotary cutter is the perfect all-rounder. It’s what I still use for most of my cutting.
- Self-Healing Cutting Mat: Go for a 24" x 36" mat. It’s big enough to handle cutting yardage without taking over your entire room.
- Acrylic Ruler: A 6" x 24" ruler is the workhorse of my studio. It's ideal for cutting long strips from your fabric and for squaring up your finished blocks.
- Quality Cotton Thread: You can’t go wrong with a neutral 50wt cotton thread in a color like cream or light grey. It’ll blend with just about everything.
I always tell new quilters to think of these tools as an investment in their sanity. Good tools not only last for years but also help you avoid those common beginner mistakes that can be so discouraging. You'll build better habits right from day one.
The good news is that many free patterns for beginners are also designed to be easy on your wallet. They often use pre-cut fabric bundles, which means you can make a gorgeous quilt with as little as three yards of fabric. If you're looking for inspiration, Fat Quarter Shop has a great selection of beginner-friendly patterns that list exactly what you'll need.
Ready to start building your own toolkit? We’ve hand-picked all the durable, reliable quilting essentials you'll need right here at Linda's Electric Quilters. These are the tools our experts trust to help you start quilting with confidence and achieve amazing results.
Building Your Quilt Top Block by Block
Alright, this is where the fun really begins! We’re about to take those neatly folded stacks of fabric and transform them into a quilt top. Using your free beginner pattern as a roadmap, we'll dive into the core habits that seasoned quilters swear by. Get these down, and you'll see polished, professional-looking results from your very first project.
Before you even think about cutting, there’s one big question every new quilter asks: should I pre-wash my fabric? For your first quilt, my answer is a firm yes. Pre-washing gets rid of any factory chemicals, prevents potential dye bleeding down the road, and—most importantly—pre-shrinks the cotton. Trust me, this little step can save you from a world of puckered seams after that first trip through the laundry.
Precision from the Very First Cut
Once your fabric is washed, dried, and nicely pressed, it’s time to head to the cutting mat. Accuracy here is everything; it’s the foundation of a quilt that fits together beautifully. Grab your rotary cutter, mat, and ruler, and follow the cutting chart in your pattern to the letter. Take your time and focus on clean, straight cuts. You'll thank yourself for it later.
With all your pieces cut, the next big thing is the quarter-inch seam allowance. This is the gold standard in quilting, and being consistent is what separates a neat quilt from a wonky one. A quarter-inch presser foot for your sewing machine is an absolute game-changer for beginners. It gives you a physical guide to bump your fabric against, making every single seam uniform.
Expert Tip: Want to save a surprising amount of time and thread? Try chain piecing. This is where you sew your pieces one after another without snipping the threads in between. You end up with a long "chain" of connected blocks. It’s an efficient little habit that really helps you get into a good rhythm.
This simple workflow shows how we get from A to B, from laying out blocks to stitching on that final binding.

As you can see, the whole process is just a series of manageable stages. It’s not nearly as intimidating when you break it down like this!
The Art of Pressing Your Seams
Finally, let’s talk about pressing—and I mean pressing, not ironing! Instead of sliding your iron back and forth (which can stretch your fabric), you want to lift and press it directly onto your seams. It’s a small change in technique that makes a huge difference. Most patterns will tell you to press your seams toward the darker fabric, which cleverly stops it from peeking through on the lighter side.
Here’s another pro tip: when you’re joining rows together, press the seams in opposite directions. This allows them to "nest" snugly against each other when you line them up. It’s a simple trick that helps you get those perfectly matched points where your blocks meet, giving your quilt top that crisp, clean finish we all love.
These fundamentals—precise cutting, consistent seams, and proper pressing—are skills you'll carry with you into every quilt you ever make. And to make sure all that hard work holds up, you need a thread that can do the job. Here at Linda's Electric Quilters, we always recommend a durable 50wt cotton thread. Shop our amazing selection of threads to find the perfect match for your fabric.
Finishing Your Quilt With Confidence
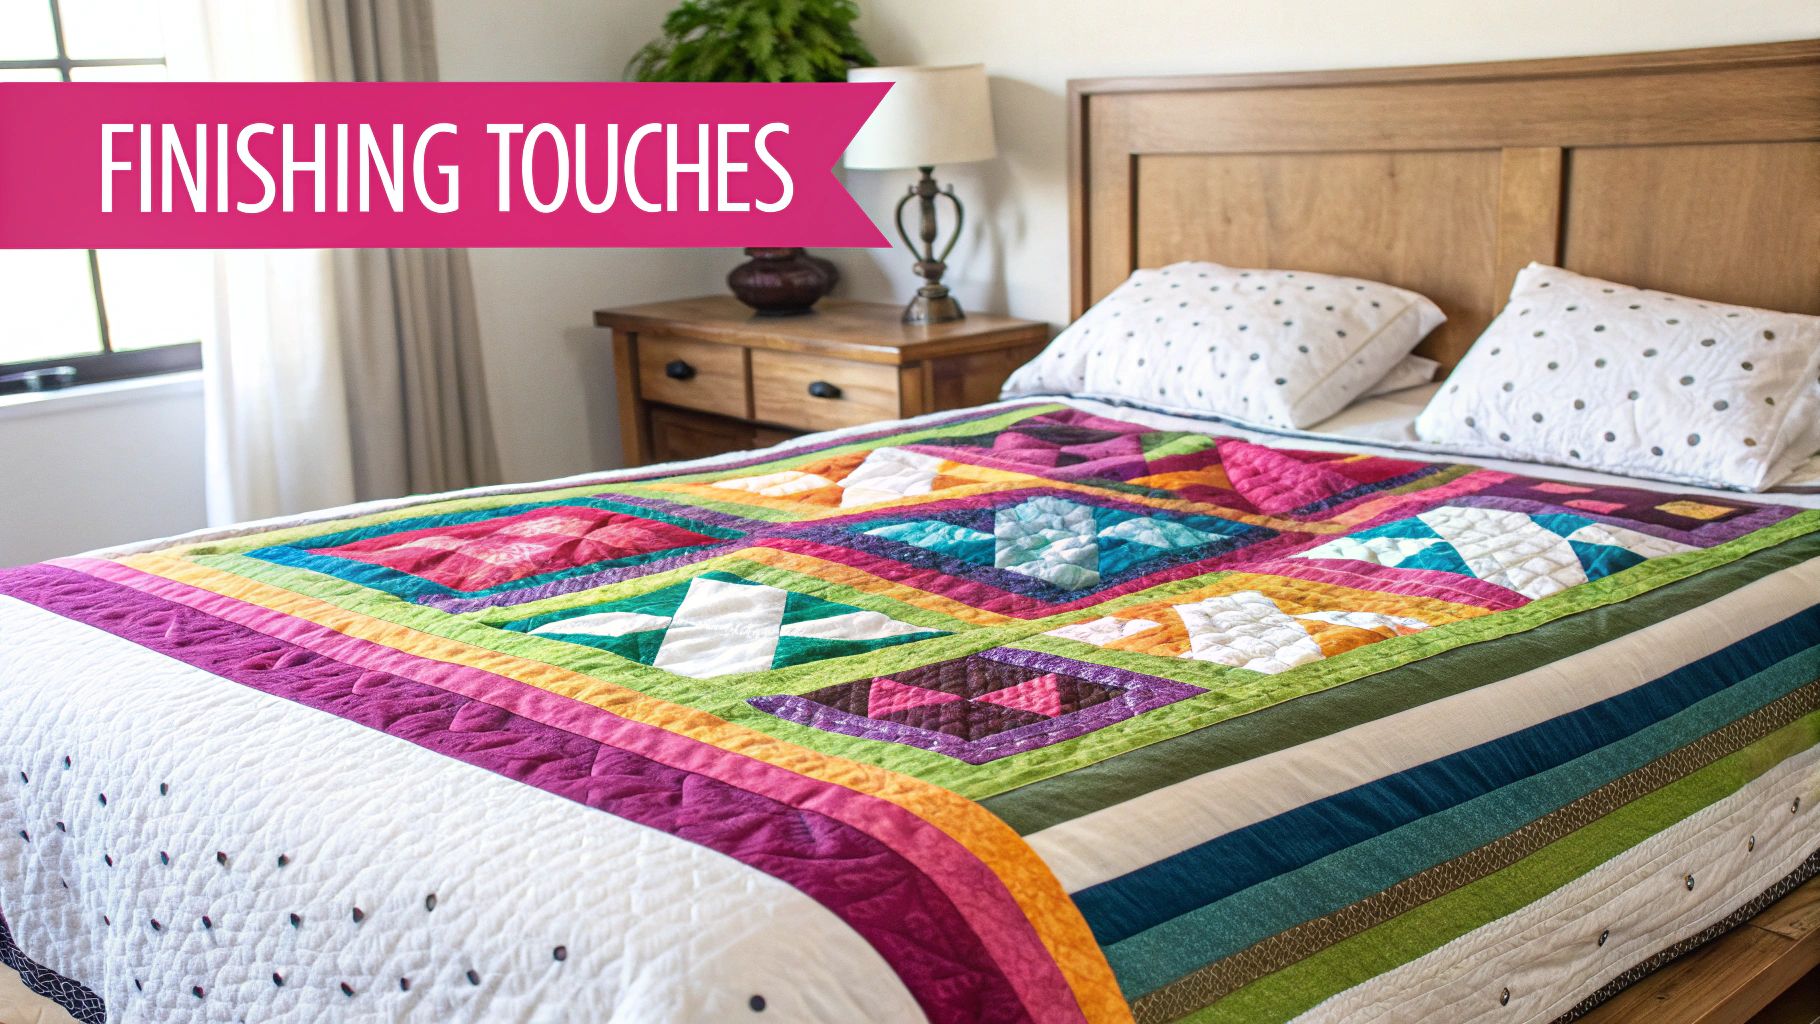
You did it! Your quilt top is pieced, and that beautiful arrangement of fabrics is a huge accomplishment. Now for the magic that turns that flat top into a cuddly, finished quilt. This final stage can feel a little daunting, but we'll break it down into simple, manageable steps to ensure your project turns out beautifully.
First up, you need to make what we quilters call a "quilt sandwich." It’s exactly what it sounds like! You’ll layer your backing fabric (wrong side up), your fluffy batting, and finally, your gorgeous quilt top (right side up). The most important thing here is to get every layer perfectly smooth and free of wrinkles.
To keep those layers from slipping and sliding around while you quilt, you’ll need to baste them together. There are a few ways to do this:
- Safety Pins: Grab some special curved quilter's safety pins and place one every 4-6 inches across the whole quilt.
- Basting Spray: This is a temporary adhesive spray that works wonders for holding everything in place. It's super fast and my go-to for smaller projects.
- Hand Basting: You can also secure your quilt sandwich with large, running stitches sewn by hand.
Quilting and Binding Your Project
Once your quilt sandwich is basted and secure, the real fun begins: the actual quilting! If you're using your home sewing machine, the easiest and most common method for a free quilt pattern for beginners is straight-line quilting.
You can sew simple parallel lines across the quilt for a clean, modern look. Or, you can try "stitching in the ditch," which just means sewing right in the seam lines of your pieced blocks. It's a great way to hide your stitches while adding texture.
Don’t aim for perfection on your first try; aim for completion. Your goal is to add texture and secure the layers. Every stitch is a learning experience, and the quilting itself will give your project a wonderful, crinkly texture after its first wash.
The final flourish is the binding. Think of it as the frame for your fabric masterpiece. You'll create long strips of fabric, fold them, and sew them neatly around the raw edges of your quilt. This step is what gives your project that clean, polished, and professional look we all love.
The quilting world has exploded thanks to online resources. The global free quilt pattern movement has made it easier than ever for new people to jump into this amazing community. Pattern costs used to be a real barrier, but now you can find incredible patterns and tutorials that make getting started a breeze. You can learn more about how free patterns have impacted quilting on quiltingdaily.com.
For all your finishing needs—from the perfect batting to high-quality thread and binding tools—Linda's Electric Quilters has an amazing selection. We’re here to help you cross the finish line with confidence and all the supplies you need.
Common Questions from First-Time Quilters
Diving into your first quilt is exciting, but it's totally normal to have a few questions pop up. Trust me, every single quilter has been right where you are! Let's clear up some of the most common things new quilters ask so you can get started with confidence.
Do I Really Need to Pre-Wash My Fabric?
Yes! For your first quilt, I can't recommend this enough. Brand new cotton fabric can shrink by as much as 5% the first time you wash it. If you pre-wash, that shrinkage happens before you cut your pieces, not after.
This simple step prevents your finished quilt from puckering or getting distorted later on. It also gets rid of any excess dyes that might bleed onto your lighter fabrics, saving you from potential heartache down the road.
What Is the Easiest Batting for a Beginner?
Stick with a good quality 100% cotton or an 80/20 cotton-poly blend batting. These are my go-to recommendations for anyone starting out because they’re stable, easy to work with, and don't stretch all over the place.
They give you that classic, soft quilt feel we all love and are super forgiving when you're quilting on a regular home sewing machine. You can find our favorite beginner-friendly batting options at Linda's.
Ask any quilter what their biggest headache was on their first project, and they'll likely say mismatched points. The culprit is almost always an inconsistent 1/4 inch seam. If your machine has a dedicated 1/4 inch presser foot, use it! If not, a little strip of painter's tape on your machine bed makes a perfect guide. Mastering precise cutting and consistent seams is the secret sauce.
Can I Really Quilt This on My Regular Sewing Machine?
You absolutely can. Don't let anyone tell you that you need a fancy, expensive longarm machine for your first few projects. Your standard home sewing machine is more than capable of handling baby quilts, wall hangings, and lap throws.
Pro tip: grab a walking foot for your machine. It makes a world of difference by feeding all three layers of your quilt sandwich through evenly, which is the key to preventing shifting and puckers. It's an essential accessory for any new quilter.
Now that we've cleared that up, you're ready to pick out a free quilt pattern for beginners and get sewing! When you're ready for batting, thread, and any other supplies to finish your project, check out the incredible selection over at Linda's Electric Quilters. You’ll find everything you need to make something beautiful at https://lindas.com.


