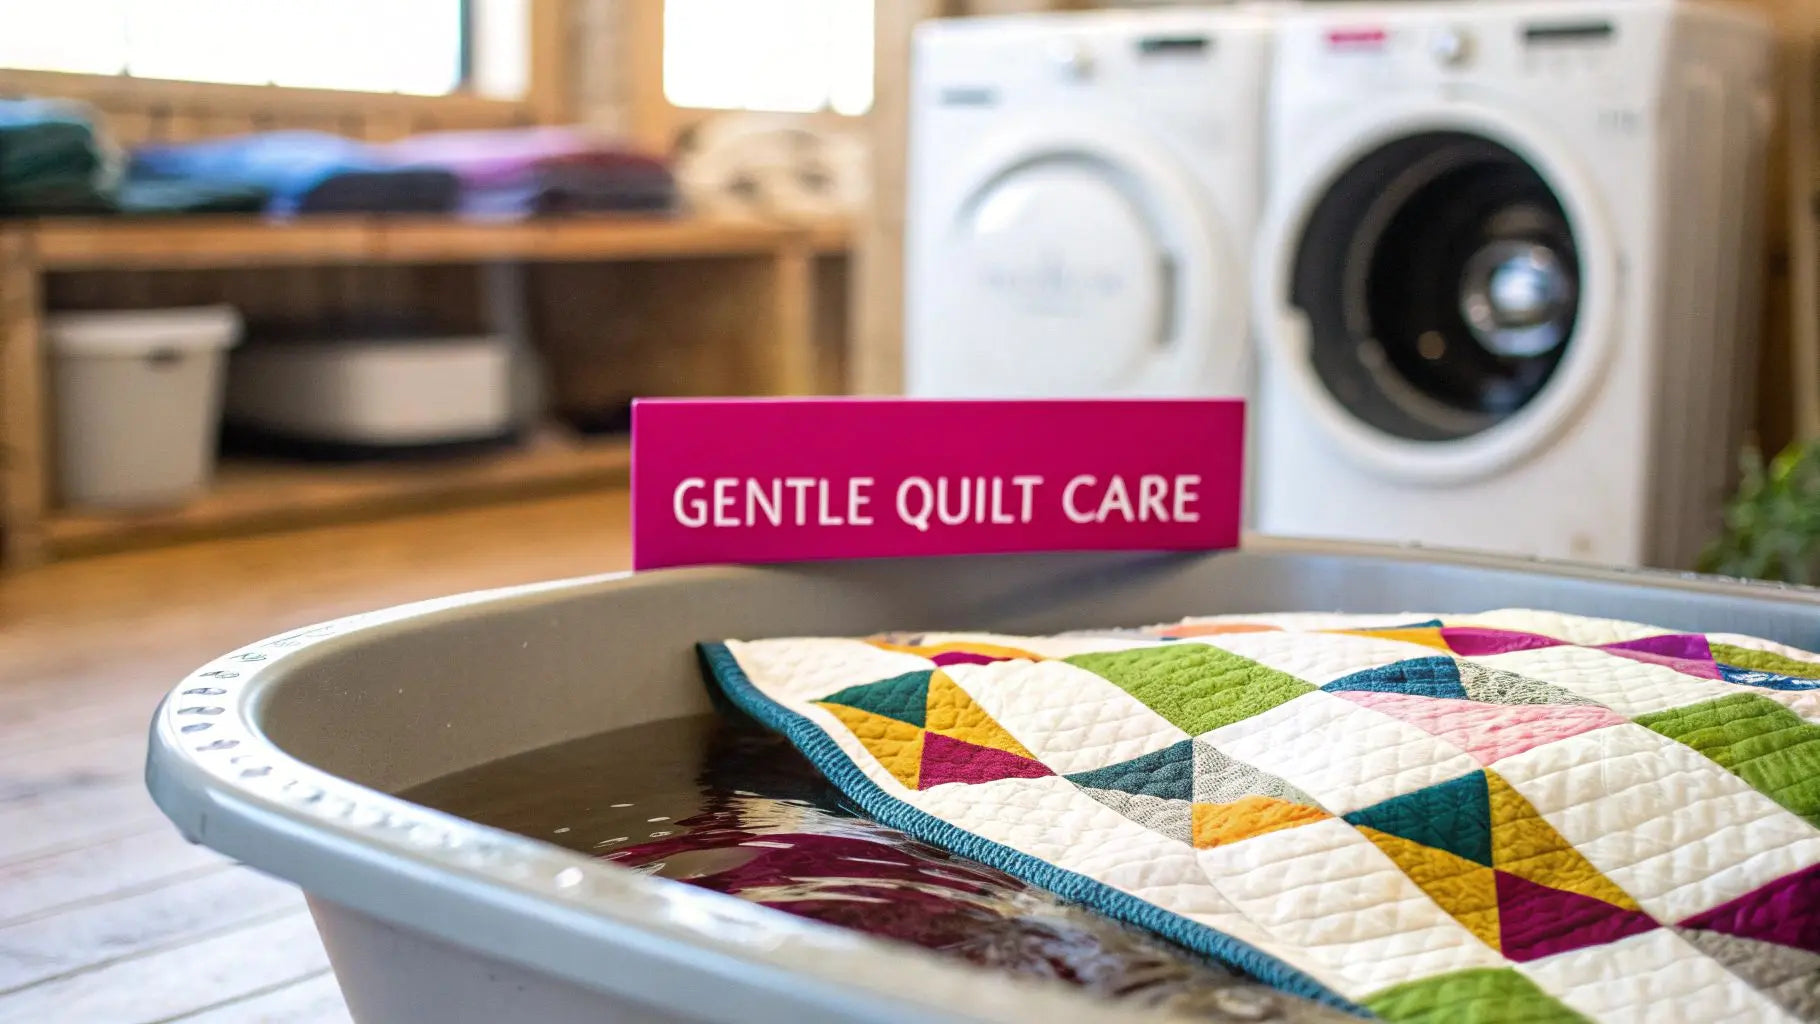
When it comes to washing a handmade quilt, I live by one simple rule: be gentle. The safest bet is always going to be cold water, a mild detergent made for delicates, and letting it air dry. But before you even get your quilt near water, a quick, careful inspection is the single most important thing you can do to prevent any damage. This guide will teach you how to properly care for your quilted projects, ensuring they last for generations.
The First Steps to Safely Washing a Handmade Quilt
I get it. That feeling of slight panic before washing a precious handmade quilt for the first time is completely normal. You're holding a piece of art, something that could be passed down for generations, and you want to protect every last stitch. We'll walk through this together, making sure your quilt comes out looking just as beautiful as it went in.
Before you even think about turning on a faucet, lay your quilt out flat in a well-lit room and give it a once-over.
- Fragile Seams: Look for any threads that are popping up or seams that look a little stretched out. These weak spots might need a few quick stitches to reinforce them before washing.
- Worn Fabric: Check for any thinning areas or tiny holes. This is especially important for older quilts or those made with vintage fabrics. A wash cycle can easily turn a small hole into a big problem.
- Delicate Appliqué: If you have any appliqué work, run your fingers over the edges to make sure everything is still stitched down securely.
This quick check only takes a few minutes, but trust me, it can save you from a major repair job down the road.
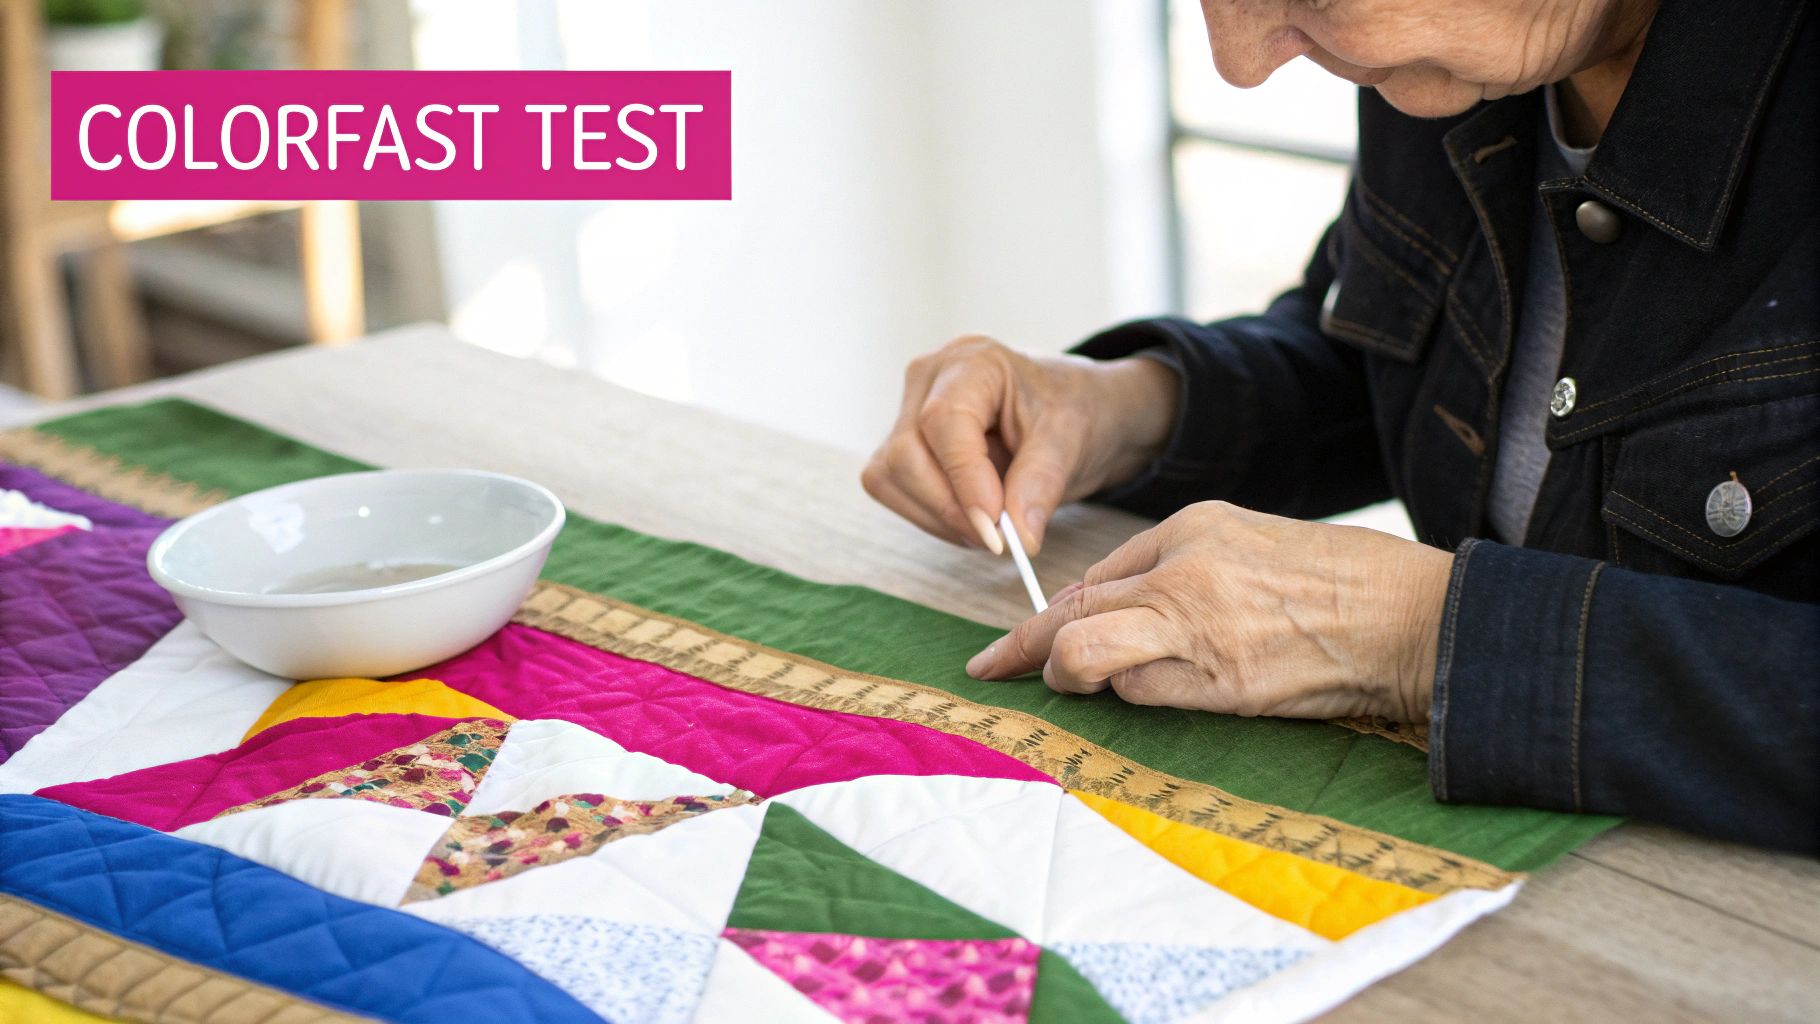
Don't Skip the Colorfastness Test
If you do nothing else, please do this. The colorfastness test is your best defense against the heartbreak of bleeding dyes. We’ve all seen it happen, especially with those beautiful, saturated reds and blues that are notorious for running.
It’s easy. Just dampen a white cloth (or even a cotton swab) with a little cold water and a tiny drop of your quilt soap. Gently rub it on a small, hidden spot of each different color in your quilt. If any color comes off onto the cloth, those dyes aren't stable, and you'll need to take extra precautions.
This little flowchart is a great visual for deciding how to proceed based on what you find during your inspection.
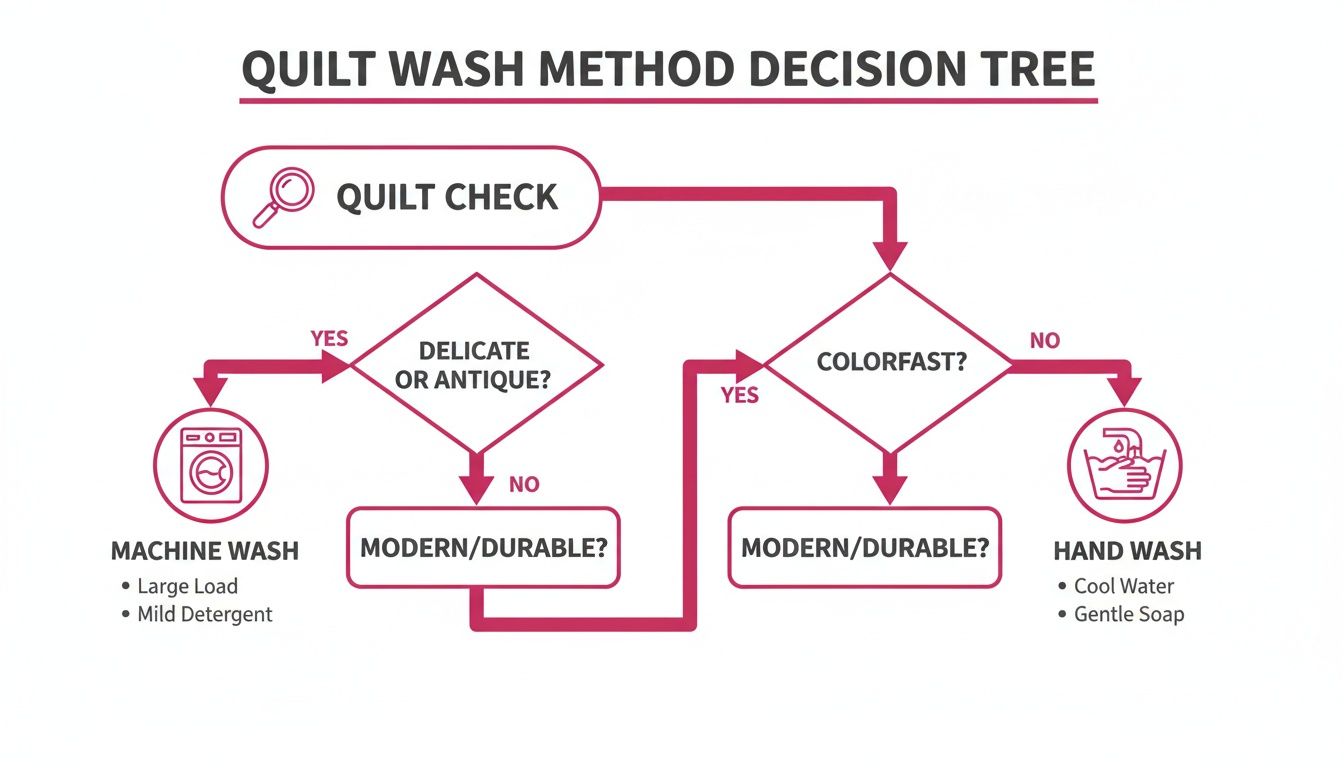
As you can see, the age, condition, and dye stability of your quilt are the biggest factors in determining whether it can handle a machine wash or if it needs the gentle touch of a hand wash.
Hand Washing vs. Machine Washing
Choosing your washing method really comes down to the quilt itself. This table can help you make a quick decision.
Which Washing Method Is Right for Your Quilt
| Method | Best For | Key Considerations |
|---|---|---|
| Machine Washing | Modern, sturdy quilts with secure stitching and colorfast dyes. | Use a front-loading machine (no central agitator), the gentlest cycle, cold water, and a quilt-safe detergent. |
| Hand Washing | Antique, fragile, or heirloom quilts. Also best for any quilt with non-colorfast dyes or delicate embellishments. | Requires a clean bathtub or large basin. It’s labor-intensive but gives you complete control to prevent damage. |
Hand washing is the undisputed champion for antique or super delicate quilts because it gives you the most control. For a sturdy, modern quilt, a machine wash can be perfectly safe—as long as you use the right settings. Gentle care makes a huge difference; you can extend a quilt’s life by an estimated 30–50% just by avoiding harsh machine cycles. You can find out more about the quilt market insights and see how much value proper care adds.
Here's a little secret from one quilter to another: the best way to preserve your quilt is to wash it as little as possible. Sometimes, all it needs is a good airing out on a dry, overcast day to feel fresh again—no water required.
Once you've done your prep work, you're ready for the main event. Having the right supplies on hand makes all the difference. We love gentle, quilt-safe detergents like Orvus Paste, which will get your masterpiece clean with the care it truly deserves. Stop by Linda's to get all the supplies you need to finish your project with confidence.
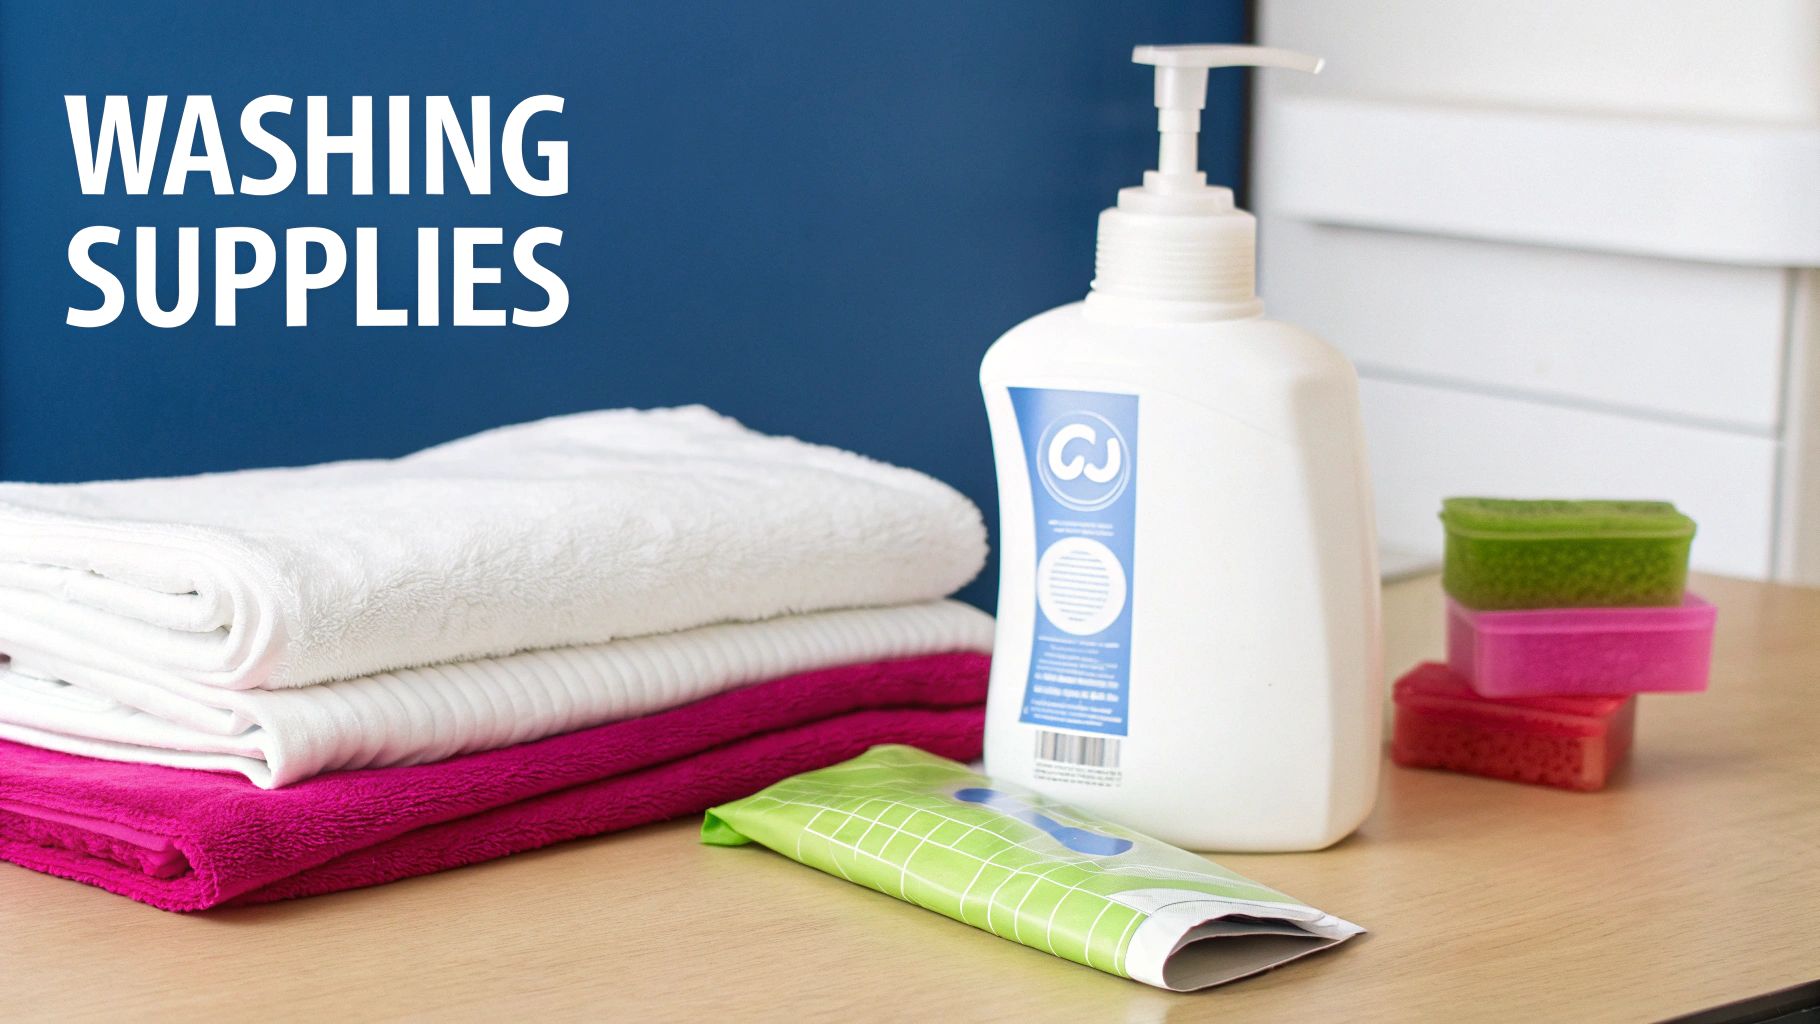
Gathering the Right Quilt Washing Supplies
Before a single drop of water touches your precious quilt, getting your supplies in order is an absolute must. Trust me, using the wrong detergent can cause irreversible damage in a single wash, fading those beautiful colors or weakening delicate cotton fibers. It's like baking a cake—you wouldn’t swap salt for sugar. Having the right tools on hand makes all the difference for a successful project.
Choosing the Perfect Quilt Soap
Let's be clear: your everyday laundry detergent is the number one enemy of a handmade quilt. Those detergents are loaded with optical brighteners, which are chemicals that coat fabrics to make whites look whiter. On a quilt, this just dulls the rich colors and can leave a weird, artificial sheen over time.
On top of that, most standard detergents have a high pH level that’s just too harsh for the natural fibers we love in our quilts. What you really need is a gentle, pH-neutral soap designed to clean without stripping color or harming the fabric. This is where a dedicated quilt soap becomes your best friend.
For a clean you can trust, something like Orvus Paste Quilt Soap is a fantastic choice. It's a concentrated, perfume-free, and phosphate-free formula that rinses out completely, leaving zero residue behind to attract more dirt later. Another great one, especially for older or yellowed quilts, is Retro Clean. You can find both of these lifesavers right here at Linda’s to get your project started right.
Here’s the main takeaway: The goal is to lift dirt and oils, not to chemically blast the fabric. A gentle, archival-quality soap is always the safest bet for your handmade treasures.
Your Essential Washing Toolkit
Besides the soap, a few other items will make washing day go much more smoothly and safely. Don’t skip these—they’re just as important for protecting your quilt!
-
Color Catcher Sheets: Think of these as your insurance policy against bleeding dyes, especially if your colorfast test made you a little nervous. They act like magnets, grabbing any loose dye in the water before it has a chance to ruin your lighter fabrics. Be generous with them! It’s always better to use a few too many than not enough.
-
A Clean Bathtub or Large Basin: If you’re hand-washing, you need a space big enough to let the quilt float freely without being bunched up. Make sure you’ve scrubbed the tub and rinsed it well to get rid of any leftover household cleaner residue.
-
Plenty of Clean, White Towels: You’ll need a good stack of these for the drying process. And yes, they must be white. This completely removes any risk of a colored towel bleeding onto your damp, clean quilt.
Getting everything laid out before you begin turns what could be a stressful chore into a calm, controlled process. When you have the best supplies, you’re not just washing a quilt; you’re preserving a piece of art. Stop by Linda's to grab all the high-quality notions you need to care for your projects with confidence.
Using a Washing Machine Without Causing Damage
If you've got a sturdy, modern quilt that sailed through its colorfastness test, your washing machine can be your best friend—but only if you treat it right. Think of it less like doing laundry and more like carefully operating heavy machinery with a piece of art inside. The whole point is to be as gentle as possible, using minimal agitation to get it clean without causing any harm.
This isn't a "toss it in and walk away" situation. It's a calculated approach that respects the quilt's fibers, seams, and batting. With the right machine and settings, you absolutely can get a beautiful clean without sacrificing the integrity of all that hard work.
Setting Up for Success
The kind of washing machine you have makes a huge difference. For handmade quilts, a large, front-loading machine is the undisputed champion. Why? It tumbles the quilt gently through the water instead of yanking and twisting it around a central agitator, which is notorious for snagging threads and stretching out seams.
If you only have a top-loader, don't worry, you can still make it work. The trick is to carefully coil the quilt around the outer edges of the drum, leaving the center agitator completely open. This stops the agitator from grabbing hold of your precious quilt.
No matter what machine you're using, you need to know its limits. Your average front-loader can handle about 5–9 kg (11–20 lb) of dry laundry. A dry queen-sized quilt alone can weigh 2–4 kg (4–9 lb), and that weight skyrockets once it's soaked. Shoving too much in a machine can crank up the mechanical agitation forces by as much as 35%—a recipe for popped seams and shifted batting. If you want to dive deeper into the world of quilts, you can discover more insights about quilt market trends and see why proper care is so vital.
Pro Tip: I always throw a few clean, white towels in with the quilt. It's a simple trick that helps balance the load, stopping the heavy, wet quilt from thumping around and softening the whole process.
The Ideal Machine Settings
Once your quilt is in, picking the right settings is the next make-or-break moment. There's no room for error here; these are non-negotiable for keeping your quilt safe.
- Cycle Selection: Go for the gentlest cycle you've got. Look for settings like "Delicate," "Hand Wash," or "Gentle."
- Water Temperature: Cold water only. I can't stress this enough. Never use hot or warm water, as it's a surefire way to make colors bleed and fibers shrink.
- Spin Speed: Dial the spin speed down to the lowest possible setting. If your machine has a "no spin" option, even better. A fast spin cycle puts an incredible amount of force on the seams.
Before you hit "start," add your soap. You need something gentle and pH-neutral. We love and highly recommend Orvus Paste Quilt Soap available at Linda's, which cleans beautifully without any harsh chemicals. Let the machine fill with a bit of water and pour the soap in so it dissolves completely before the quilt gets saturated. This prevents those stubborn, concentrated soap spots.
The Final and Most Urgent Step
The second that cycle ends, you need to be there. Get that quilt out of the machine immediately.
If you let a heavy, soaking-wet quilt sit in the drum, you're asking for deep-set wrinkles that are a nightmare to get out. Even worse, that damp, airless environment is the perfect breeding ground for mildew and musty smells.
Be ready to lift it out carefully, supporting its full weight so you don't stretch the seams. It's going to be much heavier than you think, so gather it into a bundle instead of pulling on one corner. Getting this last part right sets you up for a smooth drying process and ensures your beautifully clean quilt stays that way.
Hand Washing Delicate and Antique Quilts
When you're dealing with a precious antique quilt, a fragile family heirloom, or any piece that means the world to you, hand washing is non-negotiable. It's definitely more of a commitment than tossing it in the machine, but it gives you total control to protect every single fiber and stitch.
Think of it less like a chore and more like a preservation project. We're going to turn your bathtub into the perfect, gentle wash basin to get your quilt clean without any of the risks from a machine. It's all about care, not speed.
Setting Up Your Bathtub Basin
First things first, your bathtub needs to be absolutely spotless. Any lingering residue from bathroom cleaners can transfer to your quilt and cause some serious discoloration or damage. Give the tub a good scrub with a gentle cleanser and then rinse it out a few times to make sure it's totally clean.
Now you're ready to create the ideal washing environment.
- Go Cold: Fill the tub about halfway with cold water. Never, ever use warm or hot water—it’s a recipe for bleeding dyes and shrinking fibers.
- Dissolve the Soap: Add just a tiny amount of a pH-neutral, gentle quilt soap. We swear by Orvus Paste from Linda's for our most treasured pieces. Swish the water around with your hand to get the soap completely dissolved before the quilt goes in. This little step prevents concentrated soap spots that are a real pain to rinse out later.
The Gentle Submersion and Pressing Technique
Time to introduce your quilt to the water. Gently lower it in, helping it unfold so it can float as freely as possible instead of bunching up. Let it soak for a good 30 to 60 minutes. This gives the soapy water time to work its way into the fibers and start lifting out any dirt and oils.
Once it's had a nice soak, we can move on to the "washing" part, which is all about gentle pressure.
The golden rule of hand washing a quilt: never wring, twist, or scrub the fabric. That kind of rough handling is the number one cause of stretched seams, distorted blocks, and ruined batting.
Instead, use the palms of your hands to gently press down on different sections of the quilt, pushing the water through all the layers. Imagine you're kneading dough in super slow motion. Just work your way across the entire quilt, pressing and releasing. This simple motion creates just enough agitation to clean the fabric without putting any stress on it.
Rinsing and Getting the Quilt Out Safely
Draining the tub is the moment you need to be most careful. A soaking-wet quilt is unbelievably heavy. If you try to lift it incorrectly, the sheer weight of the water can stretch and break threads in an instant. The key is to support its full weight at all times.
Let all the soapy water drain out. As it drains, you can gently press down on the quilt to squeeze out some of the suds. Now, refill the tub with fresh, cold water, let it sit for a few minutes, and repeat that gentle pressing motion to rinse. You’ll probably need to drain and refill the tub two or three times—keep going until you don’t see any more suds.
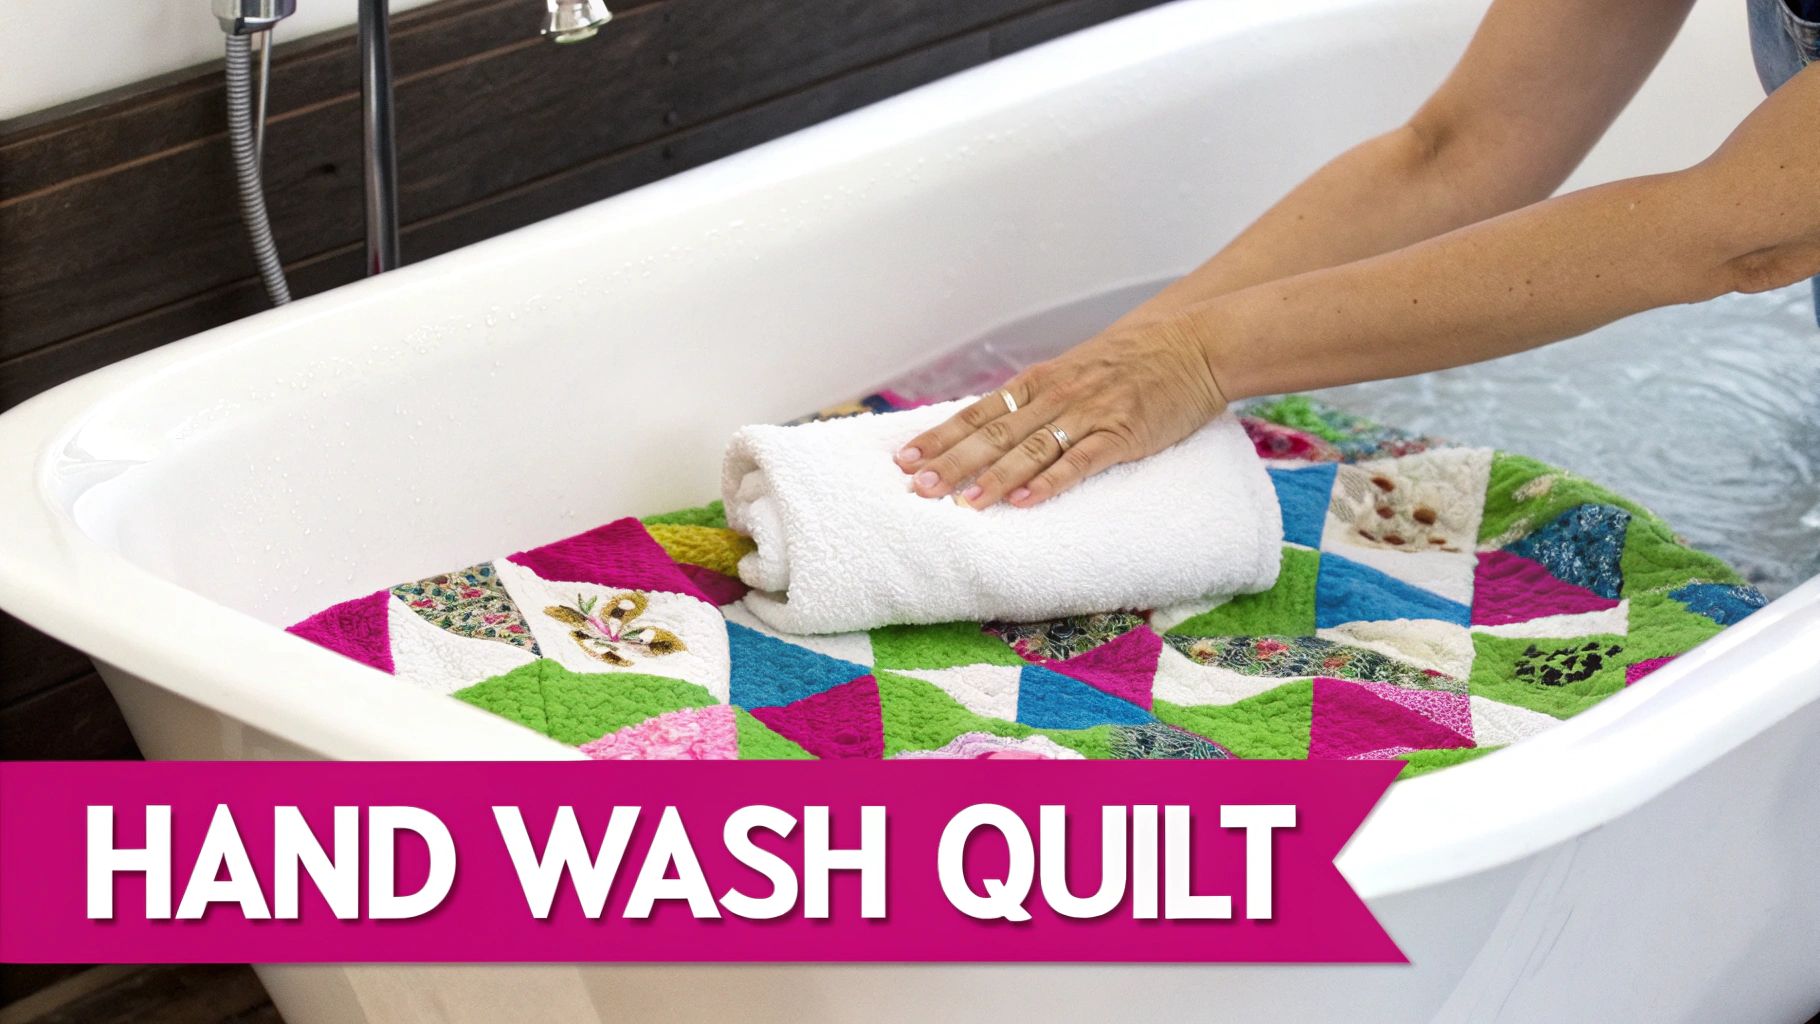
The Towel Burrito Trick for Removing Water
After the final rinse, drain the tub one last time. Press out as much water as you can while the quilt is still resting in the tub. Now, for my favorite part: the "towel burrito."
- Lay a few thick, clean, white towels right next to the tub.
- Carefully scrunch the quilt into a supportive bundle—don't just grab it by the corners!
- Lift the whole bundle and place it right on top of your towel pile.
- Lay another layer of clean, white towels over the wet quilt.
- Starting from one end, roll the quilt and towels together into a snug log, just like a burrito.
Press down firmly all over the roll. You'll be amazed at how much water the towels soak up without putting any strain on the quilt's seams. You can even unroll it, swap out the wet towels for dry ones, and roll it up again if it’s still very heavy. This step is the perfect bridge to getting it dried safely and successfully.
How to Properly Dry and Store Your Quilt
Getting your quilt clean is only half the battle. How you dry it is just as important—maybe even more so. One wrong move in the drying stage can stretch out your seams, warp your beautiful blocks, or lead to mildew. Getting this last part right is what keeps your quilt looking its best for years to come.
Why You Must Avoid the Machine Dryer
I know it’s tempting. You've got this heavy, sopping quilt and the dryer seems like the easiest way out. But please, step away from the machine. High heat is a quilt's worst enemy. It can make cotton fabrics shrink up at different rates, leaving you with a puckered, distorted mess.
Even worse, if your quilt has polyester batting, that high heat can actually start to melt the fibers inside. You'll end up with stiff, lumpy patches that are impossible to fix. And even the "low heat" setting isn't safe—the constant tumbling puts a ton of stress on your seams, especially when the quilt is waterlogged and heavy.
The Best Method: Air Drying Your Quilt Flat
The absolute safest way to dry a handmade quilt is to let it air dry completely flat. It takes time and space, I won't lie, but it eliminates any risk of heat damage and is the gentlest method for your seams. Patience here really pays off.
You'll need a large, clean, flat surface where the quilt can just hang out for a while.
- Create a Drying Bed: I like to lay down a few clean, dry, white sheets on a spare bed or a big, clean patch of floor. The sheets act as a protective layer and help wick away moisture from the bottom of the quilt.
- Position the Quilt: Carefully lay your damp quilt out on the sheets, spreading it to its full size. Spend a minute smoothing out wrinkles and gently nudging the blocks and borders back into a perfect square shape.
Make sure to keep the quilt out of direct sunlight, which can fade those beautiful colors you worked so hard on. A fan set on low can help circulate air in the room and speed things up a bit.
Expert Tip: Every few hours, gently flip the quilt over. This is key to making sure both sides dry evenly and preventing that dreaded musty smell from setting in.
Storing Your Quilt for Long-Term Preservation
Once your quilt is perfectly dry, don't just toss it in a plastic bin. Plastic can trap moisture and cause the fibers to yellow over time. For a deep dive into the subject, there are some great best practices for storing linens that work just as well for our precious quilts.
The number one rule is breathability. Your best bet is a 100% cotton or muslin bag. These natural fibers let air move freely, which is exactly what you want. If you don't have a specialty bag, just wrapping the quilt in a clean cotton sheet will do the trick.
To avoid setting permanent creases, try not to fold your quilt the same way every time. A better option is to gently roll it around a cardboard tube (wrap the tube in acid-free paper first if you want to be extra careful). If you have to fold it, just make a point to refold it differently every few months to give the fibers a break. Do this, and your quilt will be safe, sound, and ready for its next cuddle session.
Answering Your Top Quilt Care Questions
Even with a step-by-step guide, it's totally normal to have a few lingering questions. Every handmade quilt is a unique creation, and that means each one comes with its own quirks and concerns. Let's tackle some of the most common questions I hear from fellow quilters about taking care of their treasured pieces.
How Often Should I Really Wash a Handmade Quilt?
Honestly? As little as humanly possible. I can't stress this enough: over-washing is the number one enemy of a handmade quilt. It's the fastest way to break down those delicate fibers, fade your gorgeous colors, and put unnecessary stress on your seams.
For a quilt that gets daily love on a bed, a gentle wash about once a year is plenty, assuming no major spills. If your quilt is a decorative piece, maybe draped over a sofa or hanging on a wall, you might only need to clean it every few years.
Before you even think about water, make airing it out your first move. Just laying the quilt outside on a breezy, overcast day can do wonders to freshen it up. If you're dealing with a bit of surface dust, a very gentle pass with your vacuum's soft brush attachment is a much better choice than a full wash. Always try these gentler methods first!
Is It Safe to Use Vinegar or Baking Soda on My Quilt?
I see this question a lot, and while these are fantastic hacks for around the house, they really aren't great for your quilts. Baking soda, believe it or not, is pretty abrasive on a microscopic level and can damage delicate cotton fibers over time. Plus, it can be a real pain to rinse out completely.
A little bit of distilled white vinegar added to the final rinse can sometimes help remove soap residue and soften the fabric. But it's not a cleaner, so you can't rely on it to actually wash the quilt.
When it comes down to it, you'll always get safer, more consistent results by using a product made specifically for textiles. A pH-neutral, archival-quality soap is your best friend—it cleans thoroughly without stripping color or harming the very fibers you spent so much time stitching together. To get the best results for your project, browse our selection of quilt-safe soaps at Linda's.
What Do I Do If My Quilt Colors Start to Bleed?
First things first: don't panic. But more importantly, do not let the quilt dry. Once that runaway dye sets into another fabric, it becomes exponentially harder to remove. The trick is to act fast while everything is still wet.
Get that quilt rinsing in fresh, cold water immediately. As it's rinsing, toss several color catcher sheets into the water with it. These little wonders are designed to grab and absorb loose dye particles that are floating around.
Keep rinsing with fresh water and swapping in new color catchers until the sheets come out totally clean. This exact scenario is why the pre-wash colorfastness test is the most critical step of all. Five minutes of testing can save you from a major heartbreak later.
My Quilt Smells Musty—Does It Need a Full Wash?
Not necessarily! A musty smell is almost always a sign of trapped moisture, but it doesn't automatically mean your quilt is dirty. Before you put your quilt through the stress of a full wash, try the easiest fix first.
Take it outside and let it air out for a few hours on a dry, breezy day. The key here is to keep it out of direct sunlight, which is a notorious color-fader. You can lay it on a clean sheet in the grass or hang it over a sturdy clothesline. More often than not, a good dose of fresh air is all it takes to kick that stale smell to the curb.
If the odor is being stubborn, a light spritz of one part vodka to three parts water can help neutralize odors as the alcohol evaporates. A full wash should always be your last resort for mustiness.
Can I Dry Clean a Handmade Quilt?
The short answer here is almost always a hard no. It might seem like a gentler, hands-off option, but the solvents and chemicals used in dry cleaning can be devastating to a quilt. These chemicals can actually eat away at the polyester core of common quilting threads, slowly weakening all your beautiful seams.
Worse yet, if you have polyester batting inside your quilt, the heat from the dry cleaning process can cause it to melt or get stiff, completely ruining the soft, cozy drape you worked so hard to create.
Unless you are 100% certain that every single component—fabric, thread, and batting—is a natural fiber like cotton, you need to steer clear of the dry cleaner. A gentle wash at home is a much safer bet. For advice on specific materials, like down, you might find this an essential guide on how to wash and care for down quilts helpful.


