Episode 3 : Quilting Designs On The Blocks
Episode 3 : Quilting Designs On The Blocks: In this episode, Pauline will guide you step-by-step through the process of cutting and sandwiching your quilt layers.
You will learn how to accurately cut fabric strips, prepare batting, and create precise measurements for your quilt blocks.
Pauline will also cover essential techniques for folding, pressing, and labelling your pieces; ensuring everything is organised and ready for quilting.
Don’t forget to download your class notes below this video:)
Companion Notes: Choosing Quilting Designs for Your Blocks
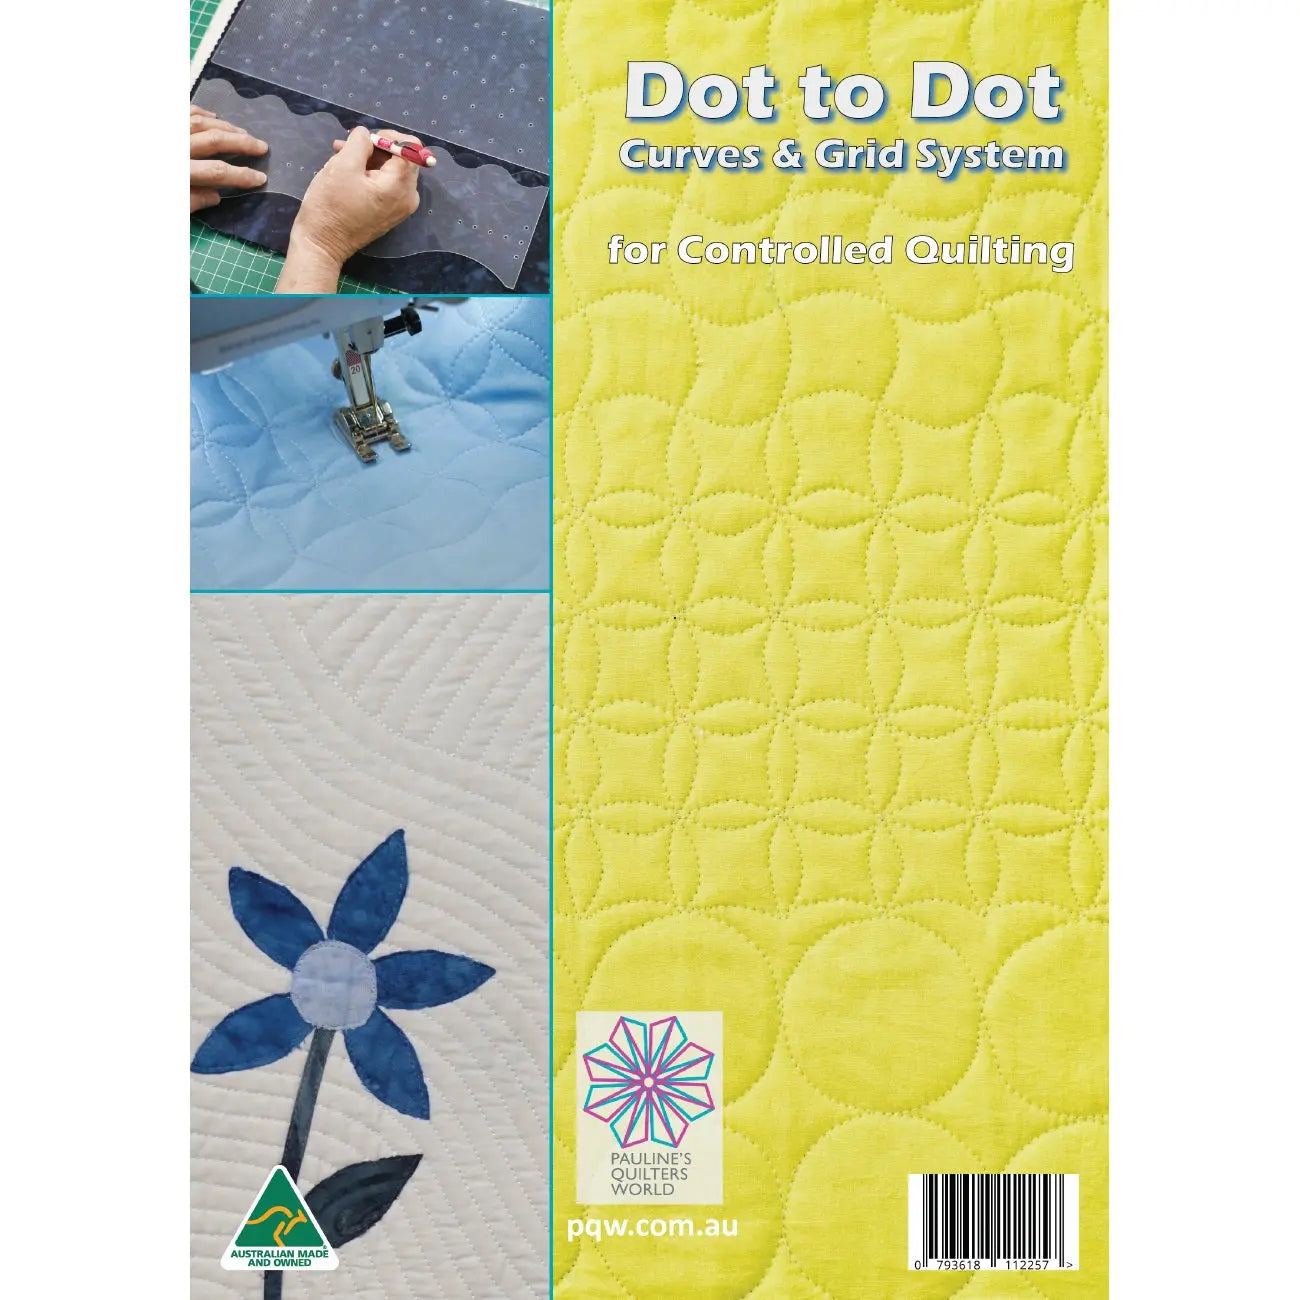
With your blocks cut, sandwiched, and labeled, this stage of the series turns to the designs you'll draw and quilt on each block. This is where the QISS system shines: instead of free-motion quilting — the step that stops so many quilters — designs are drawn first using templates and marking tools, then stitched along the lines.
How to pick a design for each block
- Match the design to the block's shapes. Geometric blocks love geometric quilting — grids, diamonds, and dot-to-dot patterns echo the piecing. Plain or large-print blocks can carry feathers and curves.
- Keep density even across the quilt. If one block is quilted edge-to-edge and its neighbor has a single outline, the finished quilt will feel lopsided. Aim for a similar amount of stitching on every block.
- Draw it before you sew it. Use your marking pencil to draw the full design on a practice sandwich first. If your hand can't follow it smoothly in practice, simplify the design — confidence reads as quality.
- Start with the block you care about least. Your stitching visibly improves across the first three or four blocks; put the warm-up blocks at the quilt's edges, not its center.
The episodes ahead build your design library one technique at a time — feathers next, then dot-to-dot designs, straight-line work, and template sets — so by joining time you'll have a whole sampler of skills in a single quilt.